
Users & Roles
Users and Roles
Section titled “Users and Roles”The Users section is where you manage the people in your organization and decide what each of them can do. Add teammates, adjust their roles as responsibilities change, and remove anyone who no longer needs access. Open it from the sidebar.
The Users list
Section titled “The Users list”The list shows everyone in your organization.
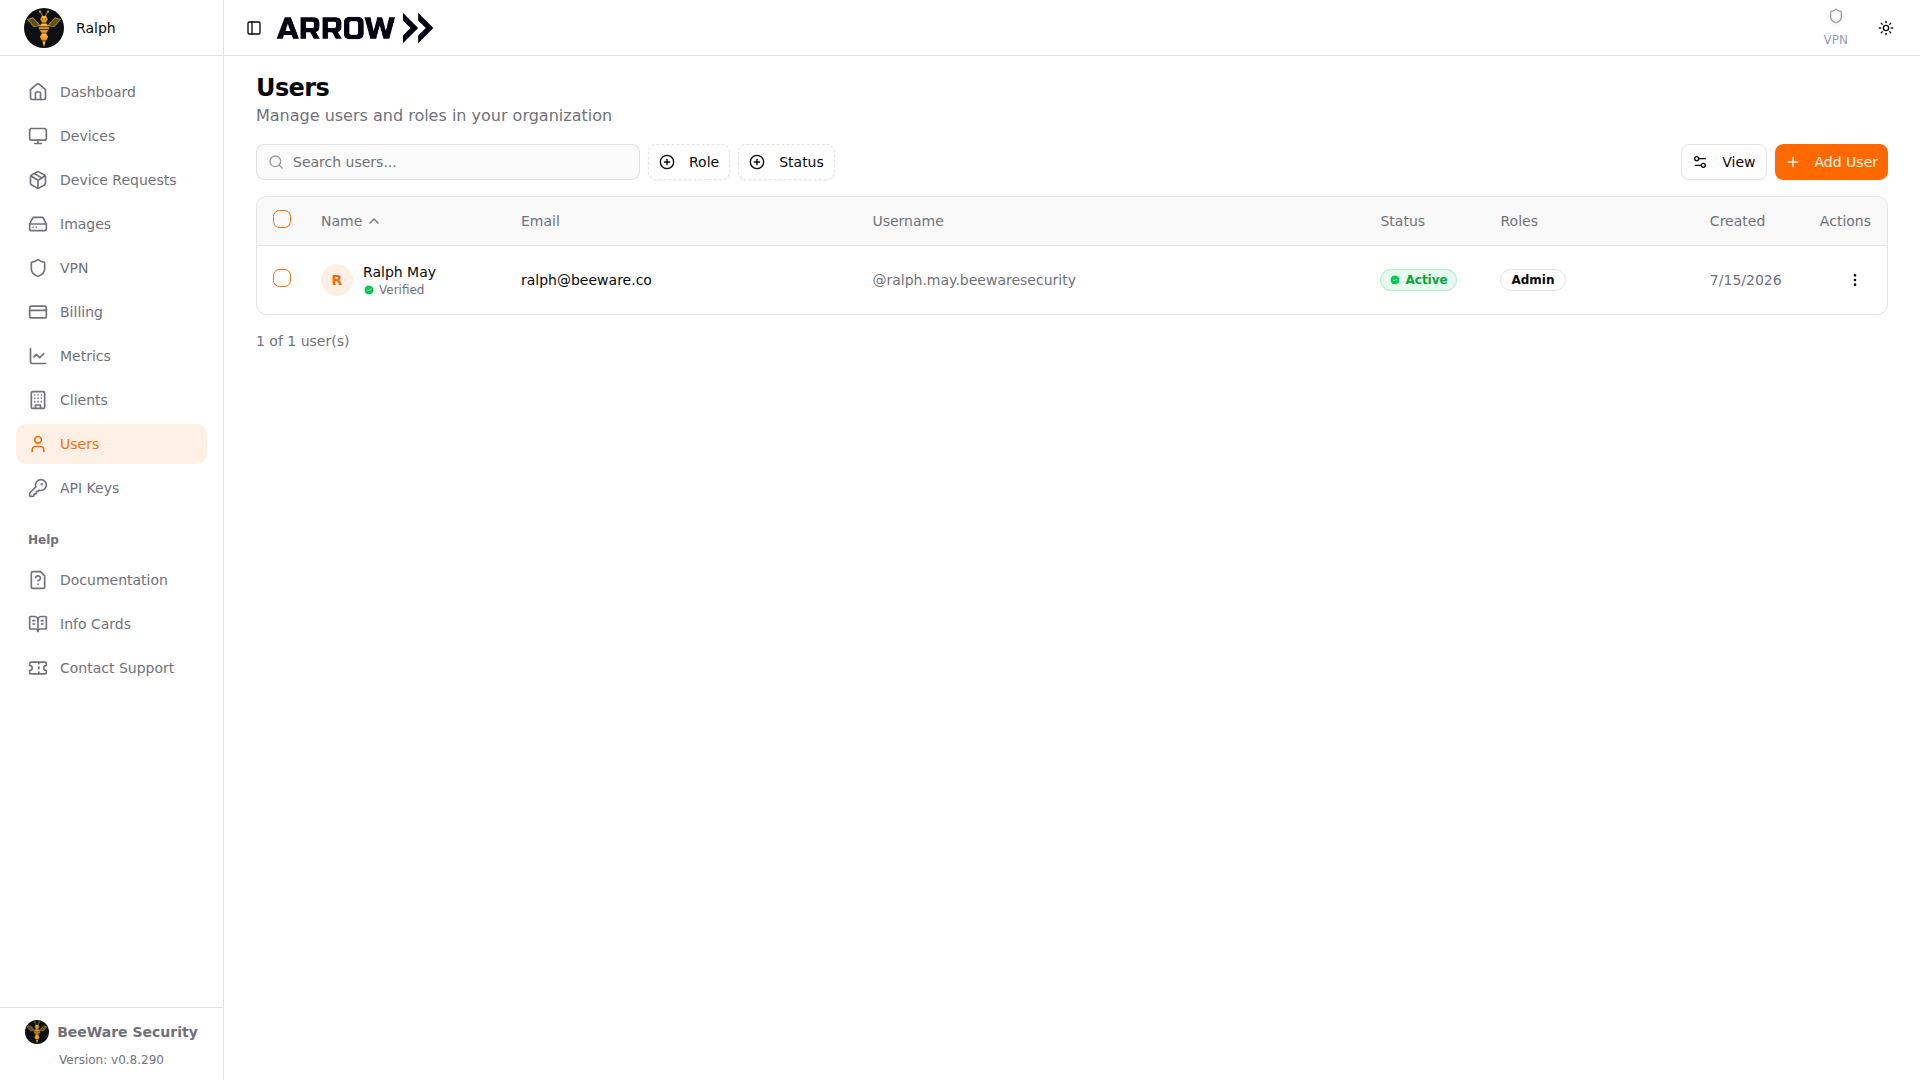
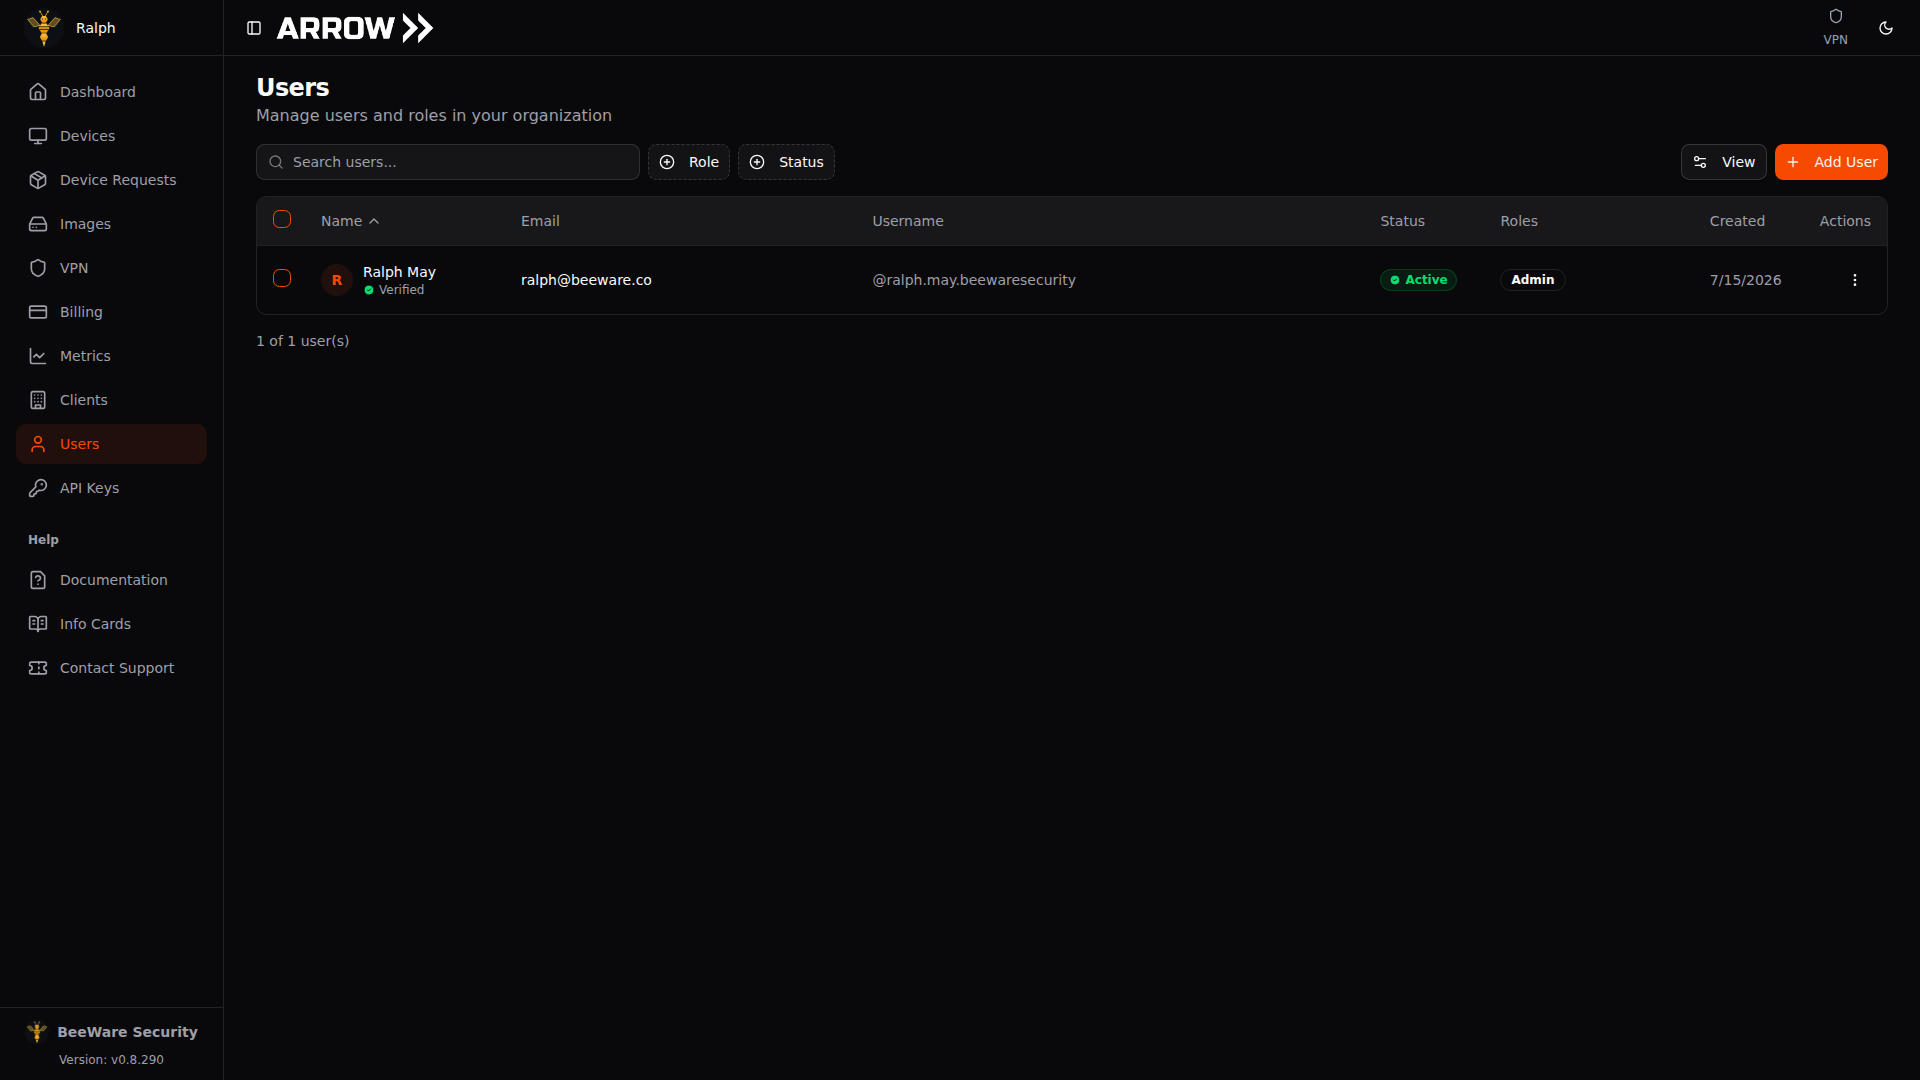
- 1 Search and filter your team by role or status.
- 2 Add a new member here.
- 3 Each member shows their status, roles, and an actions menu to edit, change roles, or remove them.
Each row gives you the member’s name (with a Verified indicator once their identity is confirmed), the email they sign in with, their unique username, their status, the roles they hold, and the date they were added. Use the search box to match on name or email, filter by role or status, and use the View control to pick which columns show. A counter at the bottom tells you how many members match your search and filters.
Adding a member
Section titled “Adding a member”Click Add User in the top right to open the Add New User dialog and fill in the new member’s details.
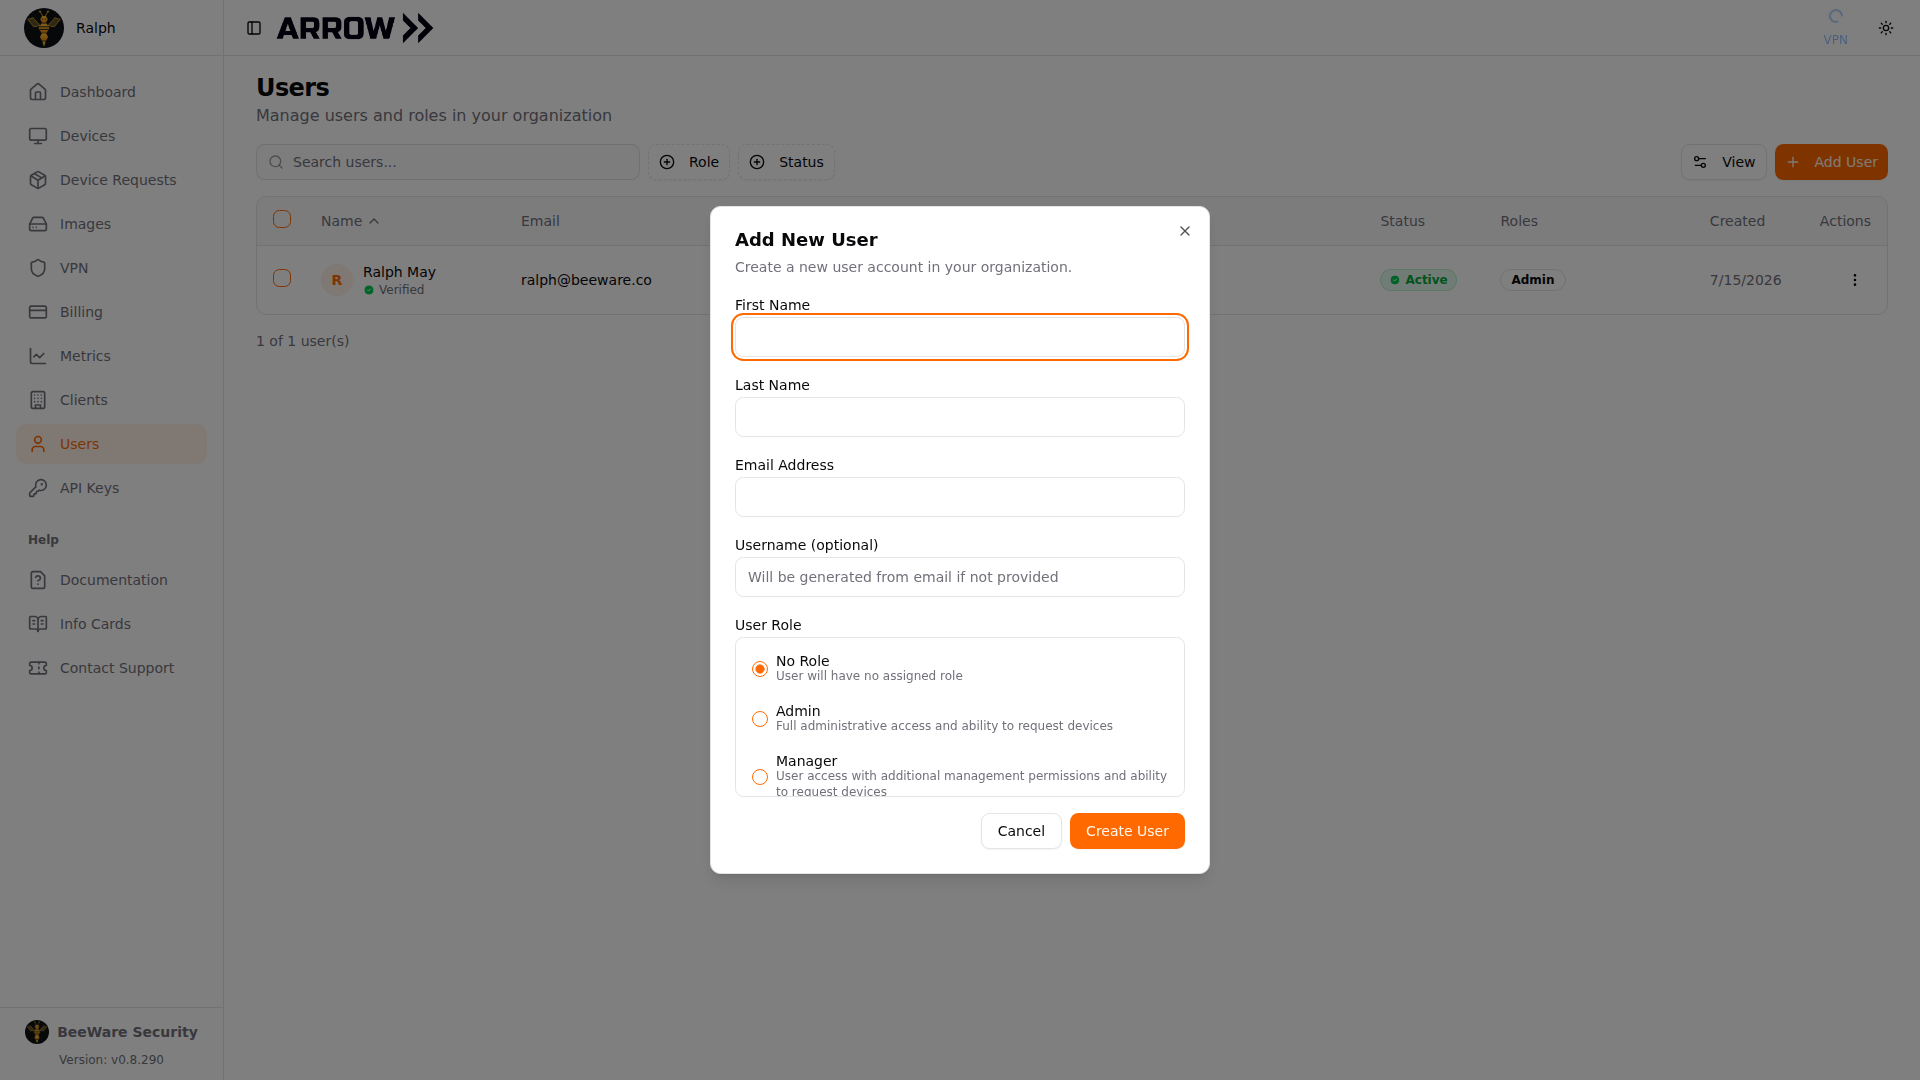
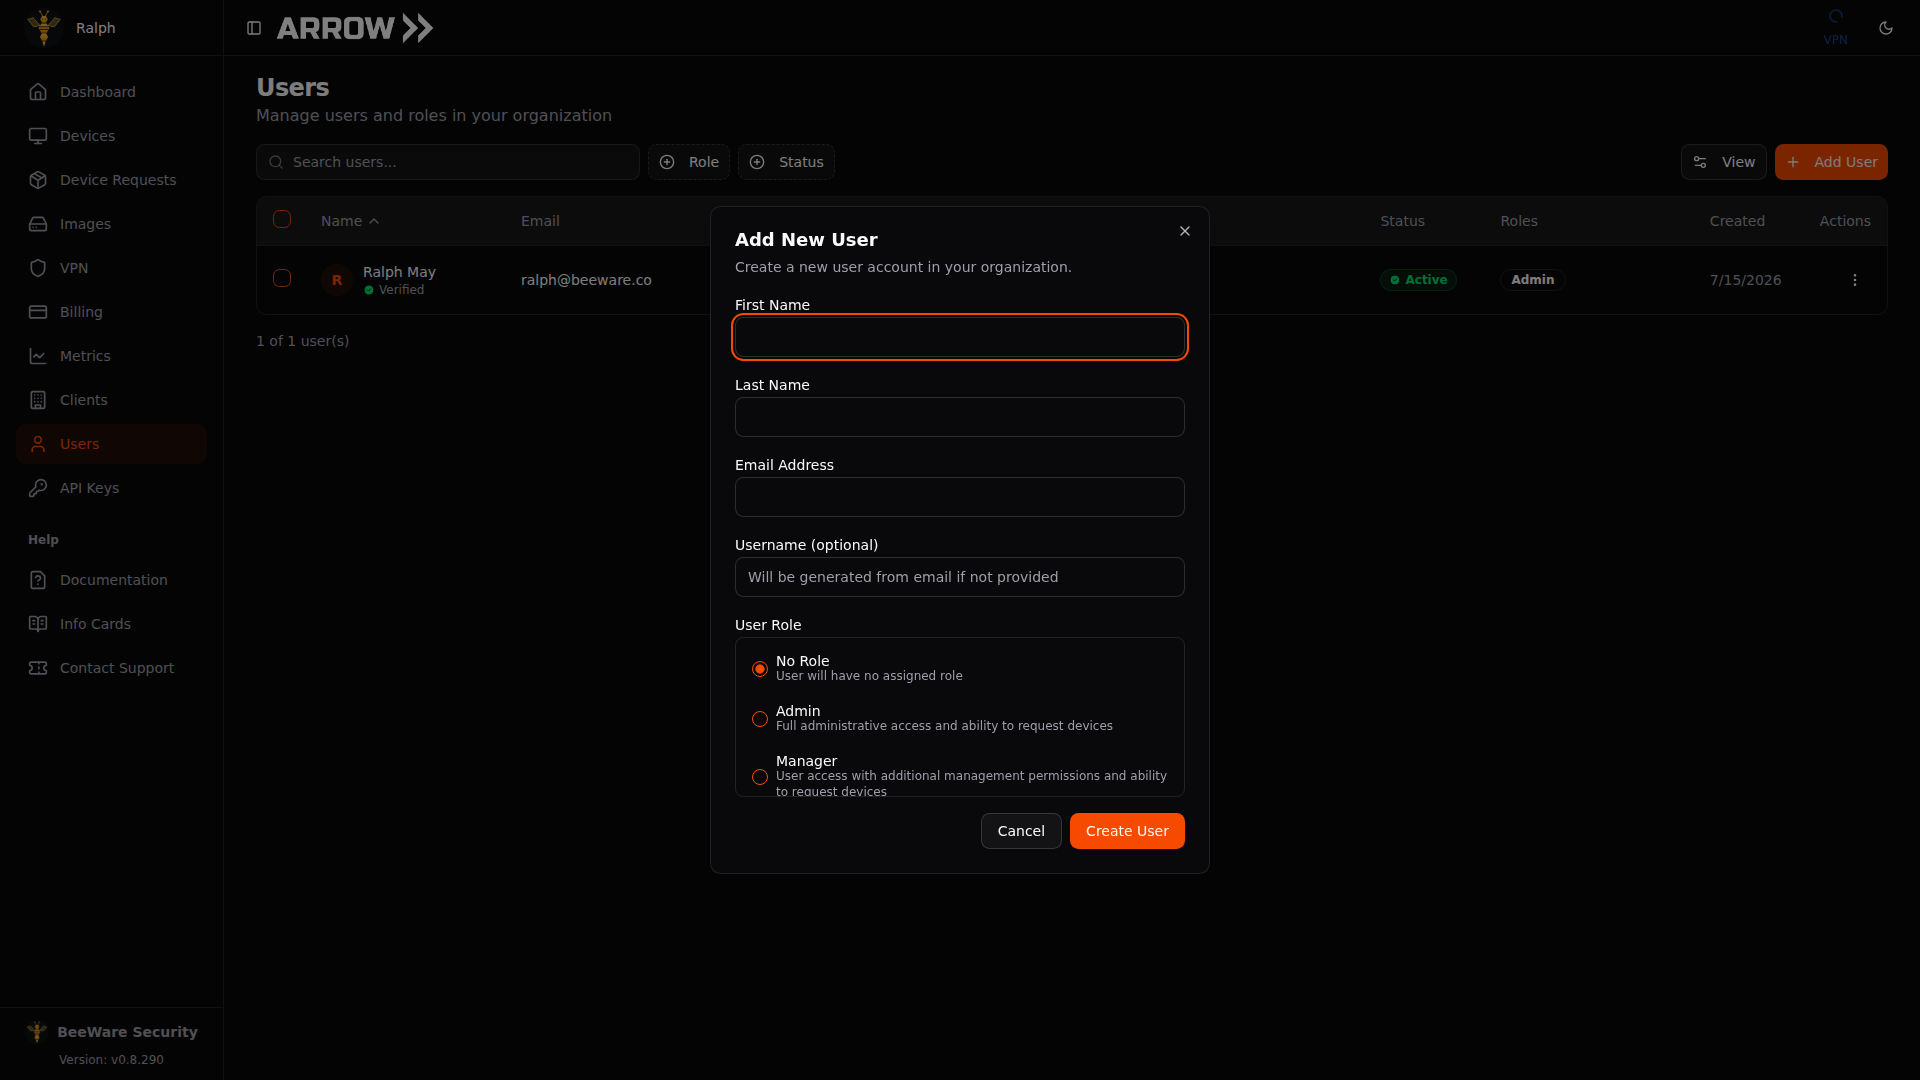
The Add New User dialog, where you enter the member's name, email, optional username, and role
The Add New User dialog, where you enter the member's name, email, optional username, and role
Enter the first and last name and the Email Address, which is required and is how the member is identified. You can set a Username, or leave it blank and let ARROW generate one from the email. Pick the User Role to assign now, or choose No Role and set it later; the selected role shows as a badge so you can confirm it before saving. Save the dialog and the member appears in the list.
Note If your organization uses single sign-on (SSO), member identities live in your identity provider, and that is where sign-in and verification happen. Roles and access within ARROW are still managed here.
Editing roles and removing members
Section titled “Editing roles and removing members”The actions menu on each row (the vertical dots) offers, depending on your permissions:
- Edit to update the member’s basic details.
- Manage Roles to change the role they hold. The change takes effect immediately, so a member gains or loses access the moment you save.
- Delete to remove the member and revoke their access, after a confirmation step.
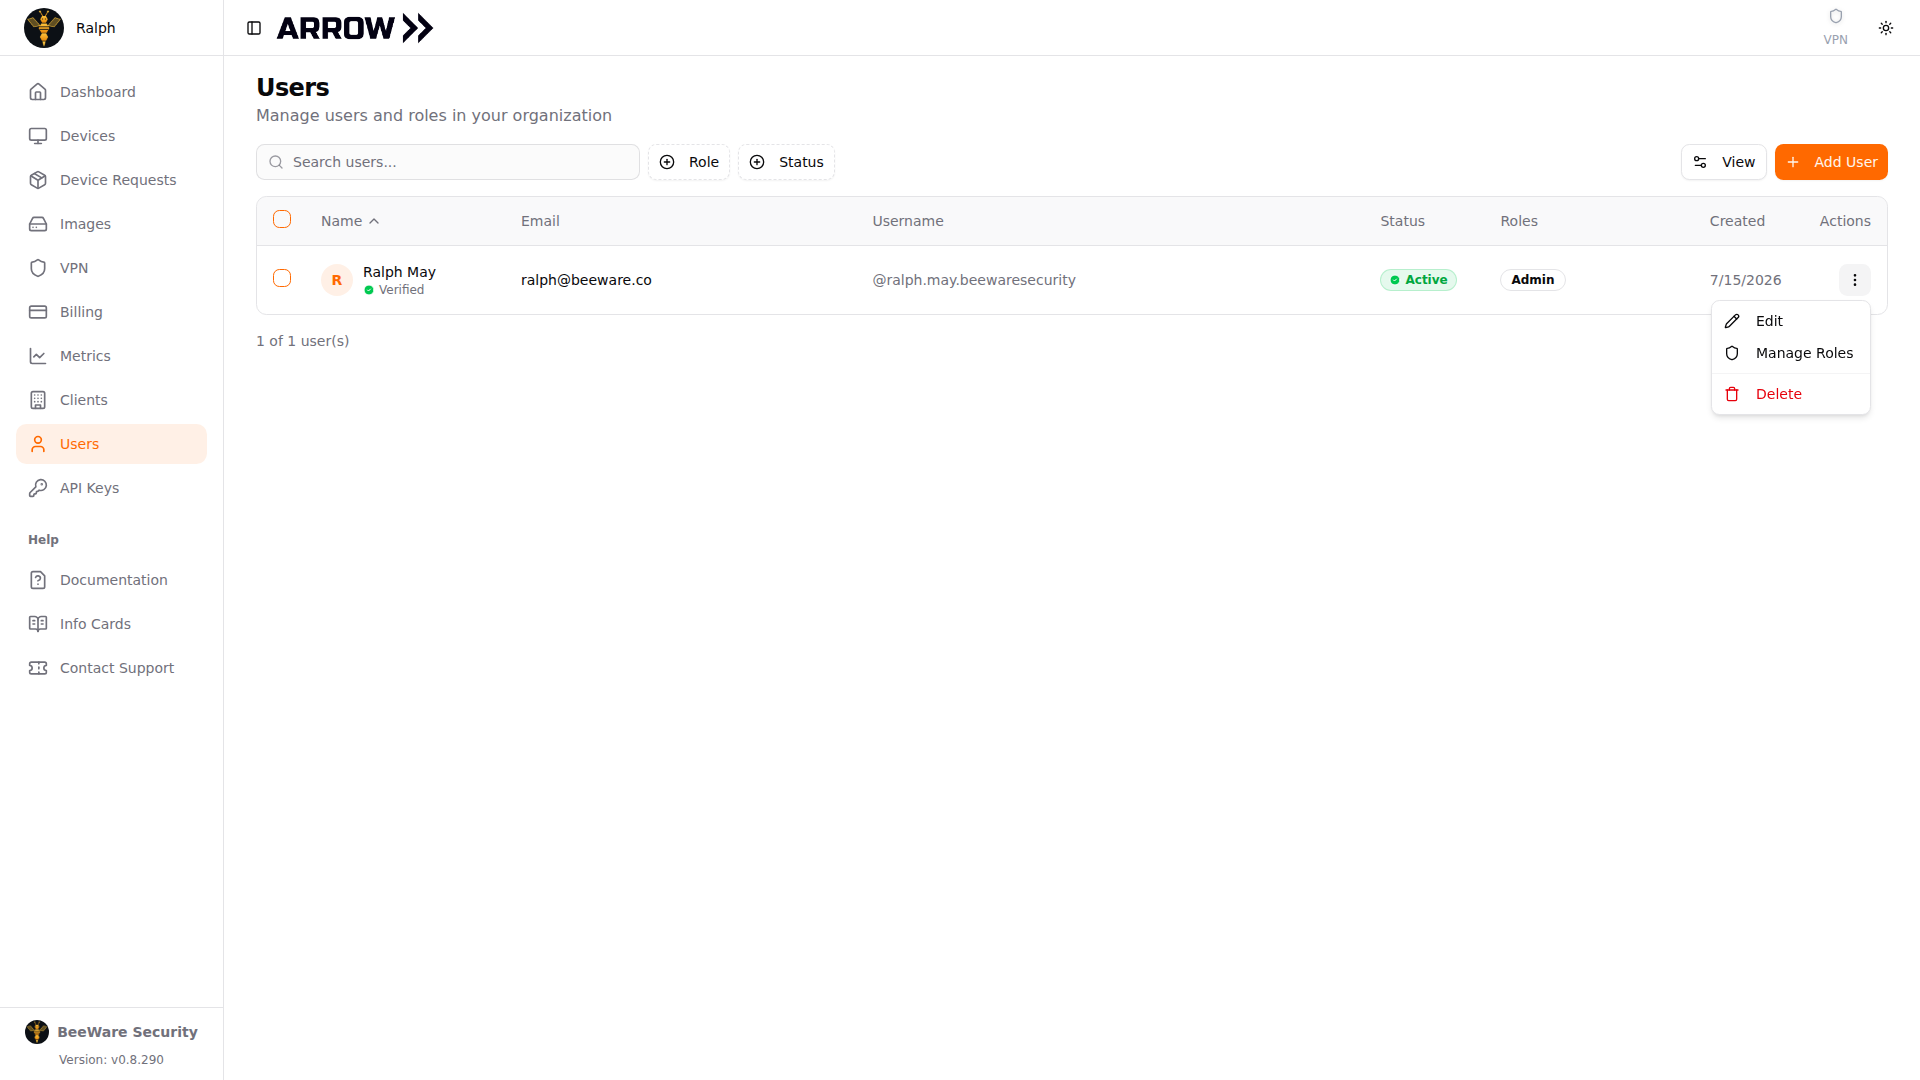
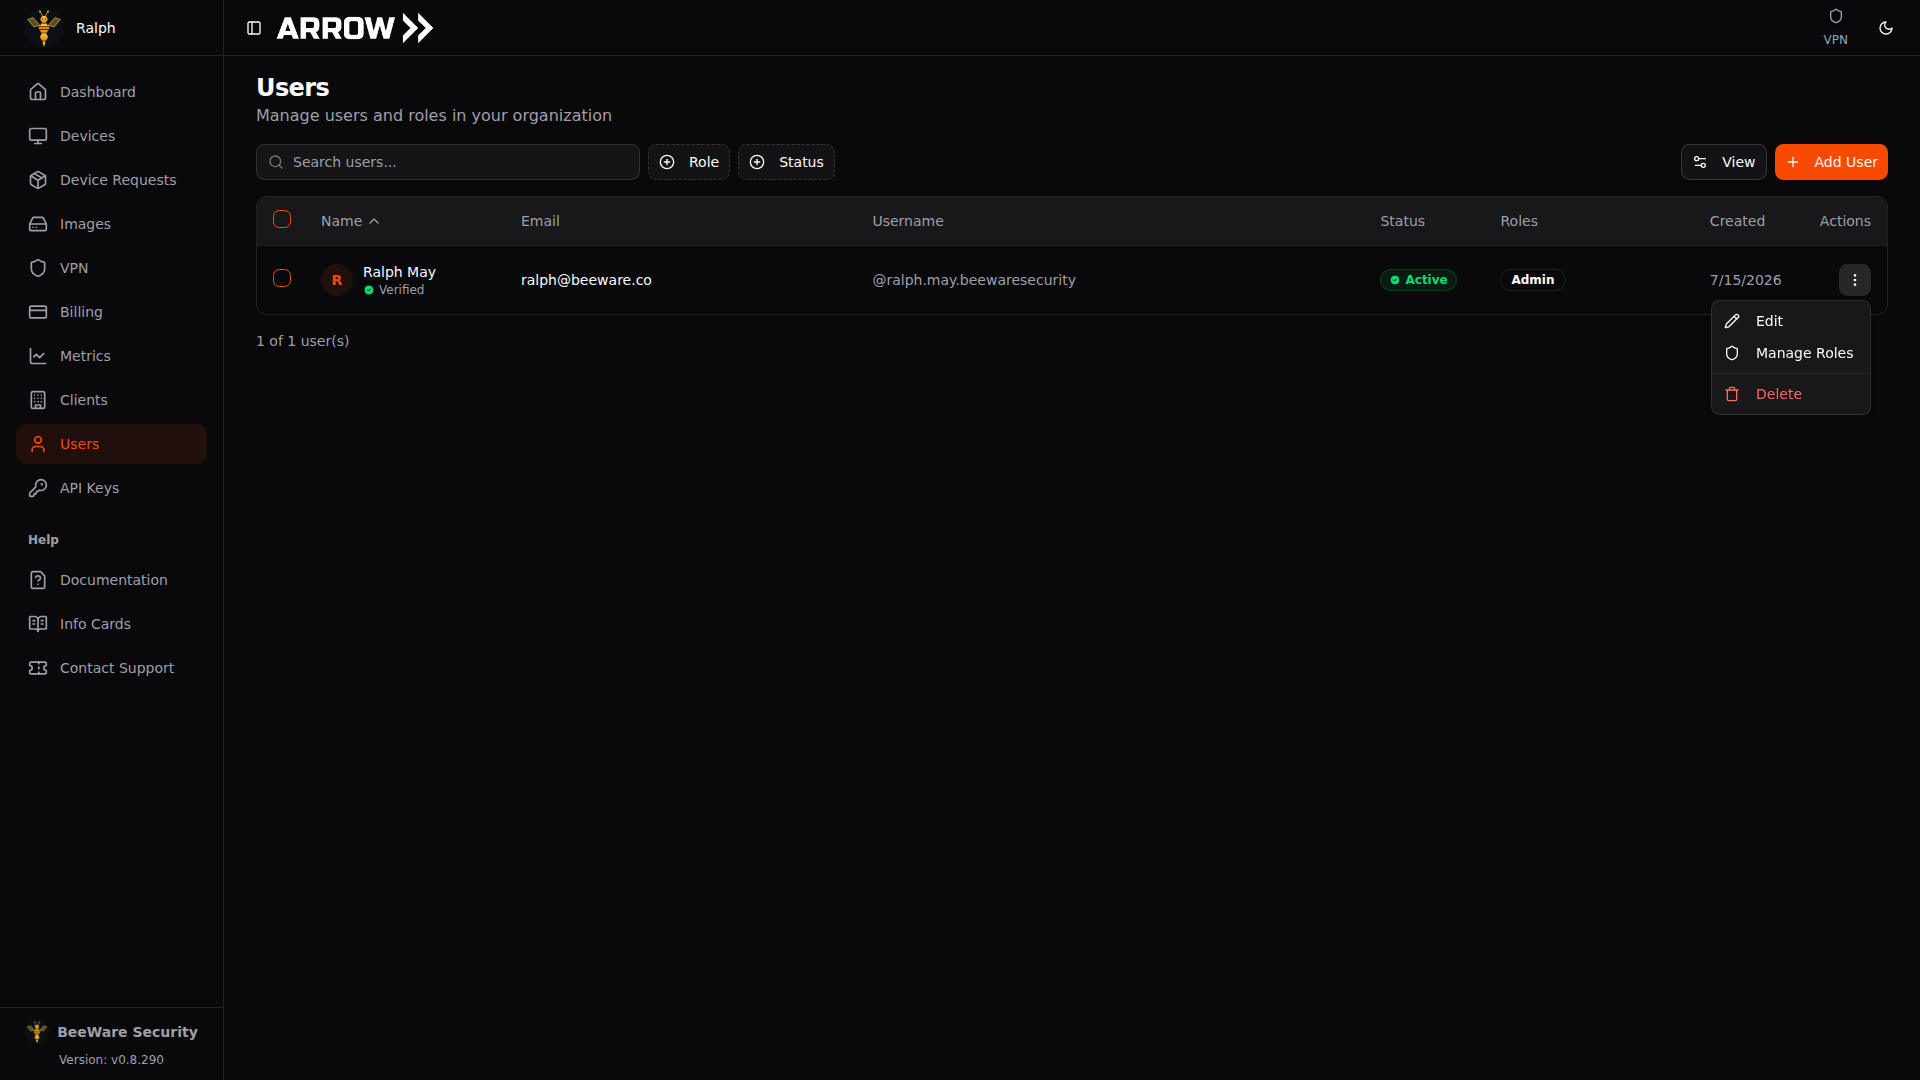
The per-member actions menu, with Edit, Manage Roles, and Delete
The per-member actions menu, with Edit, Manage Roles, and Delete
Choosing Manage Roles opens a dialog that lists every role you can assign, each with a short description of what it grants. Pick one and the Selected Role badge updates so you can confirm the choice, then click Save Roles. Choosing No Role removes the member’s assigned role. To suspend a contractor without deleting their account, use Actions > Deactivate access.
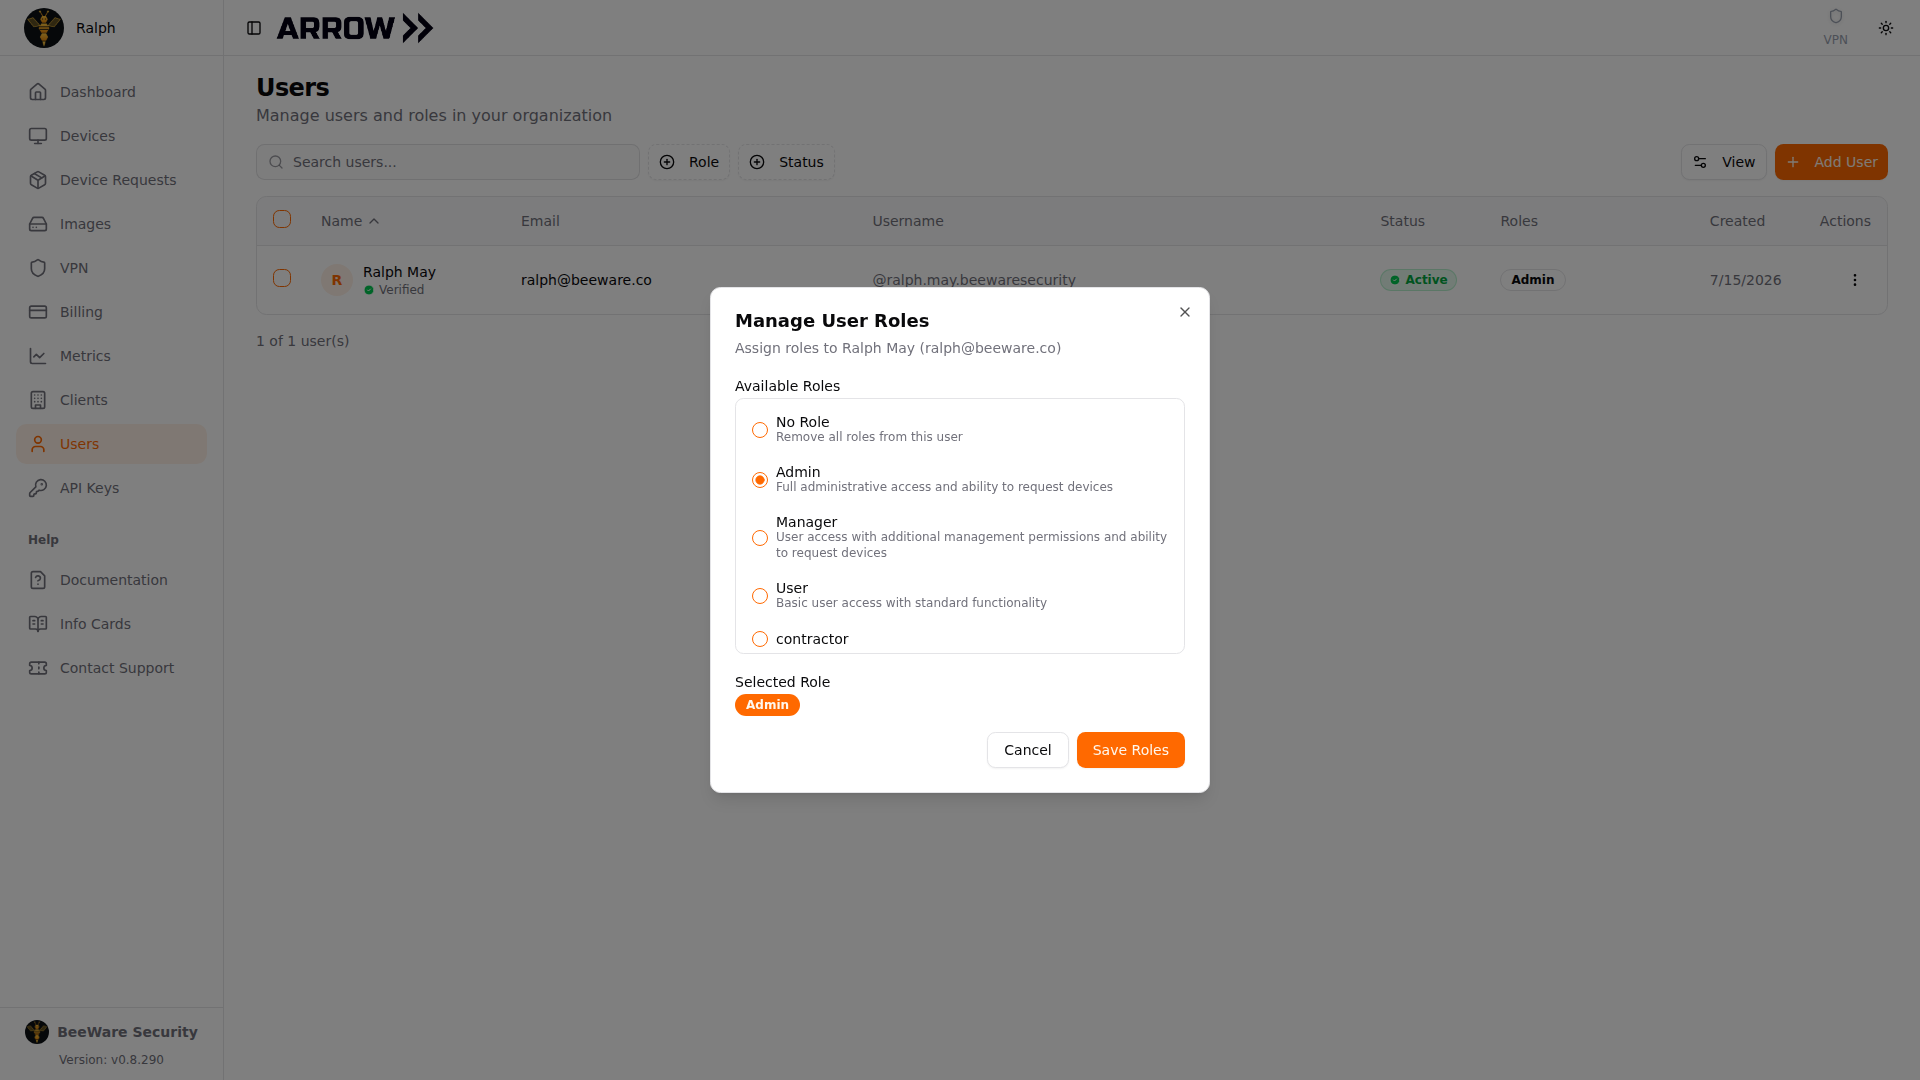
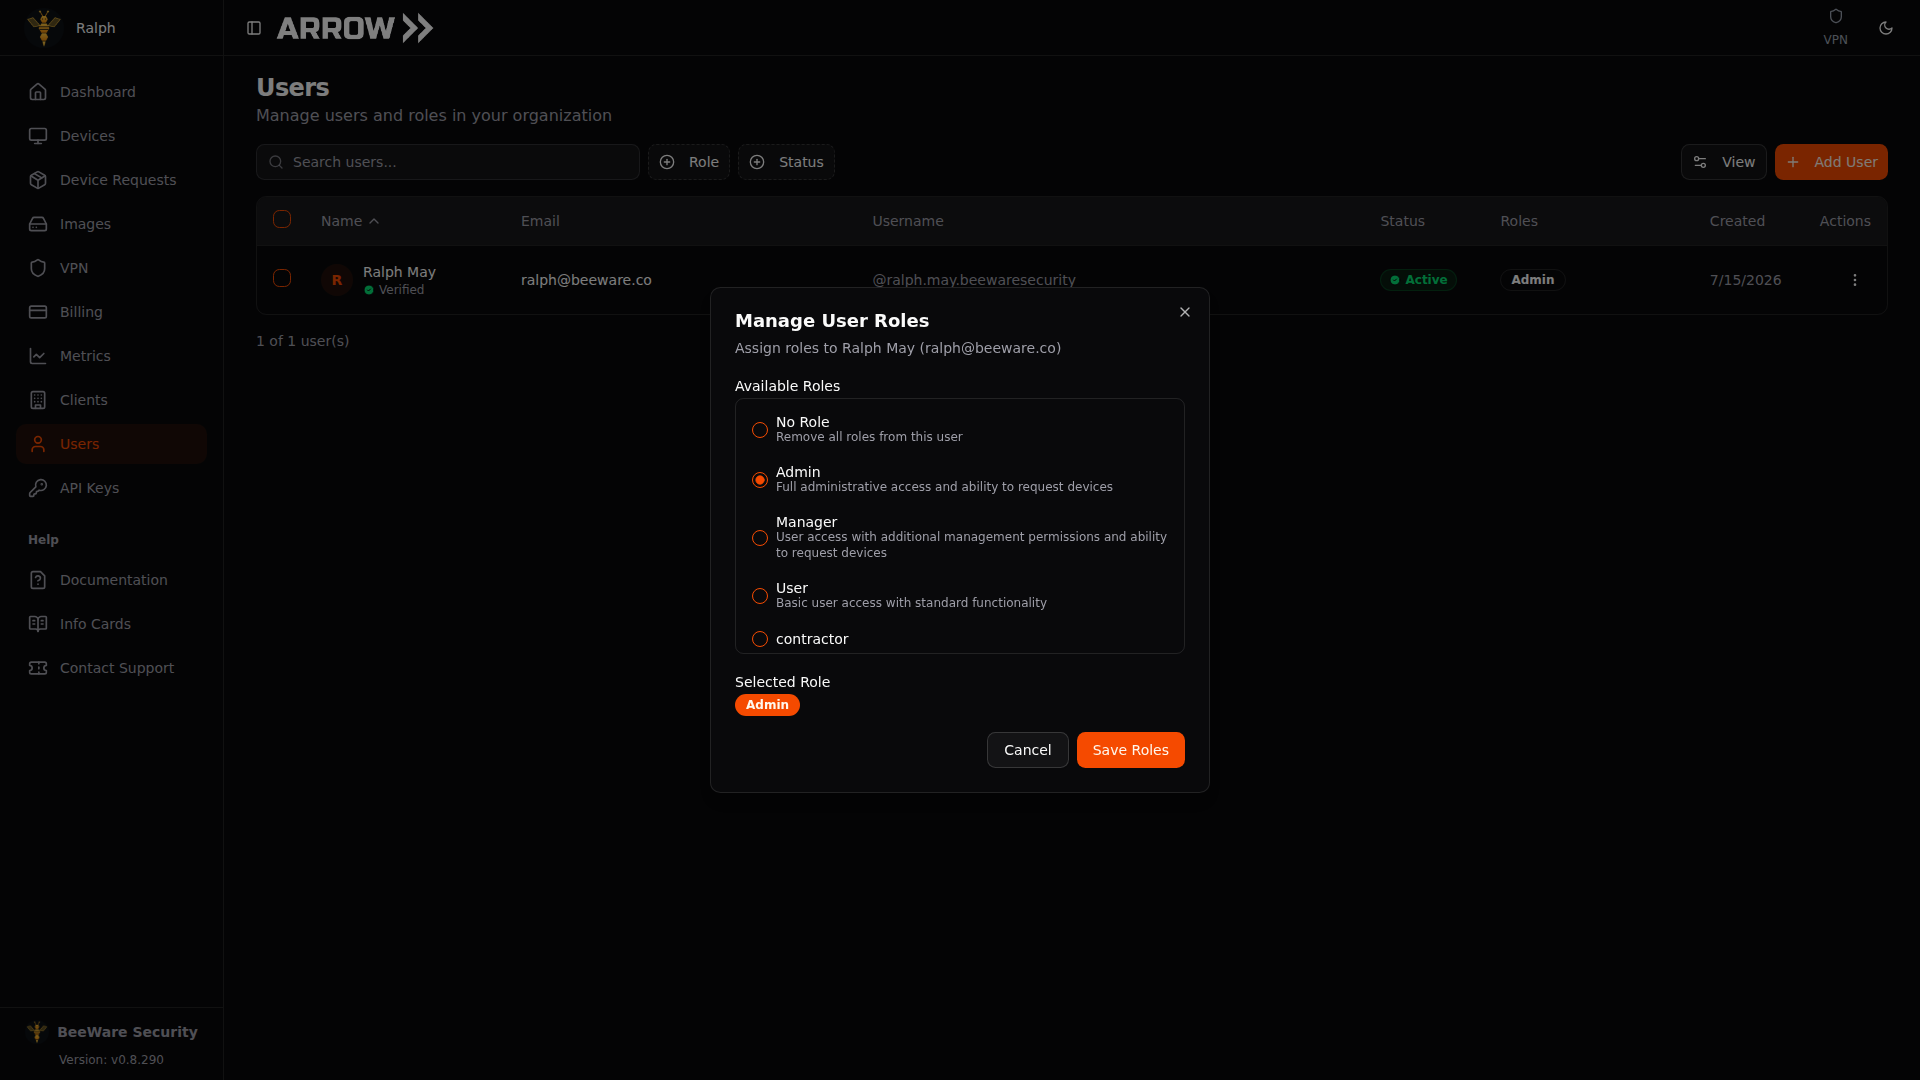
The Manage User Roles dialog, where you pick a role and confirm it before saving
The Manage User Roles dialog, where you pick a role and confirm it before saving
What roles control
Section titled “What roles control”A member’s role decides what they can reach in ARROW, and it comes down to two levels of access.
An organization administrator (shown as Admin in the Roles column) can manage the organization itself, including other members and their roles, clients, and device requests. Everyone else is a member with the day-to-day features their role allows, but without those organization-wide controls.
Give each person the least access they need to do their work, and adjust it through Manage Roles whenever that changes. Roles take effect right away.
Note Managing users and roles requires the right permissions. If you do not see the Add User button or the edit, role, and delete actions, ask an organization administrator to grant you user management access.
Contractor accounts
Section titled “Contractor accounts”Choose Contractor under User Role in Add User to send an invitation with an access expiry. Contractors complete their own account setup and two-factor authentication, then see only their assigned devices.
The Access expires column shows the contractor’s deadline. Their row’s Actions menu offers Extend access and Deactivate access for an active account, or Reactivate access for an inactive or expired account. These controls keep the account and assignments; Delete removes the account.
See Managing Contractors for invitations, device assignments, VPN approval, and access changes. Share Contractor Getting Started with the person you invite.