
Getting Started
Getting Started with ARROW
Section titled “Getting Started with ARROW”ARROW is a secure remote network access platform for security teams. Whether you are running a penetration test, a red team, an incident response, a compliance audit, or a managed engagement for a client, you run the whole engagement lifecycle from the ARROW Platform, the web console where you request devices, get them provisioned with the tooling you need, ship them to a client site, and connect to them securely over a VPN from wherever you are.
This guide gets you oriented so you can find your way around and submit your first request.
Who ARROW is for
Section titled “Who ARROW is for”Different people use ARROW for different reasons, and this documentation is written with all of them in mind. You will probably recognize yourself in one of these:
- You run the engagements. You are a penetration tester, red teamer, incident responder, or security consultant, and you need a box on the client’s network fast, reliable access to it from wherever you are, and the tools already in place so you can start working instead of fighting infrastructure. Most of your time is spent in ARROW Control and ARROW Manager on the device itself, reached over the VPN.
- You run the schedule. You are an engagement lead or project manager coordinating clients, timelines, and logistics. You care about getting the right device to the right place before the engagement starts, tracking shipments, and keeping an eye on usage and billing so there are no surprises. You live in Clients, Device Requests, and Metrics.
- You run the account. You are an organization administrator who manages who has access and sets up API keys for automation. Least-privilege access and predictable costs are your priorities.
- You receive the hardware. You are the person at the client site who unboxes an ARROW device, plugs it into power and the network, and lets it come online. Start at Receiving a Device, which covers what to connect, the exact network access the device expects, and what to check if it does not come online. It is written for you and your network team, and needs no ARROW account.
Wherever you fit, the goal of these docs is to explain not just where the buttons are, but why a feature matters and what it affects, so you can make good decisions quickly. If something in the product behaves differently than described, or you are not sure how a step should go, reach out to support rather than guessing; we would rather help than have you stuck.
What you land on
Section titled “What you land on”When you sign in, you start on the Dashboard. It is built to answer the questions you actually have when you open the console. How much of my plan am I using? Are my devices healthy? What happened recently? Where are my devices right now?
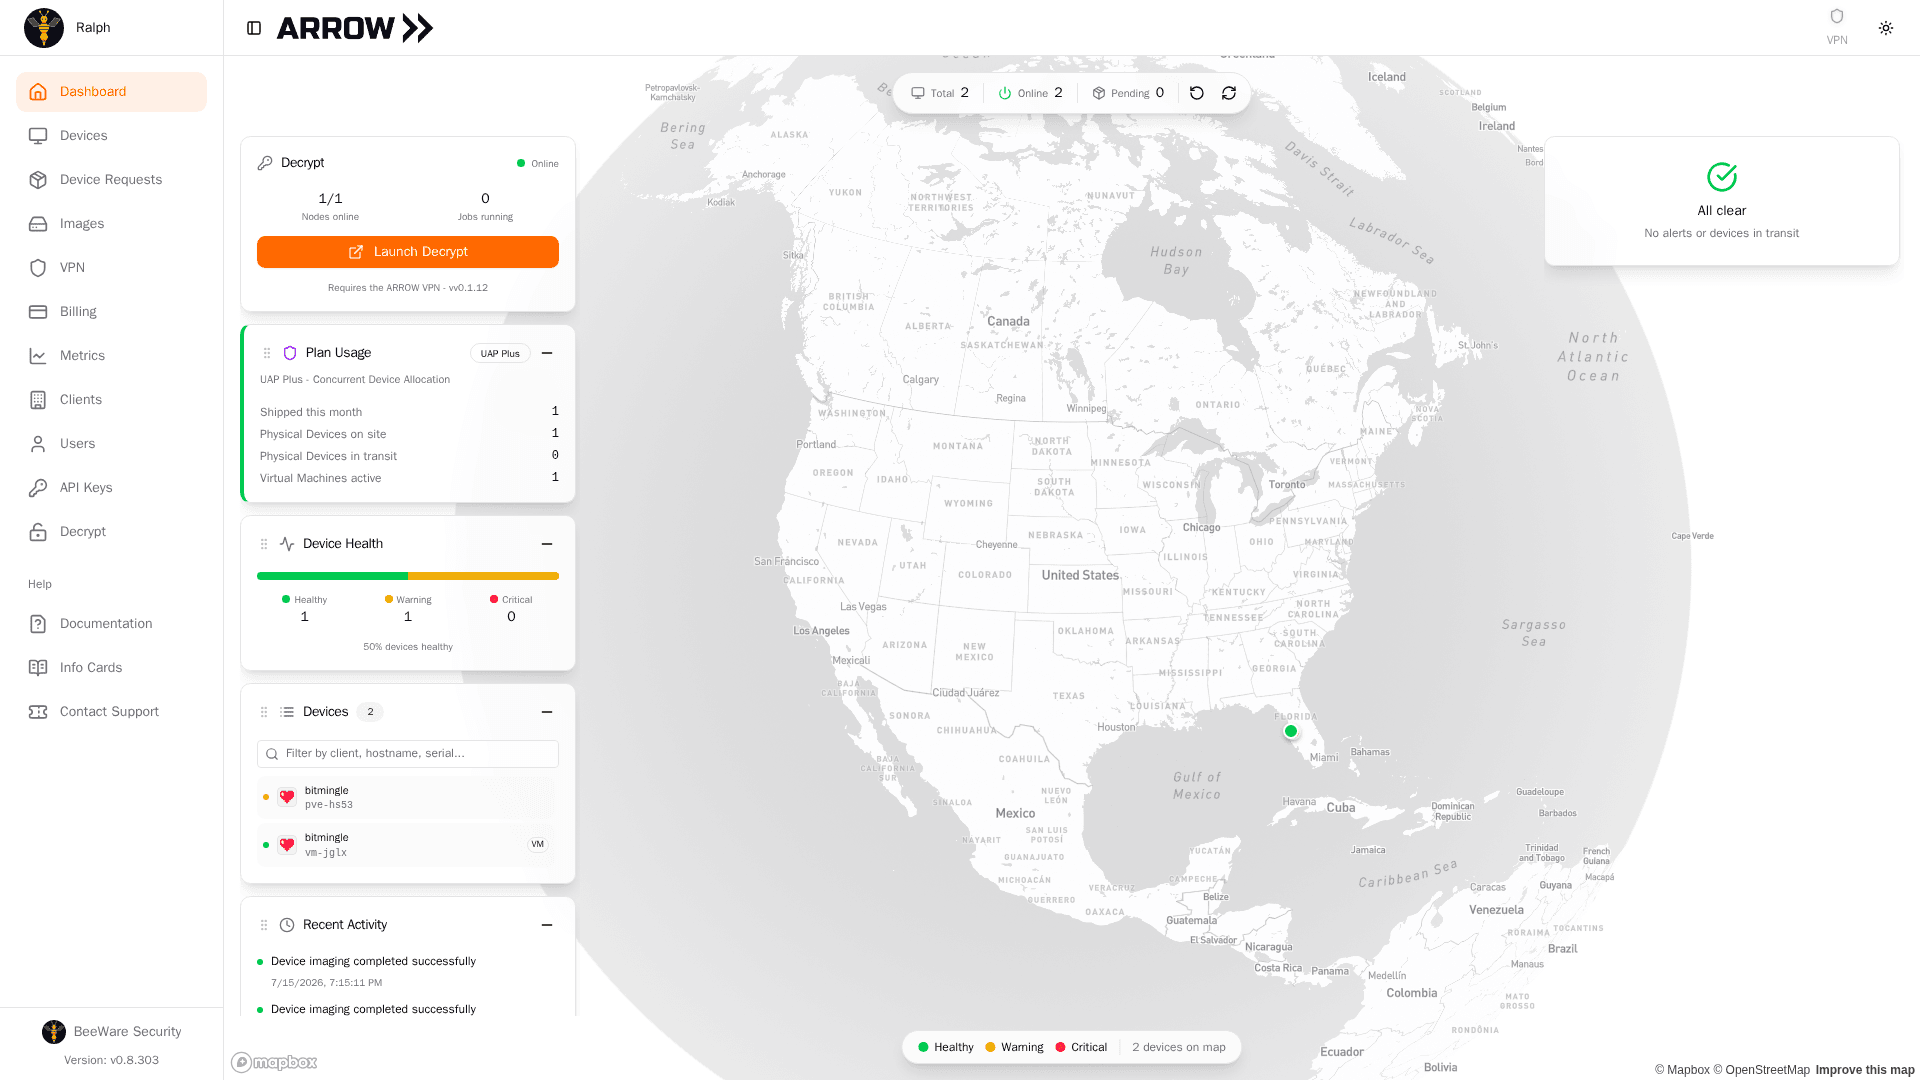
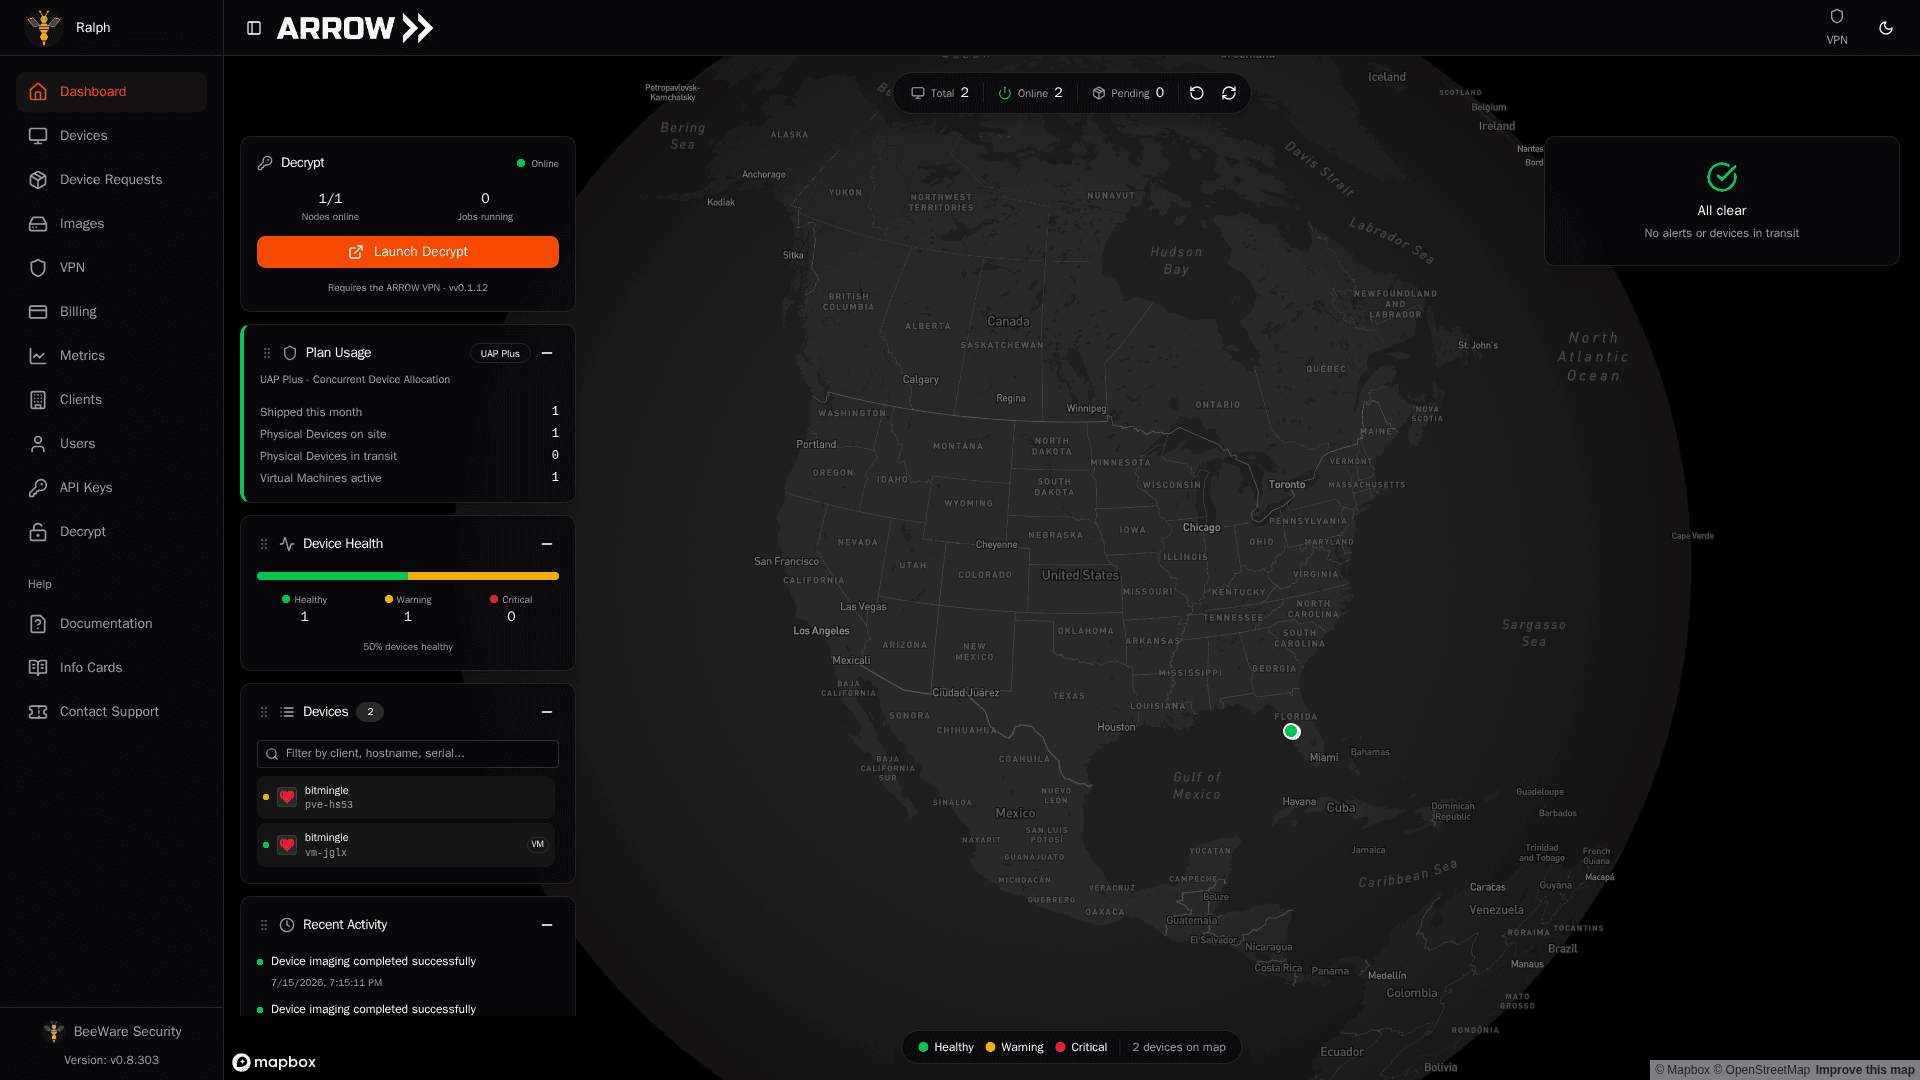
- 1 The sidebar is how you move between every area of the platform.
- 2 Plan Usage shows how many devices you have out against your plan. Watch this as you approach your allocation.
- 3 Device Health gives an at-a-glance breakdown of healthy, warning, and critical devices across your fleet.
- 4 Devices is a searchable list of your devices. Click one to fly to it on the map.
- 5 Recent Activity lists imaging, requests, and fulfillment events as they happen.
- 6 Alert cards flag VMs and devices that are past their return or end date, so nothing is left running or unreturned. When nothing needs attention, this card reads All clear.
Here is what each panel is telling you:
- Plan Usage shows your plan and how many devices you are consuming against it, including your physical and virtual device counts and how many VMs are currently active. This is the number to watch if you are close to your allocation.
- Device Health rolls your whole fleet into a single bar so you can tell at a glance whether anything needs attention (healthy, warning, or critical).
- Devices is a searchable short list of your devices with their status, so you can jump straight to one without leaving the Dashboard.
- Recent Activity is a running feed of imaging, deployment, and request events. Check it after you submit a request to watch it move.
- Map plots your on-site devices on an interactive globe, useful when you are running engagements in more than one location.
- In Transit, Return Alerts, and VM Completion stack down the right side, and each one appears only when it has something for you, whether that is devices with the carrier, engagements past their return date, or VMs that need closing out. A VM in that card can be marked complete or given a new end date from the card itself, and once ARROW has sent a final notice the card shows the date it will close the request on its own (see Notifications). When all three are quiet, the column reads “All clear”.
The panels float over the map, so you can arrange them around whatever you are looking at. Drag a panel by its header to move it, use the minus button in its corner to collapse it, and reset everything with the reset icon in the pill bar at the top of the screen. That pill bar also carries your total and online device counts, your pending requests, and a refresh button.
Finding your way around
Section titled “Finding your way around”Everything lives in the sidebar on the left. The sections map to the stages of an engagement:
- Dashboard is the live overview you land on.
- Devices is your inventory, where you view and manage every device assigned to you or your organization.
- Device Requests is where you ask for a physical device or a VM and track it through provisioning and delivery.
- Images is the catalog of operating system images and their pre-installed tooling. Browse it to confirm a build has what you need before you request it.
- VPN is how you reach your devices from anywhere. Check status and request setup keys here.
- Clients is where you record the organizations you run engagements for, along with their sites and contacts. Devices ship to a client’s location, so this feeds directly into requests.
- Users is where admins add teammates and set what they can do.
- Metrics reports on your request volume, delivery times, and how long deployments run.
- Billing shows your plan usage and invoices.
- API Keys lets you create credentials for the ARROW REST API when you want to automate.
- Decrypt opens your organization’s self-hosted ARROW Decrypt password-recovery cluster, which you launch over the ARROW VPN. Admins set it up here; for everyone else it appears once a deployment is connected and shared with the team.
The Help group at the bottom links to Documentation, Support, and Info Cards. Support is where you ask ARROW support for help with New ticket and follow every ticket you have raised, whether you raised it in the console or by email. Your organization name and the console version sit at the very bottom of the sidebar, and your profile is at the top left.
On a phone, or in a narrow browser window, the sidebar folds away so the page gets the full width. The sidebar toggle at the top left, beside the ARROW logo, slides it back out over the page, and it closes itself as soon as you pick a section. Tapping outside it closes it without going anywhere. On the screens that use tabs, the tab strip scrolls sideways when there are more tabs than fit, so the last one is still reachable.
Who can do what
Section titled “Who can do what”ARROW has three roles, and your admin assigns yours when your account is created:
- Admin can do everything, including billing, user management, and organization settings.
- Manager handles the day-to-day work of managing devices, creating clients, submitting requests, and keeping an eye on team activity.
- User works with their assigned devices, submits requests, and connects over the VPN.
If a button or section described in these docs is not visible to you, it is almost always a role thing. Ask your admin.
Your first request, start to finish
Section titled “Your first request, start to finish”Once you are signed in through your organization’s SSO, the path to a working device looks like this:
- Add the client you are working for under Clients, including the site the device should ship to and the person who will receive it.
- Browse Images to find a build with the right OS and tooling.
- Go to Device Requests and submit a request for that client and image.
- Once the device is provisioned, use the VPN section to connect to it securely.
The Clients step matters more than it looks. When you request a device, you pick a client, and ARROW uses that client’s location and receiver contact as the shipping destination. Get the client right first and the rest of the request is quick.
Where to go next
Section titled “Where to go next”- Device Requests for the full request and tracking workflow
- Receiving a Device for the site that unboxes an ARROW device, and its network team
- ARROW Device Specs for the ARROW hardware specifications
- OBSIDIAN Device Specs for the OBSIDIAN hardware specifications
- VPN Management to set up VPN access to your devices
- Authentication to manage your sign-in settings
Need help?
Section titled “Need help?”- Check the Troubleshooting guide
- Browse the FAQ for common questions
- Email support at [email protected]