
Accessing ARROW Control
Getting into ARROW Control is a two-part job. Get onto the VPN, then sign in with the VM’s own system account. This guide walks through both, and covers what to do when either step misbehaves.
Before you start
Section titled “Before you start”You will need a few things in hand:
- An ARROW VM that is deployed and running, provisioned through ARROW Manager.
- The VM’s system credentials, the username and password for the machine itself.
- A Netbird VPN connection, because ARROW Control is not reachable any other way (see VPN Management).
- A modern browser: Chrome, Firefox, Safari, or Edge.
- The VM’s VPN IP address, which you can pull from the ARROW Portal or your Netbird client.
Finding the VM’s IP address
Section titled “Finding the VM’s IP address”There are two easy ways to get the VPN IP:
- In ARROW Manager, open the Proxmox section, find your VM in the list, and copy the VPN IP shown next to it.
- In the Netbird client, open the peers list, find the VM by its hostname, and copy its assigned IP.
Connecting
Section titled “Connecting”Step 1: Get on the VPN
Section titled “Step 1: Get on the VPN”ARROW Control only answers over the Netbird VPN, so this always comes first.
- Open the Netbird client on your computer.
- Confirm the status shows “Connected”.
- Confirm your ARROW VM shows up in the peers list.
If you are not connected, the VPN Management guide will get you set up.
Step 2: Open ARROW Control
Section titled “Step 2: Open ARROW Control”Point your browser at the VM’s VPN IP on port 20443:
https://<vm-vpn-ip>:20443For example, https://100.64.196.14:20443
Step 3: Accept the certificate
Section titled “Step 3: Accept the certificate”On first access your browser will flag a security warning, because ARROW Control uses a self-signed certificate on the VPN. This is normal and safe to proceed past:
- Chrome or Edge: click “Advanced”, then “Proceed to [ip-address] (unsafe)”.
- Firefox: click “Advanced…”, then “Accept the Risk and Continue”.
- Safari: click “Show Details”, then “visit this website”.
If you would rather not see the warning at all, your administrator can install a custom TLS certificate on the VM.
Signing in
Section titled “Signing in”ARROW Control authenticates against the VM’s system accounts, the same credentials you would use to SSH in. There is no separate ARROW Control password. On the login screen, enter your Username (your system account name, for example arrow) and your Password, then click Login or press Enter. When the credentials check out, the dashboard opens.
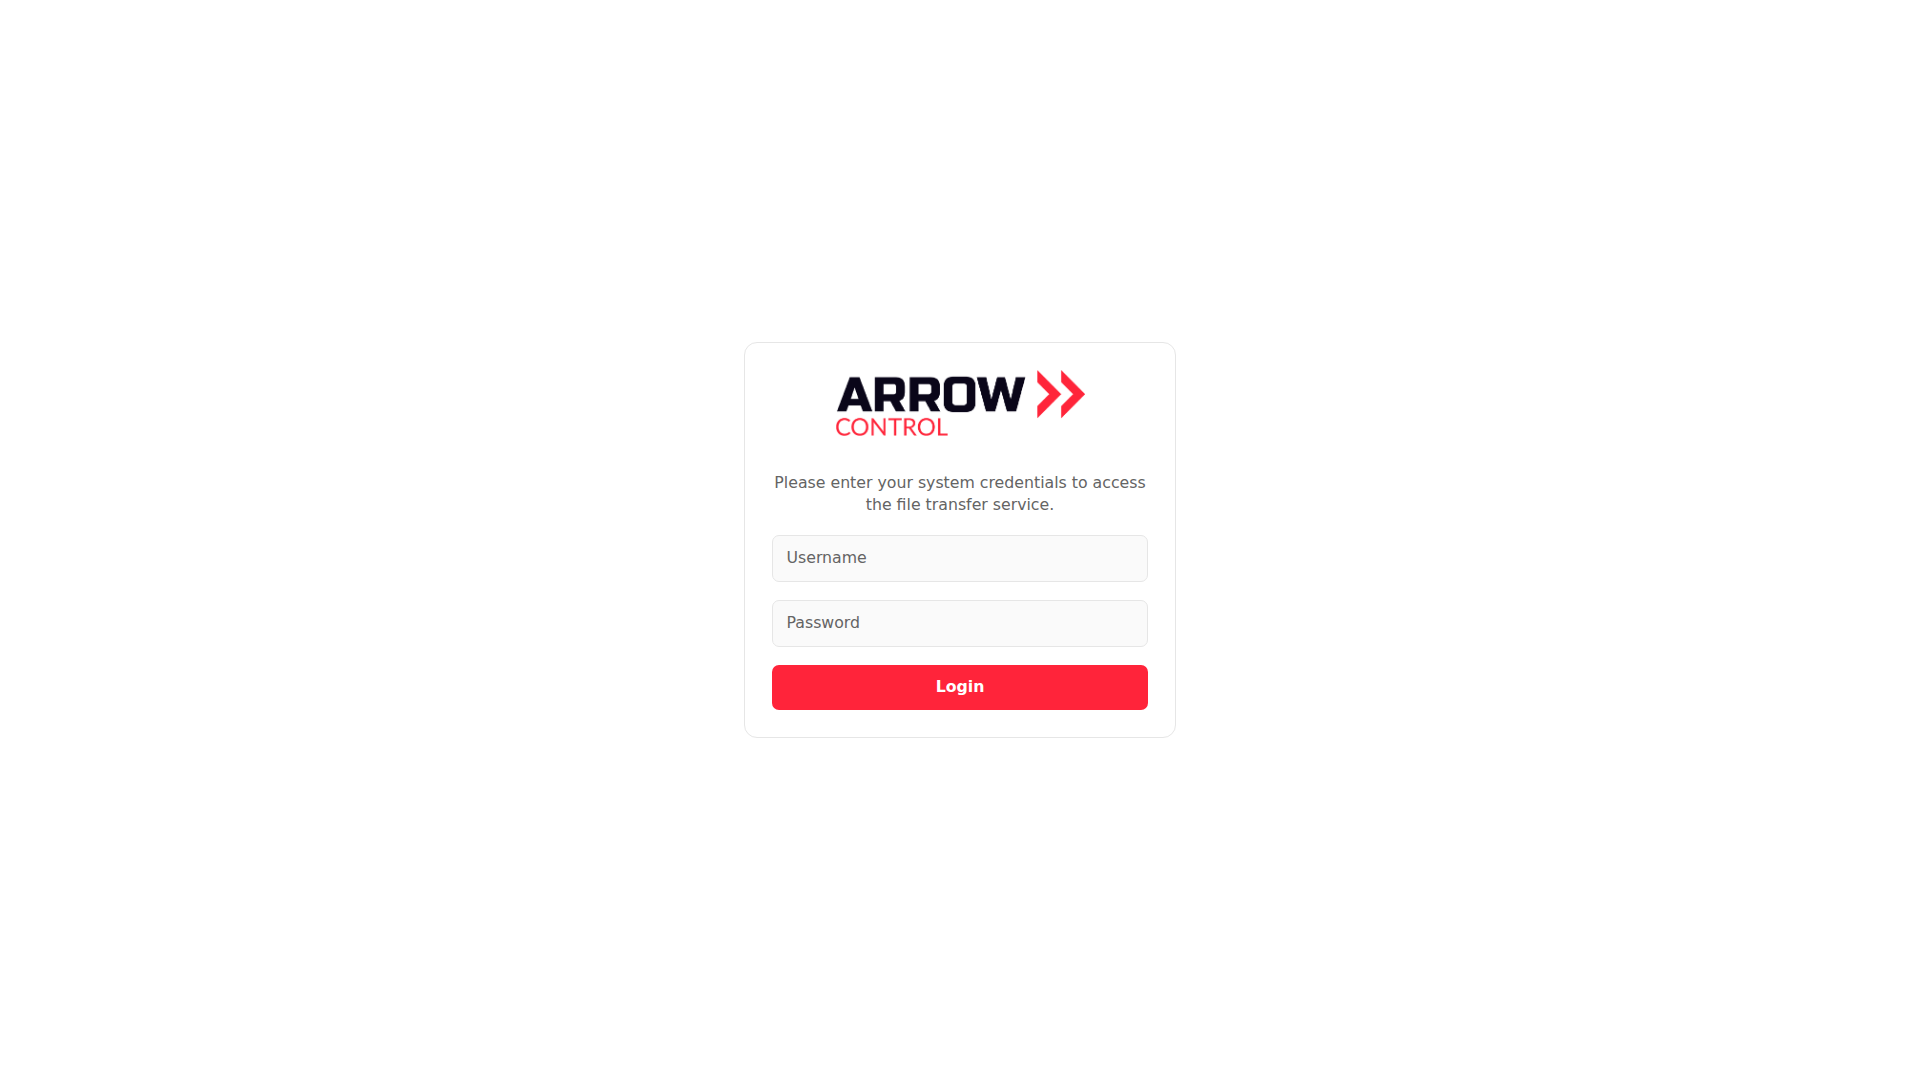
Sign in with your VM system credentials on the ARROW Control login screen.
Sign in with your VM system credentials on the ARROW Control login screen.
When login does not go smoothly
Section titled “When login does not go smoothly”| What you see | What to try |
|---|---|
Cannot reach https://vm-ip:20443 | Confirm the VPN is connected, the VM is running, and the IP is right. |
| ”Connection refused” | Make sure ARROW Control is running on the VM and port 20443 is reachable over the VPN. |
| ”Invalid credentials” | These are system credentials, not console credentials. Check Caps Lock, and try SSHing in to confirm the account works. |
| Session expired | Sign in again. |
| Certificate warning keeps returning | Clear the browser cache, try another browser, or ask your administrator about a custom certificate. |
| Root login fails | Root login is disabled by default. Use a non-root system account. |
What the dashboard shows you
Section titled “What the dashboard shows you”Once you are in, the dashboard is the first screen, and it is built to tell you at a glance whether the VM is healthy and what you might want to do next:
- Status strip: the top of every screen carries the VM hostname and VPN IP on the left, live CPU, RAM, and uptime in the center, and the clock, your user, and Logout on the right.
- Quick Actions: buttons to open a terminal or launch VNC right away, plus live counts of active VNC connections, terminal sessions, and running proxies.
- Live meters: CPU, RAM, and storage usage as large, real-time percentages.
- VM location: a map pinning where the VM is hosted.
- Netbird VPN and Network panels: the VM’s VPN IP, hostname, interfaces, and current network activity.
- Status bar: the bottom confirms the live connection (“WS Connected”), the ARROW Control version, and session counts.
The navigation rail
Section titled “The navigation rail”The left edge is an icon rail. Hover an icon for its label, click to open that section, and the active section stays highlighted in red. The sections are Dashboard, File Manager, Terminal, Terminal Logs, VNC, Pivot, Processes, Software, Audit Logs, and Settings.
Signing out
Section titled “Signing out”Click Logout in the top-right corner to end your session and return to the login screen. Make a habit of signing out when you are done, especially on a shared computer.
Staying secure
Section titled “Staying secure”A few habits keep access to a deployed VM tight. Always come in over the VPN, keep the system password strong and unique, and sign out when you finish, particularly on shared machines. Give each person their own system account rather than sharing credentials, keep your browser current for its security fixes, and let your administrator know if you spot anything unusual in the activity log.
Next Steps
Section titled “Next Steps”With the dashboard open, here is where to go next:
- ARROW Control Overview - The full tour of what ARROW Control does.
- File Management - Browse and manage files on your VM.
- Terminal & VNC Access - Open terminals and the remote desktop.
- System Monitoring - Live metrics and process visibility.
- Application Management - Install security tools.
Related Documentation
Section titled “Related Documentation”- ARROW Control Overview - Complete feature overview
- VPN Management - Netbird VPN setup and configuration
- ARROW Manager Overview - VM deployment and management
- Troubleshooting - General troubleshooting guide