
Clients
Clients
Section titled “Clients”Clients are the organizations you run engagements for. Each client record holds the company details, one or more shipping and testing Locations, and the Points of Contact you coordinate with. You manage them from the Clients section of the console.
The reason to keep clients current is simple. They drive your device requests. When you request a physical device or a virtual appliance, you pick the client it is for, and ARROW ships it to that client’s location using the receiver contact you set here. An out-of-date address on a client record means a device that shows up in the wrong place. Get the client right and every request for it is faster and safer.
The Clients list
Section titled “The Clients list”Open Clients from the sidebar to see every client in your organization.
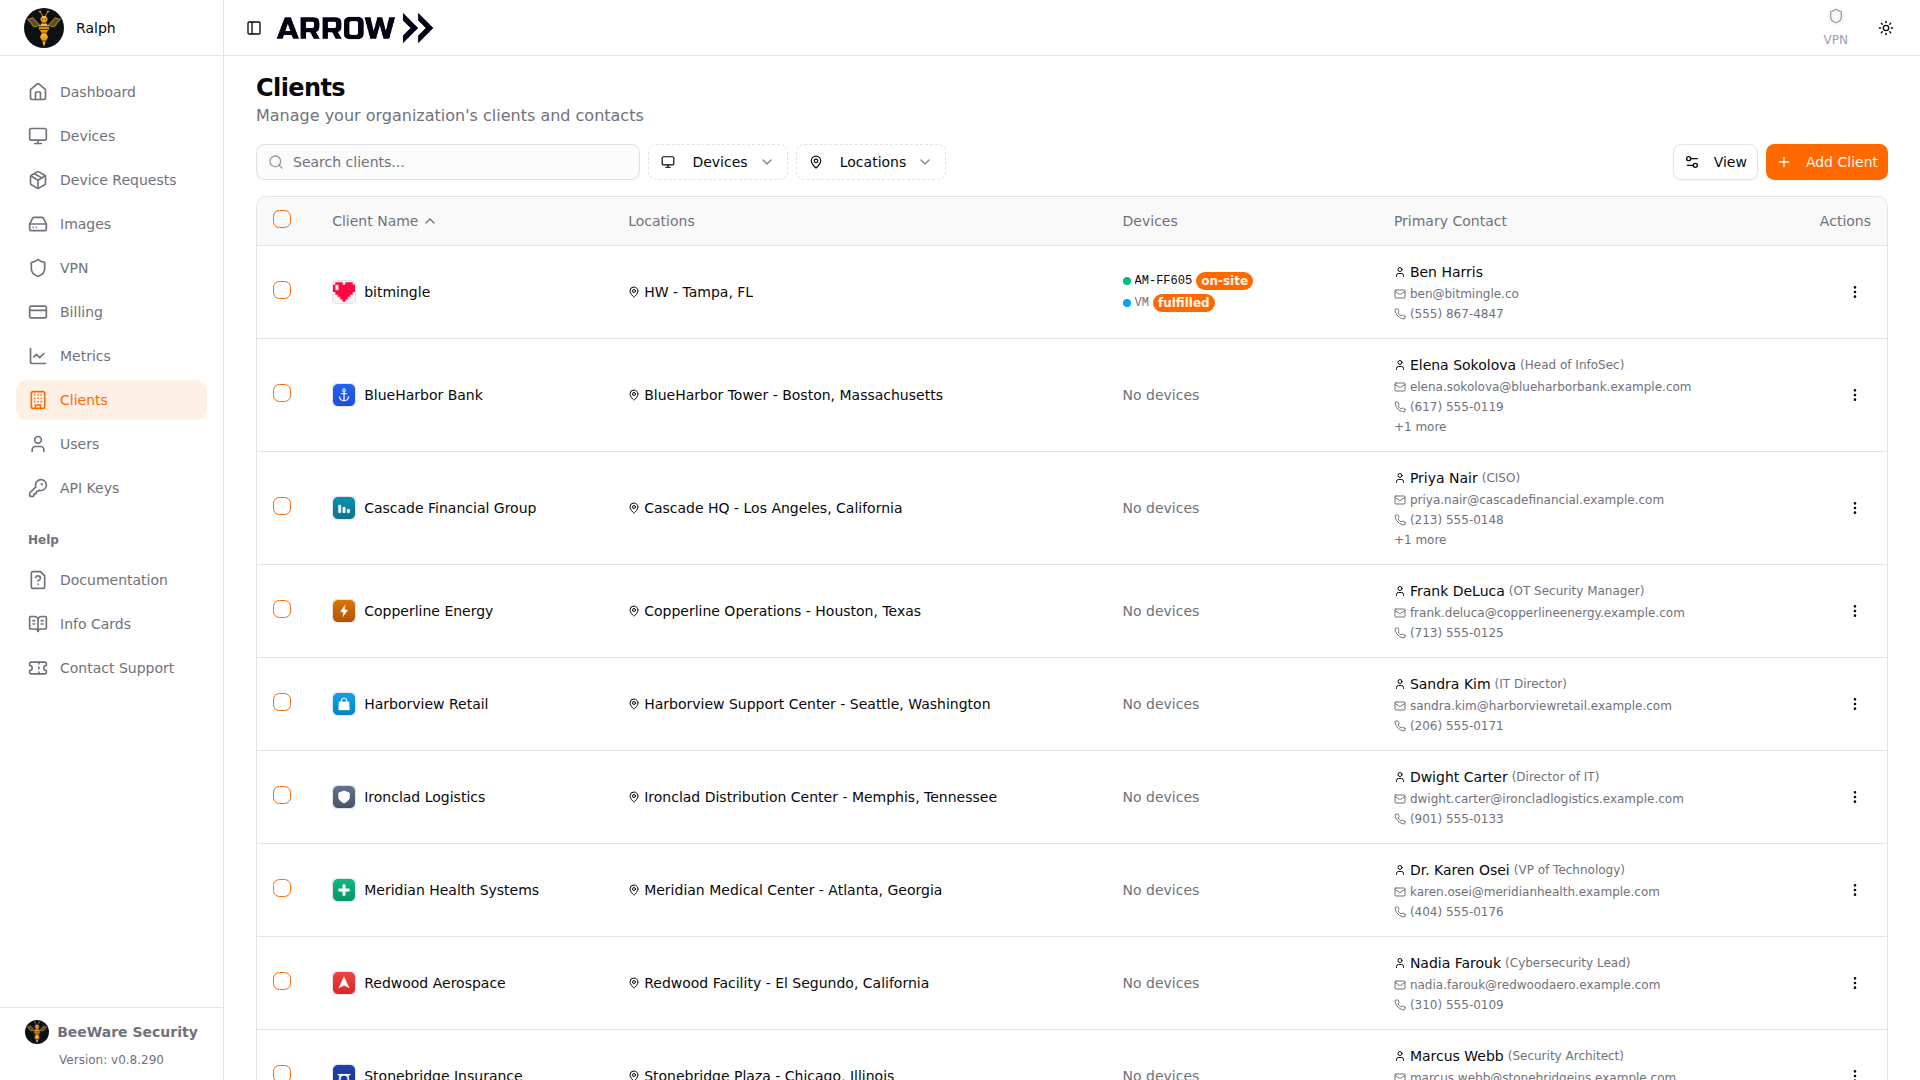
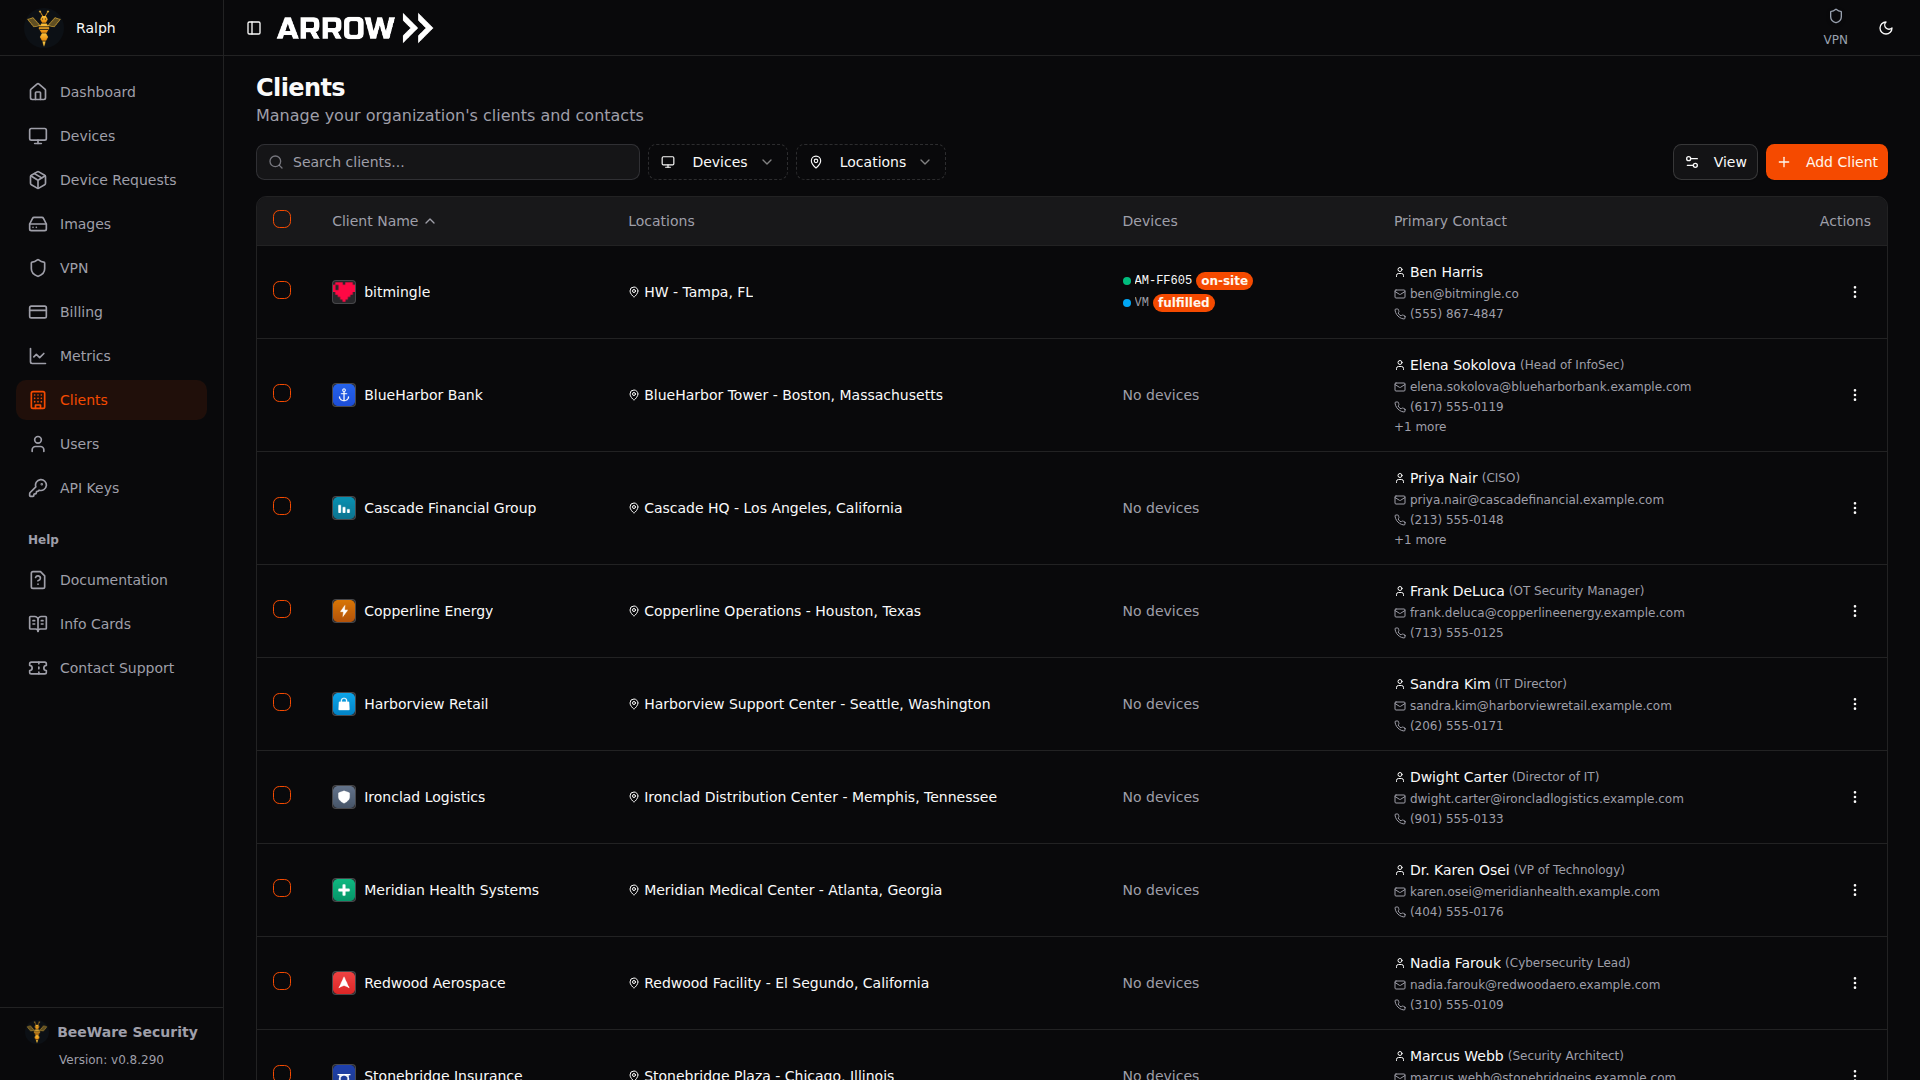
- 1 Search your clients, and filter by whether they have devices or locations.
- 2 Add a new client here.
- 3 Each row shows the client's locations, assigned devices, and primary contact. Use the actions menu at the end to edit or remove a client.
Each row shows the client’s name and logo, its locations (as a name plus city and state, since a client can have several), the devices currently assigned to it, and its primary point of contact. Clients with nothing assigned yet read No devices. If you give a client a website, ARROW pulls the site favicon and uses it as the logo automatically.
To find a client, use the search box, which matches on name, website, and contact details as you type. You can also filter by whether a client has devices or locations, and use the View control to pick which columns show. A counter at the bottom tells you how many clients match your current search and filters.
Adding a client
Section titled “Adding a client”Click Add Client in the top right to open the Add New Client dialog.
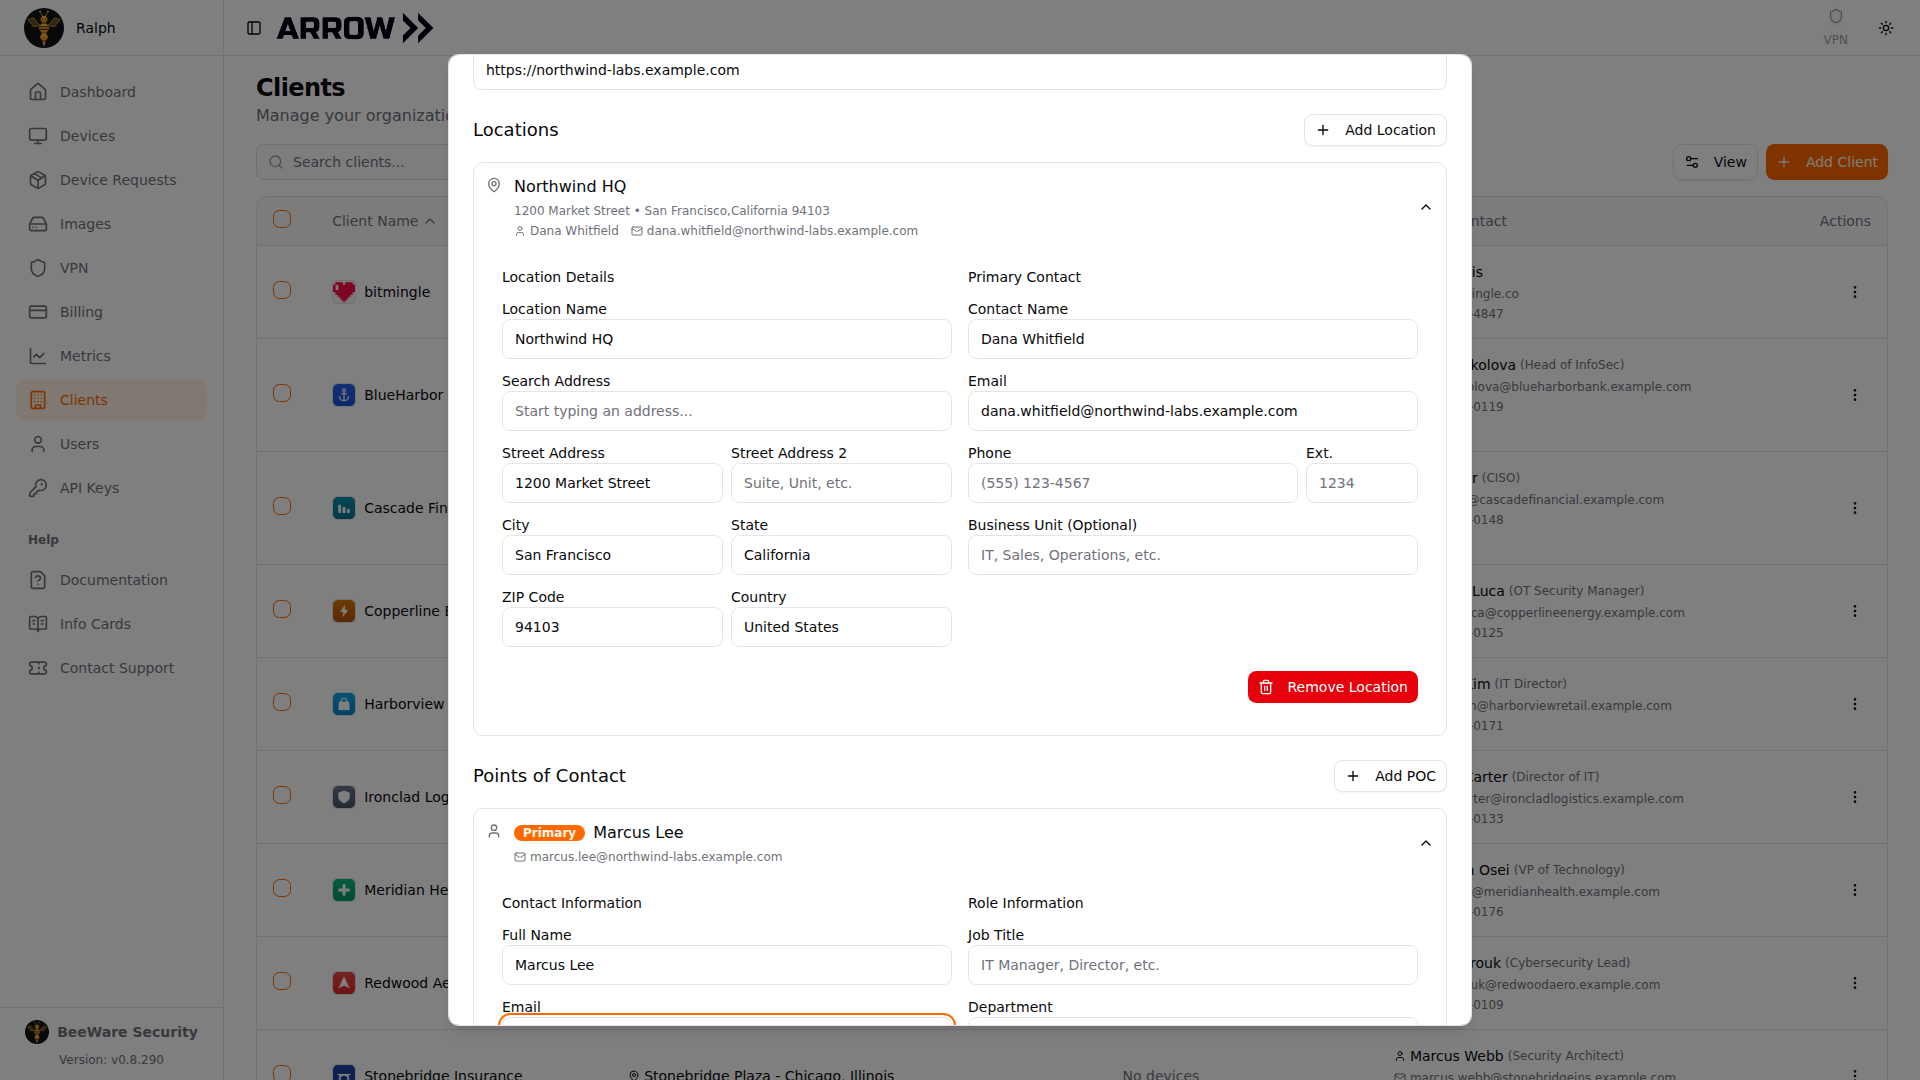
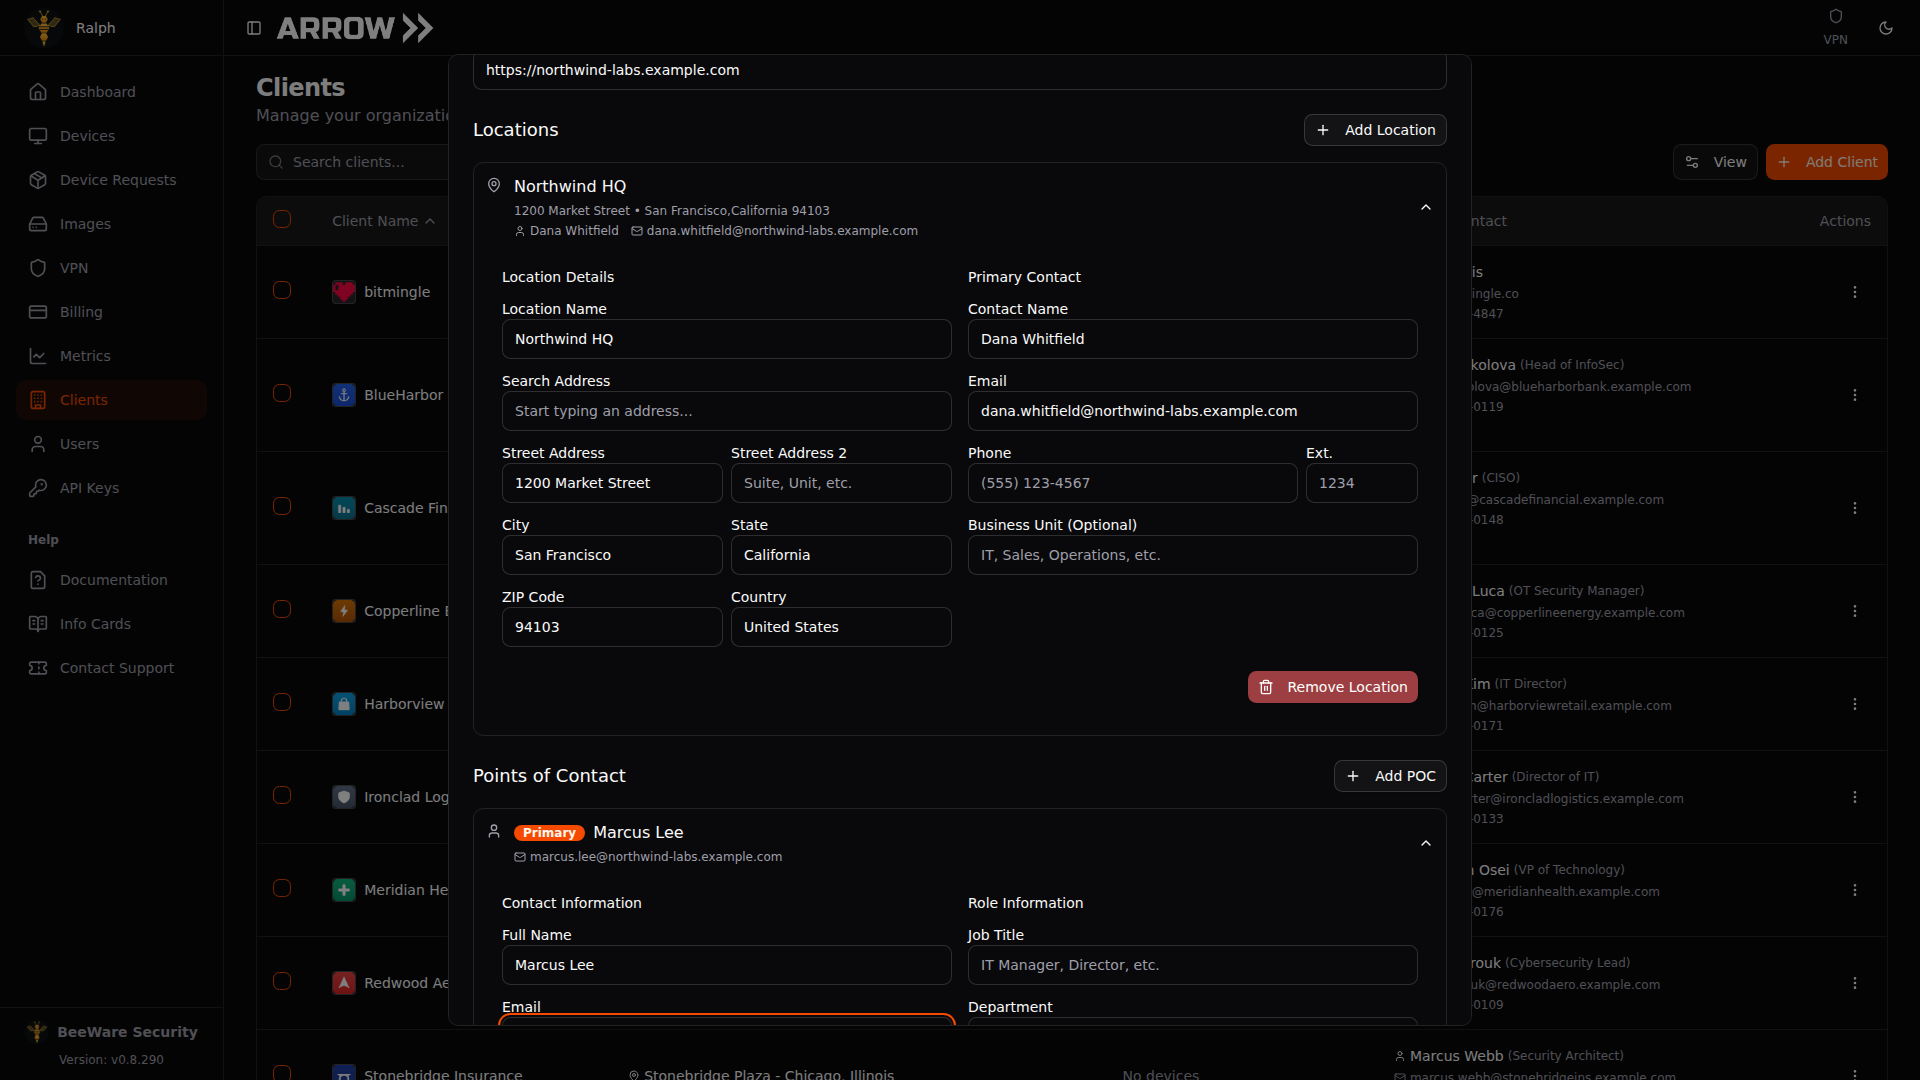
The Add New Client dialog with company details, Locations, and Points of Contact
The Add New Client dialog with company details, Locations, and Points of Contact
Start with the company details. Company Name is required. Website is optional, but worth adding because ARROW fetches the site favicon from it and uses that as the client logo in the list.
Locations
Section titled “Locations”A location is a physical site for the client, and it doubles as the shipping and receiving address for devices. Click Add Location for each site you need. Give it a Location Name you will recognize, then start typing in Search Address and let ARROW look up the address and fill in the street, city, state, ZIP, and country for you. The State and ZIP labels adapt to the country you pick (for example, Postal Code for international addresses). Use Remove Location to drop one you added.
If the country is not the United States, ARROW shows you where that destination sits under the Export and Deployment Policy as soon as you enter it, whether that is open, license required, or not permitted. The address on the location is the fact the export determination is made on, so check the destination before you save rather than at the point a device is due to ship.
Each location has its own Primary Contact, and this is the person who actually accepts the shipment at that site. Enter their name, email, and phone (with an optional extension), and optionally the Business Unit they belong to, such as IT or Operations. This is the contact ARROW hands to the carrier, so make sure it is someone who will be there to receive the box.
Points of Contact
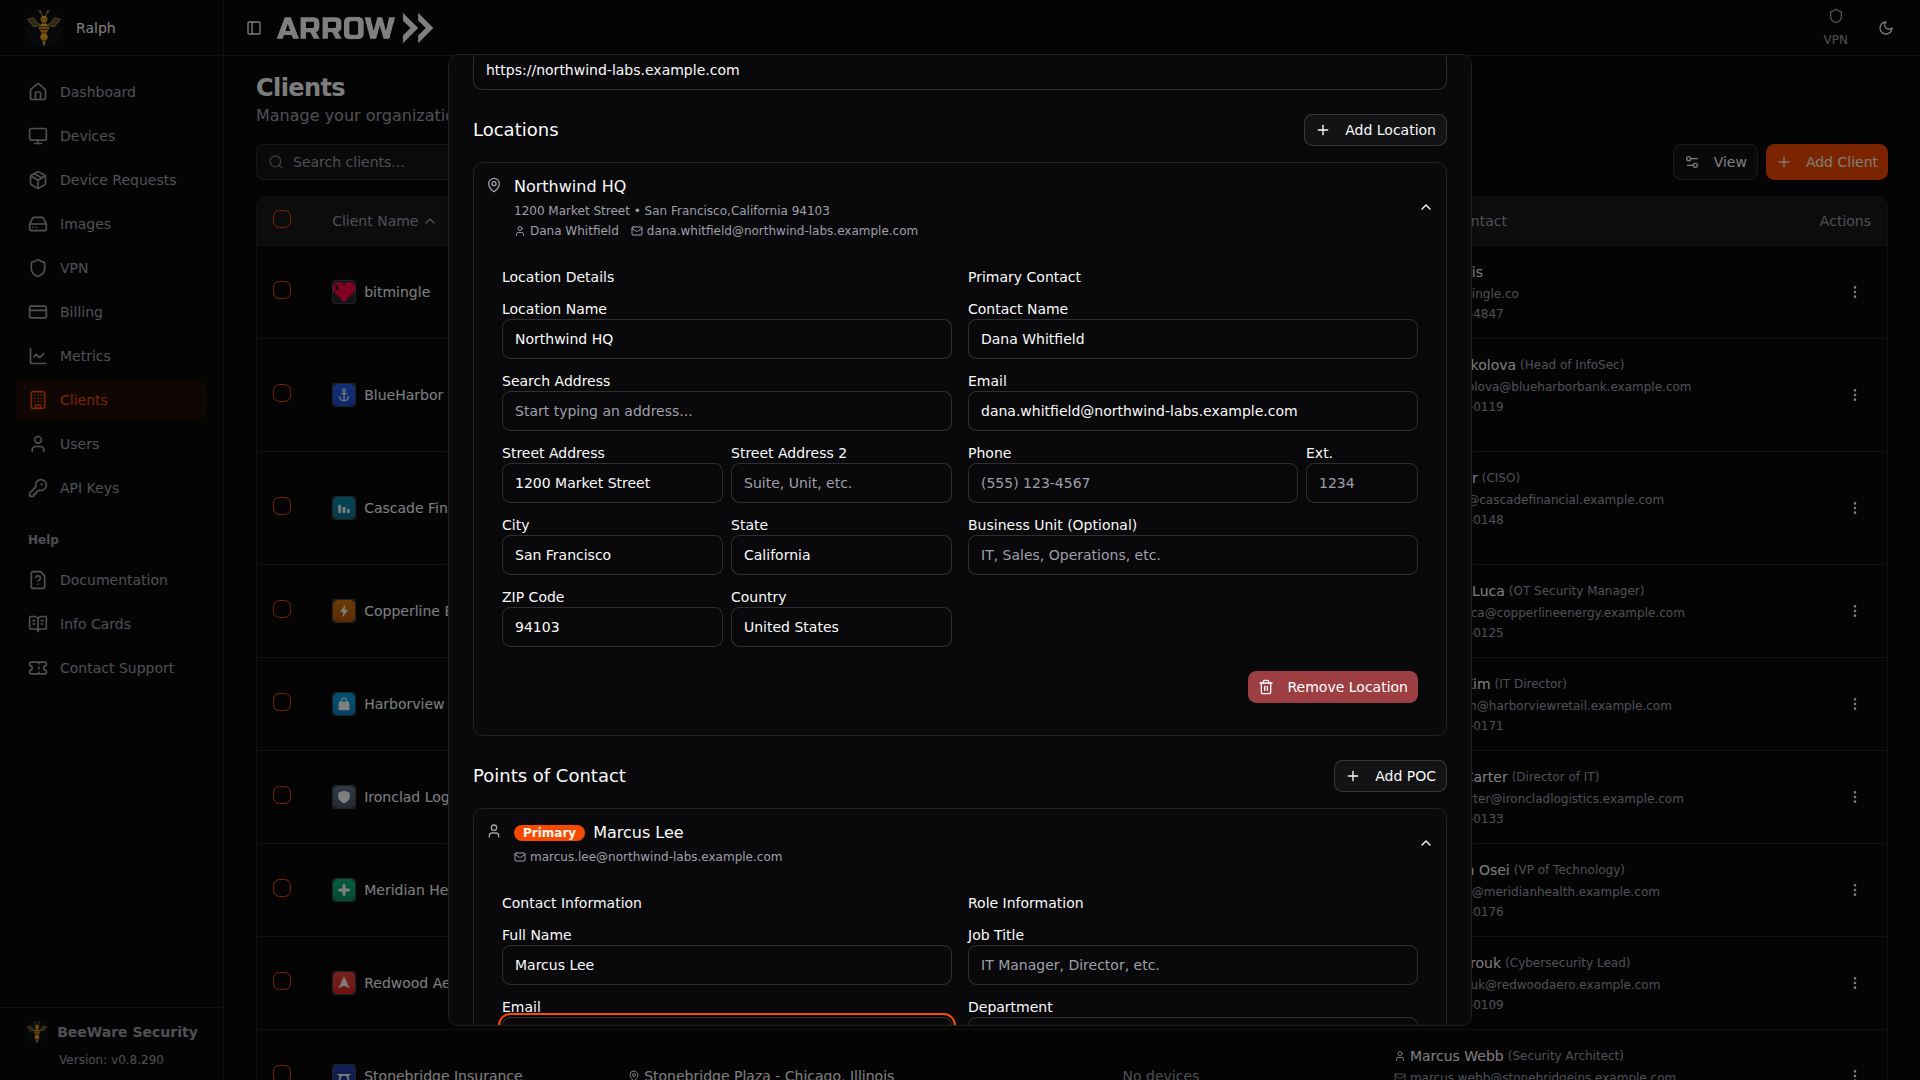
Section titled “Points of Contact”Points of Contact are the people you coordinate the engagement with, separate from the receiver at a location. Click Add POC for each one and record their full name, email, phone, job title, and department.
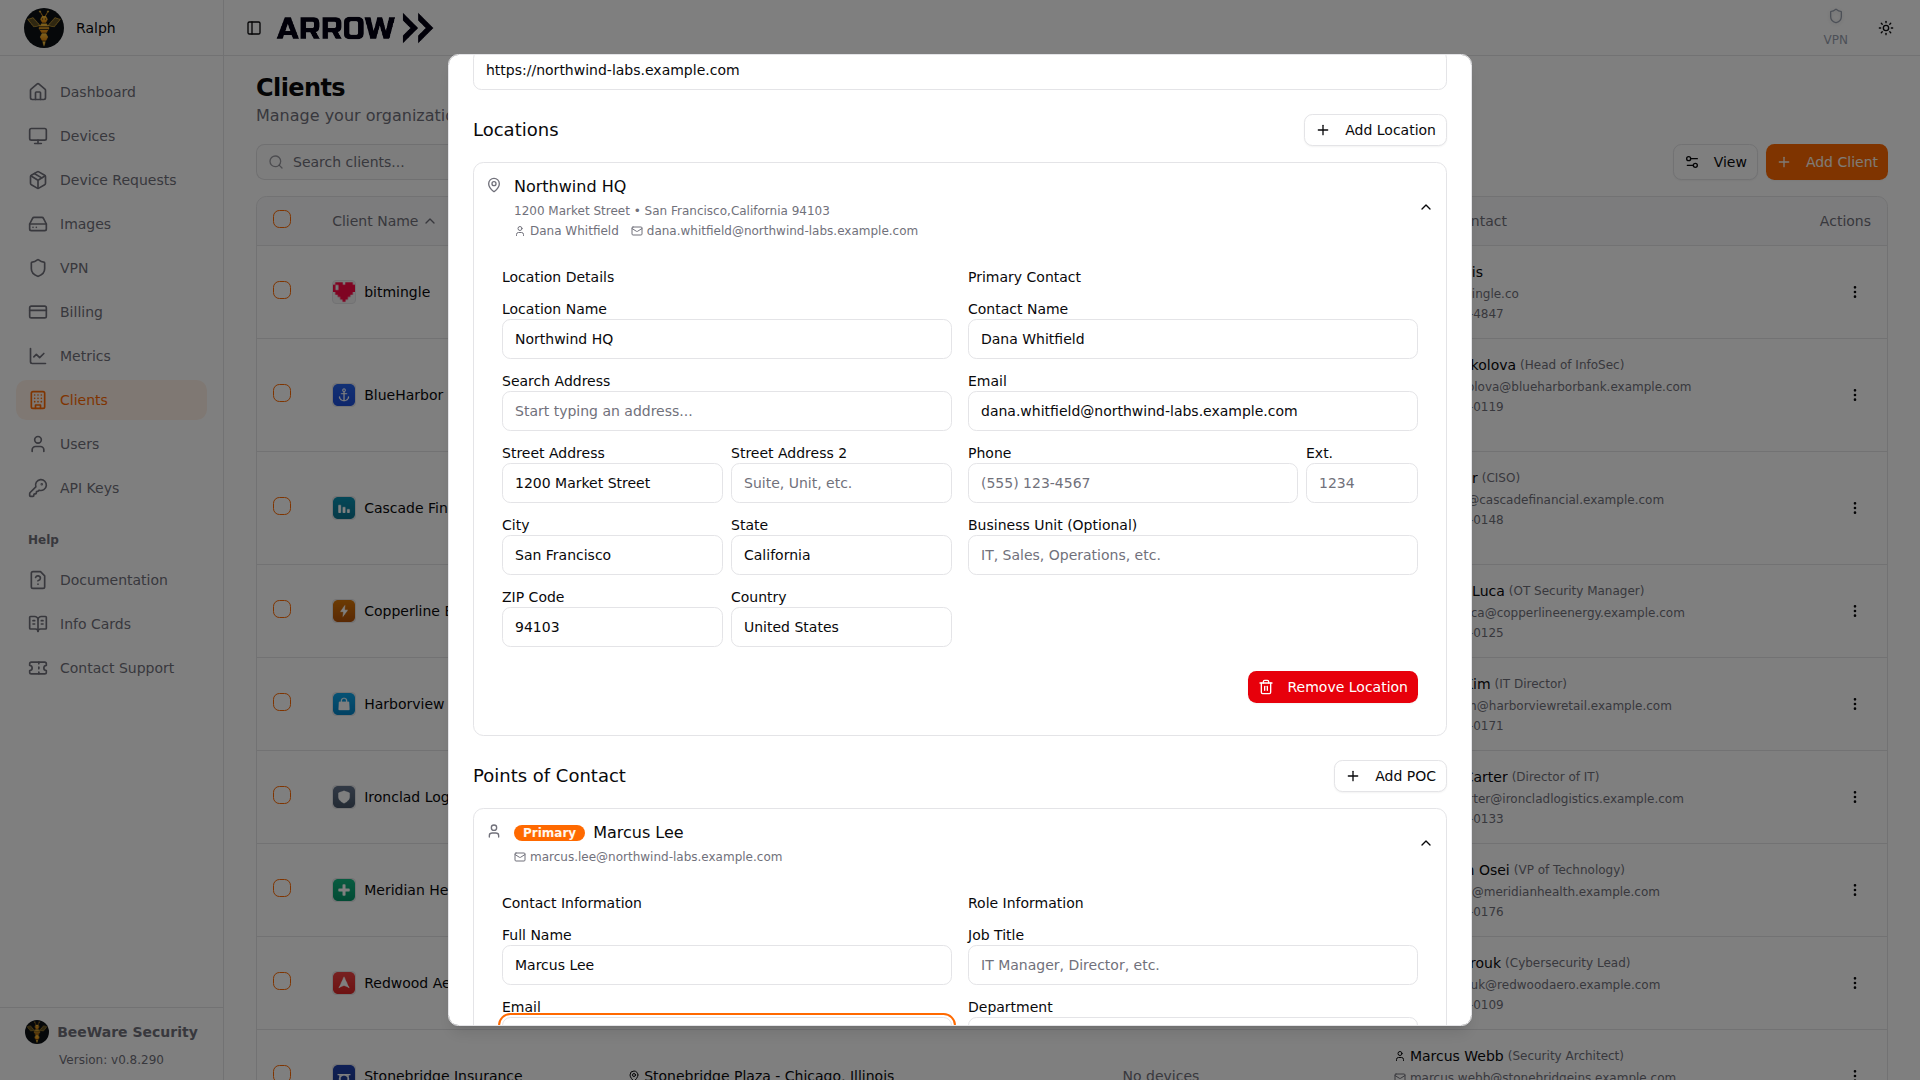
The Points of Contact section, where the first contact is marked as the primary contact
The Points of Contact section, where the first contact is marked as the primary contact
One of these is the primary contact, marked with a Primary badge and shown in the Primary Contact column of the list. The first contact you add becomes primary by default, and only one can hold it at a time. Use Set as primary contact to move it to someone else.
When everything looks right, click Create Client.
Editing and deleting a client
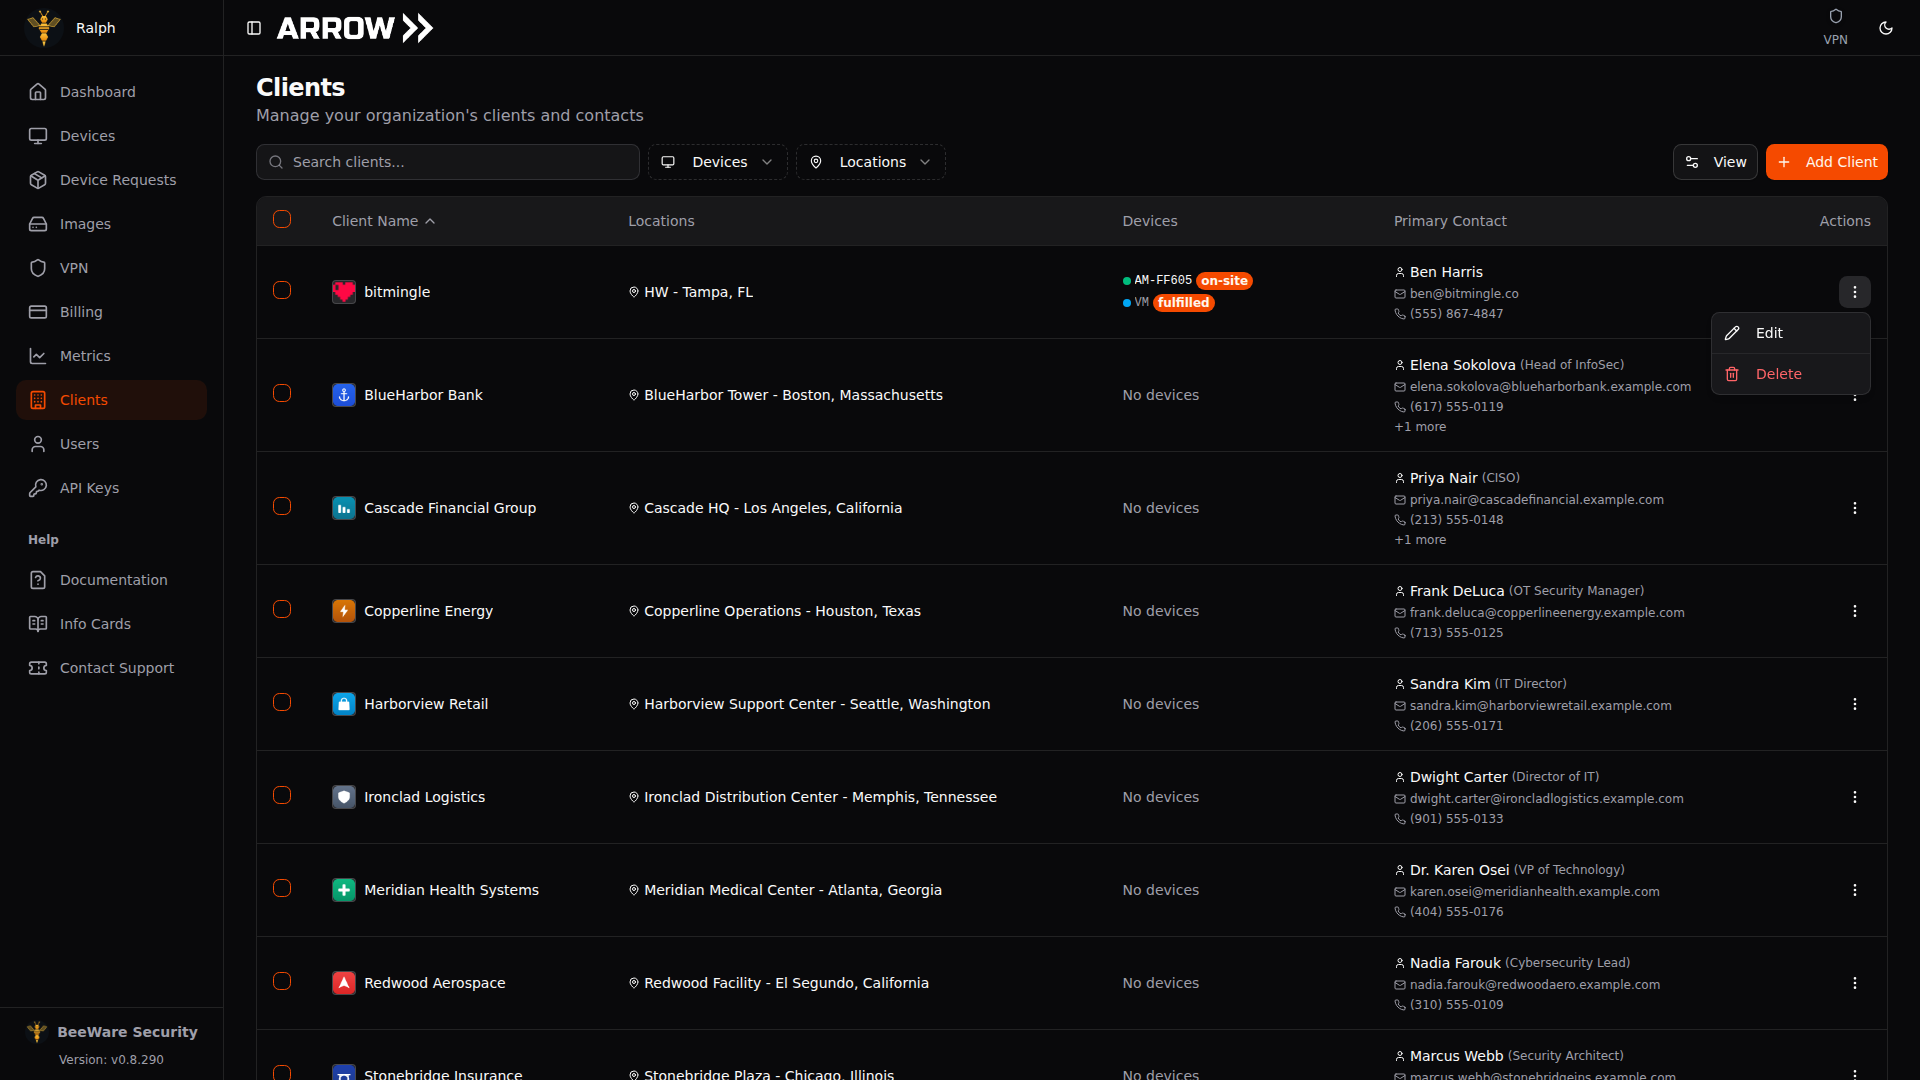
Section titled “Editing and deleting a client”The actions menu on each row (the vertical dots at the end) gives you two options. Edit opens the same dialog prefilled with the client’s current details, so you can update company info, locations, or contacts and save with Update Client. Delete removes the client for good; if it has locations, contacts, or devices attached, the confirmation dialog warns you those go with it. Deletion cannot be undone.
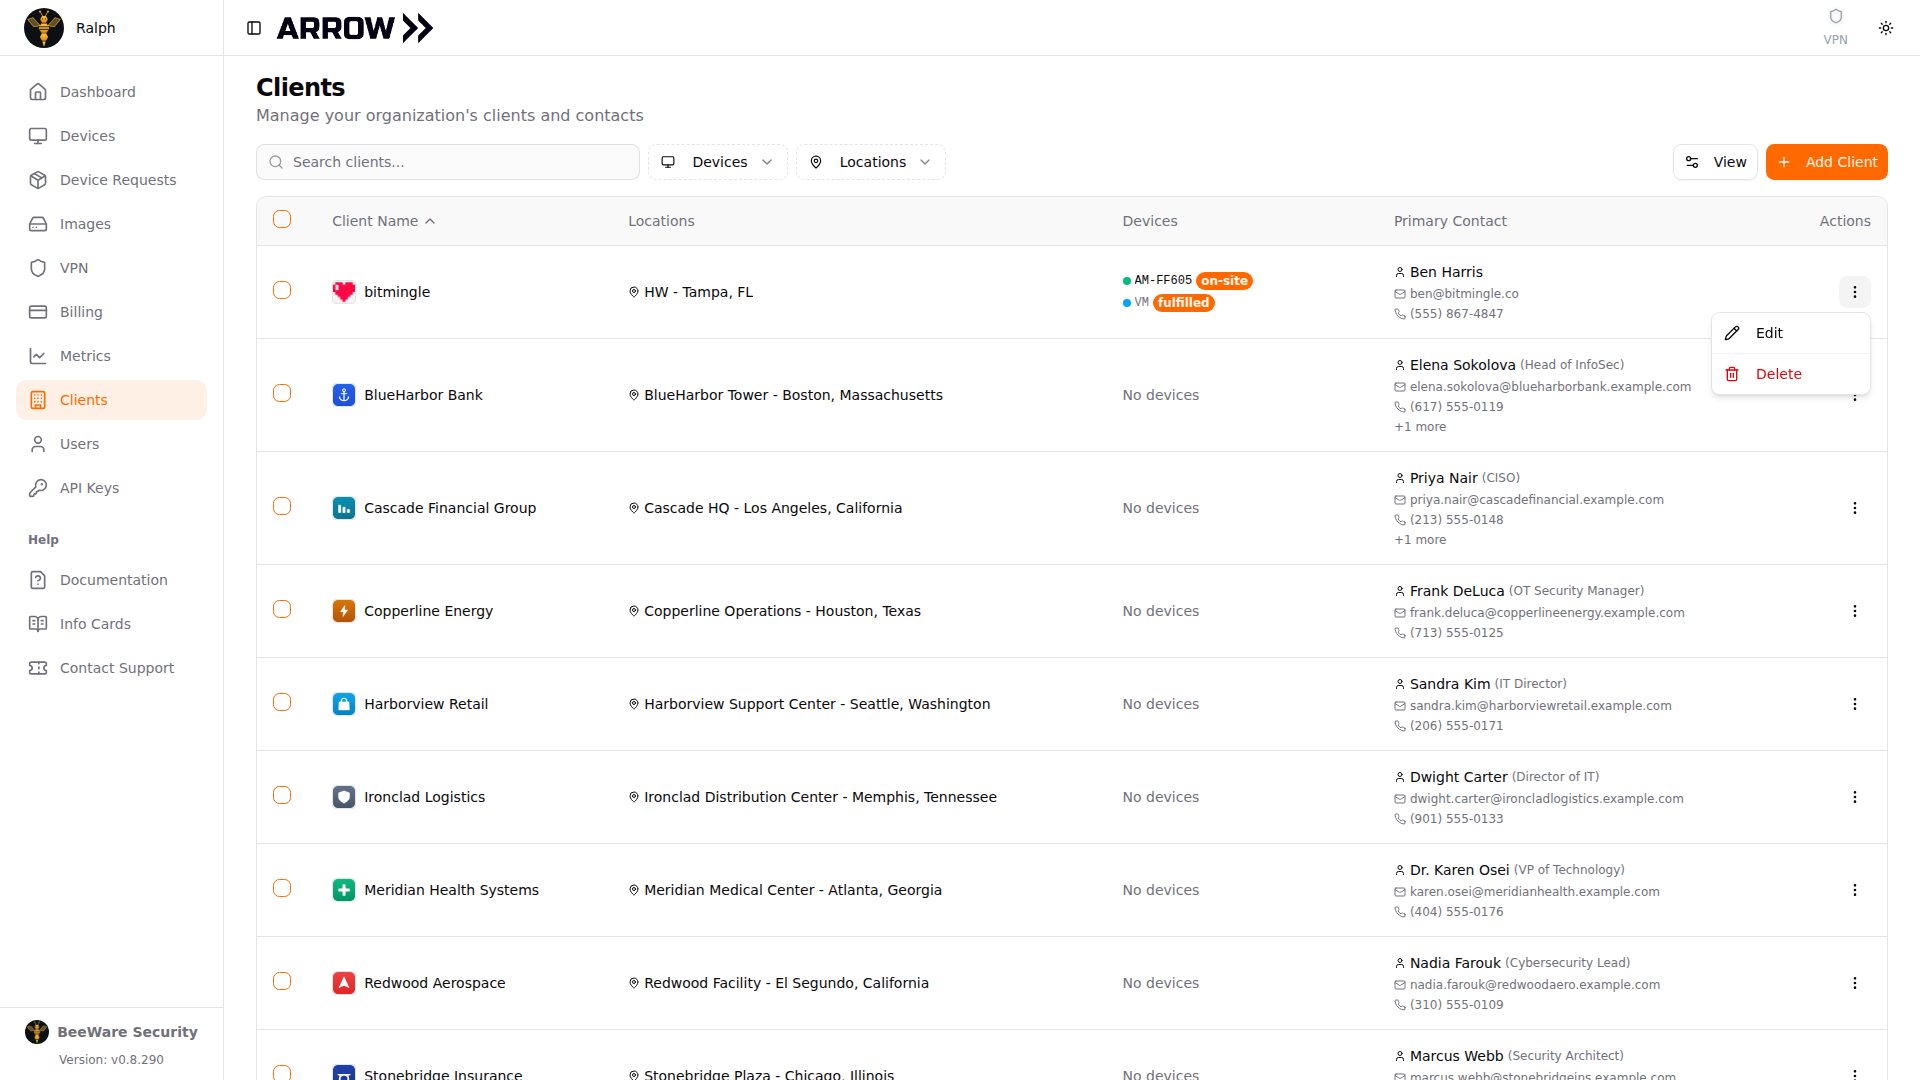
The per-client actions menu, with Edit and Delete
The per-client actions menu, with Edit and Delete
Edit opens the Edit Client dialog, the same layout as when you first added the client but prefilled with everything on record, from the company name and website to every location and every point of contact. Change what you need, add or remove locations and contacts, and click Update Client to save.
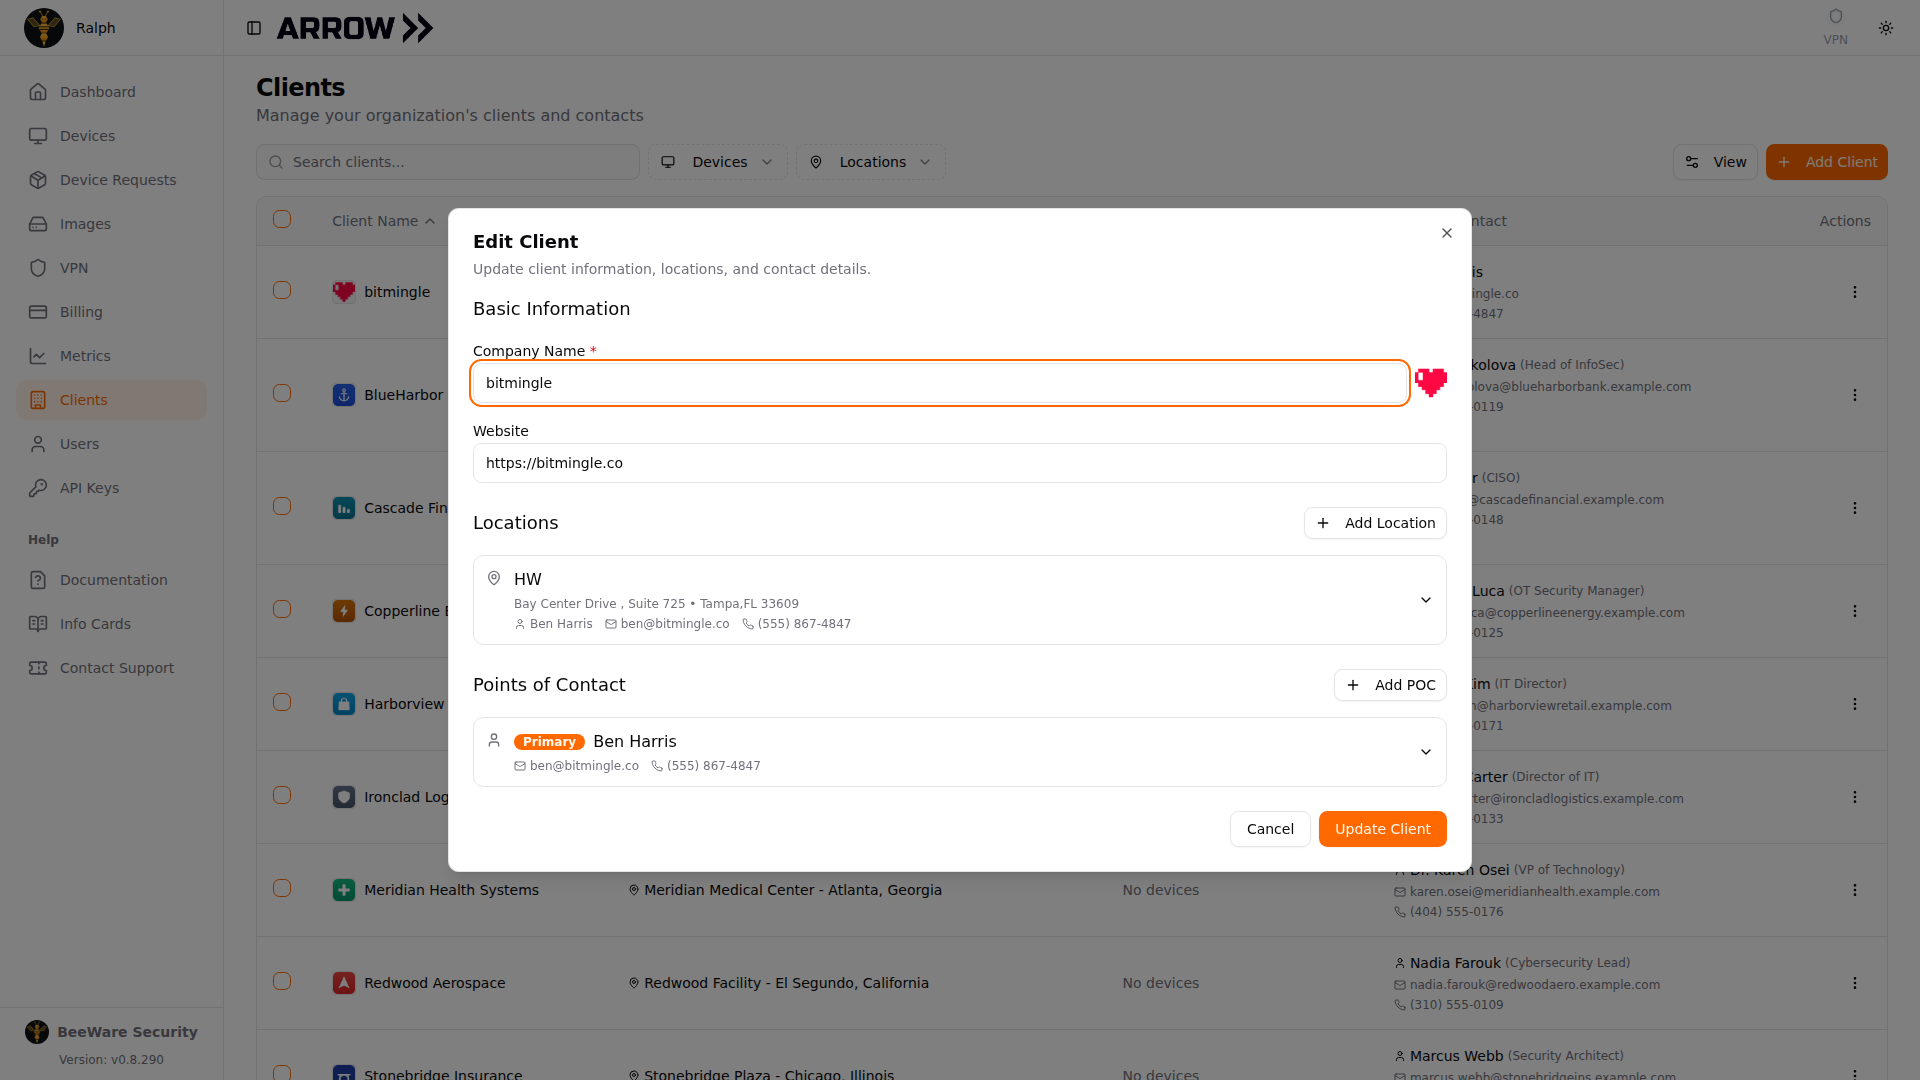
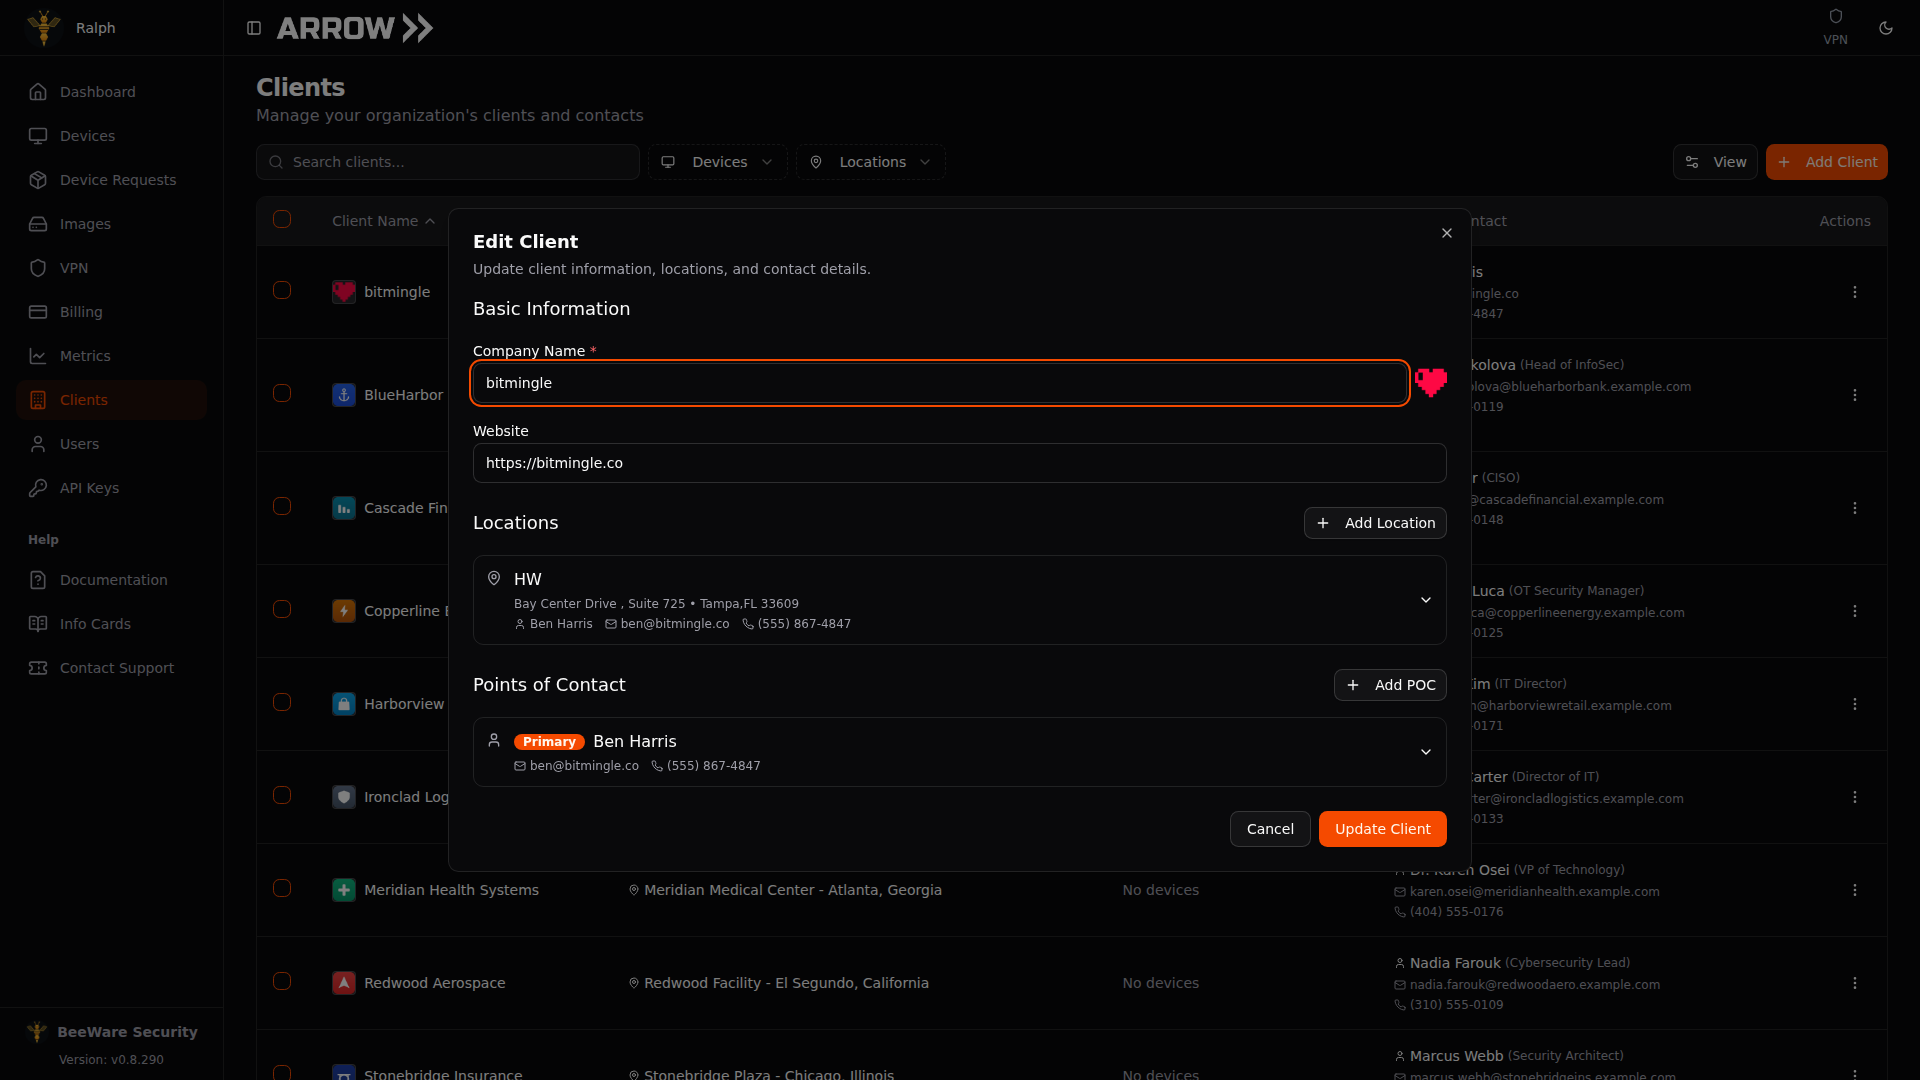
The Edit Client dialog, prefilled with the client's current company details, locations, and contacts
The Edit Client dialog, prefilled with the client's current company details, locations, and contacts
Note Managing clients requires the right permissions. If you do not see the Add Client button or the edit and delete actions, ask an organization administrator to grant you client management access.