
API Keys
Overview
Section titled “Overview”API keys let scripts and tools talk to the ARROW REST API without a browser session or a user logging in. Each key is a long-lived credential scoped to a single organization, which is exactly what you want for automation that needs to keep running unattended.
Reach for an API key when you are automating shell or Python scripts, CI/CD pipelines, Ansible playbooks, monitoring and inventory tools, or a custom integration with your own systems. For day-to-day manual work like creating device requests, reviewing shipments, or managing users, just use the web console; that is what it is built for.
You manage keys from the API Keys section of the console. Before you have any, the page shows an empty state with a Create your first API key button. After that, your keys appear in a table showing each key’s name, key prefix, scopes, last use, expiry, and status, along with a per-key actions menu. Search by name, prefix, or scope to find a particular key, and click the Name, Last Used, Expires, or Status column header to sort by it.
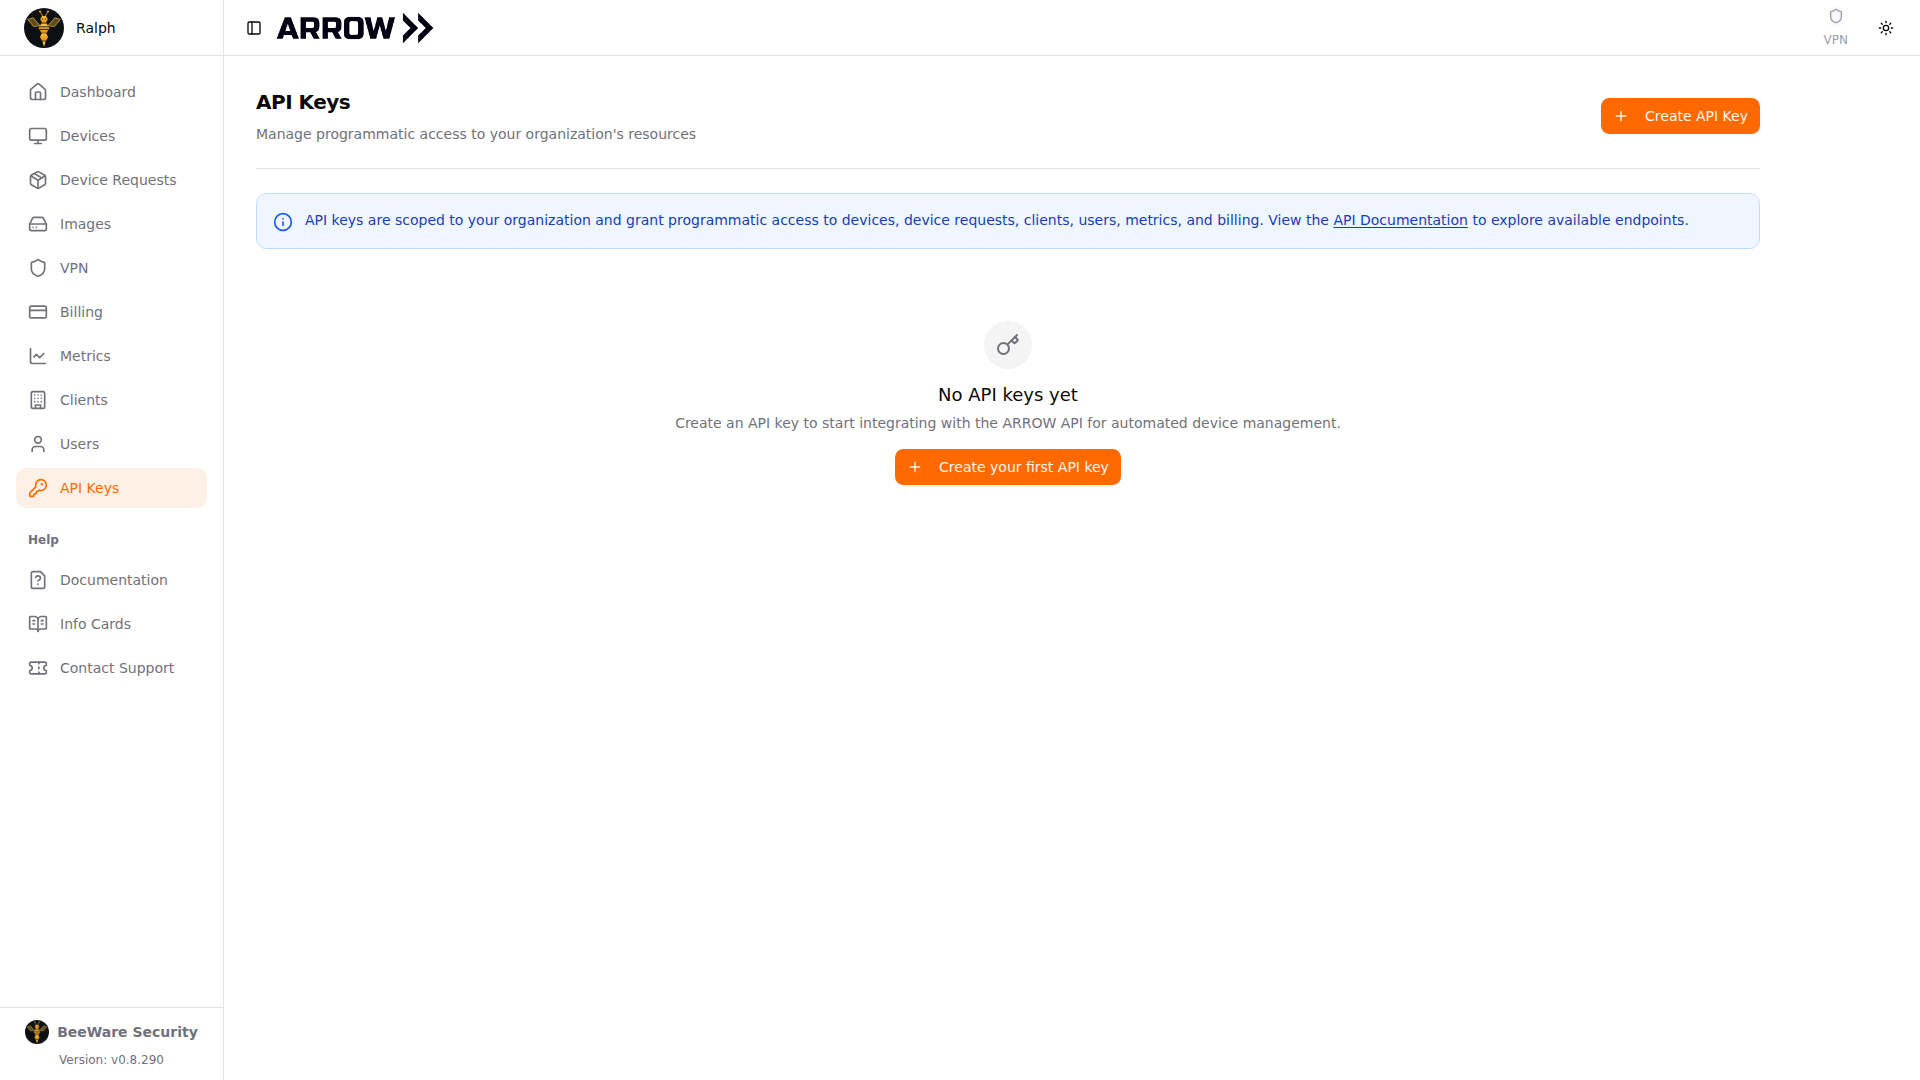
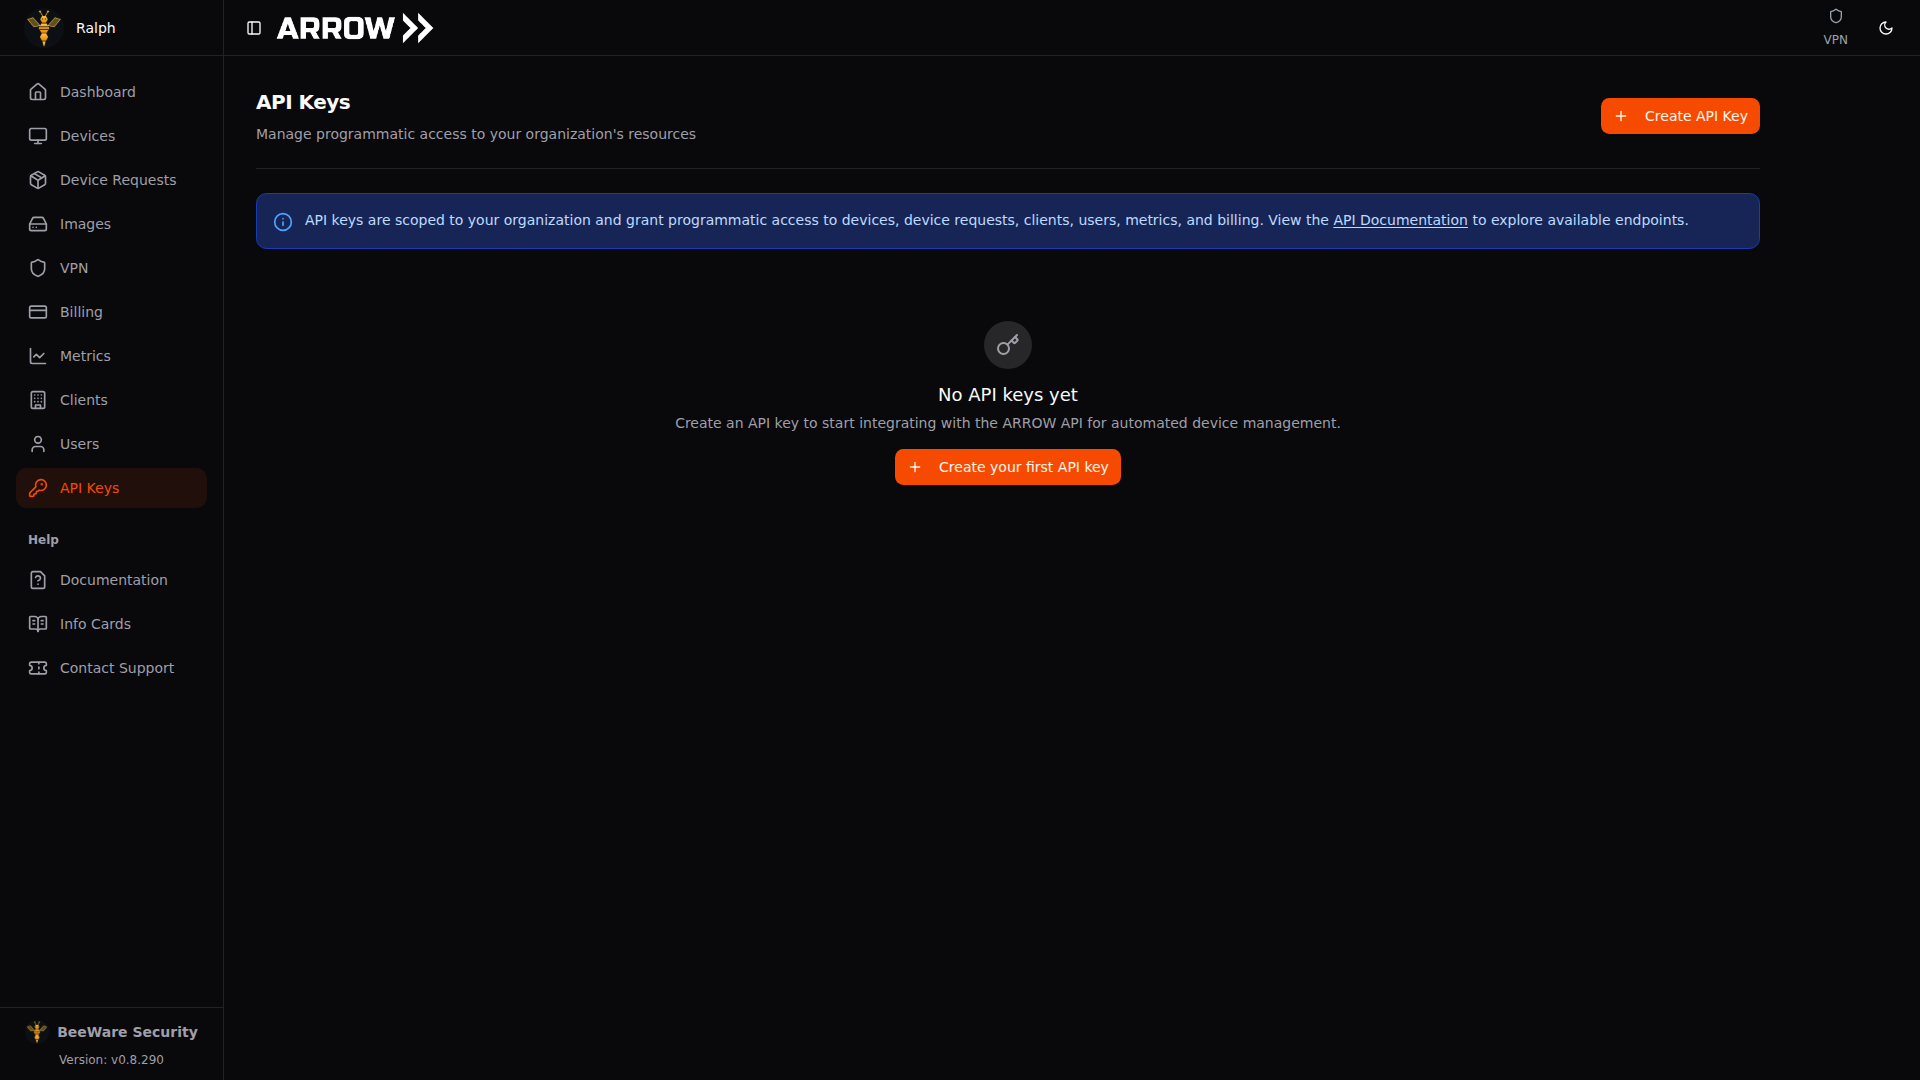
The API Keys page under Organization settings
The API Keys page under Organization settings
Org Admins and Site Admins can create and manage keys for their own organization. A site admin without an organization has to use admin impersonation to manage another organization’s keys.
Creating an API Key
Section titled “Creating an API Key”- Sign in and click API Keys in the sidebar. This needs the
api_keys.managepermission or site admin status. - Click Create API Key.
- Give it a descriptive Key Name such as
Ansible Automation, so you can tell your keys apart later. - Select one or more Scopes (see the table below), granting only what the integration actually needs.
- Choose an Expiration. Presets are 30 days, 90 days, 180 days, or 1 year, or you can pick a custom date. Expiration is required and the maximum is 1 year from today.
- Click Create Key.
- Copy the secret immediately. It is shown only once, so put it straight into a secrets manager or environment variable.
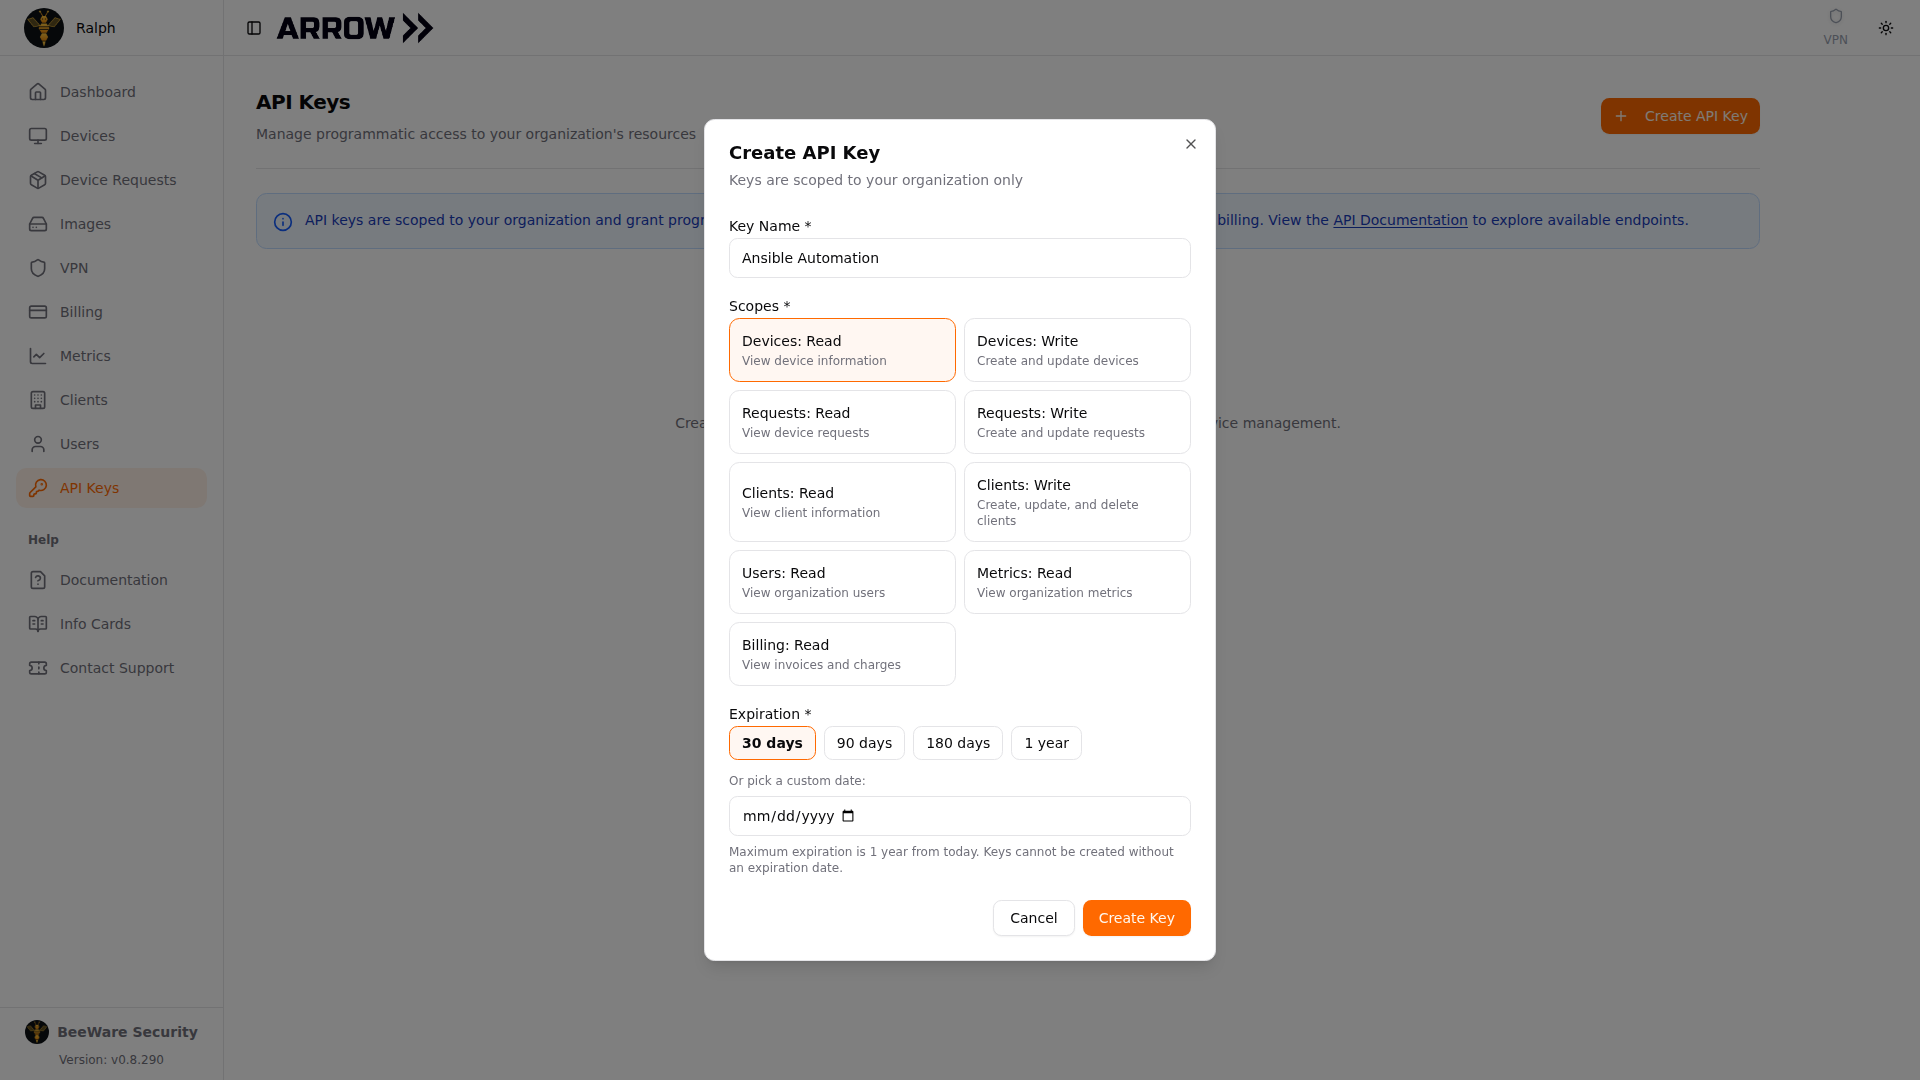
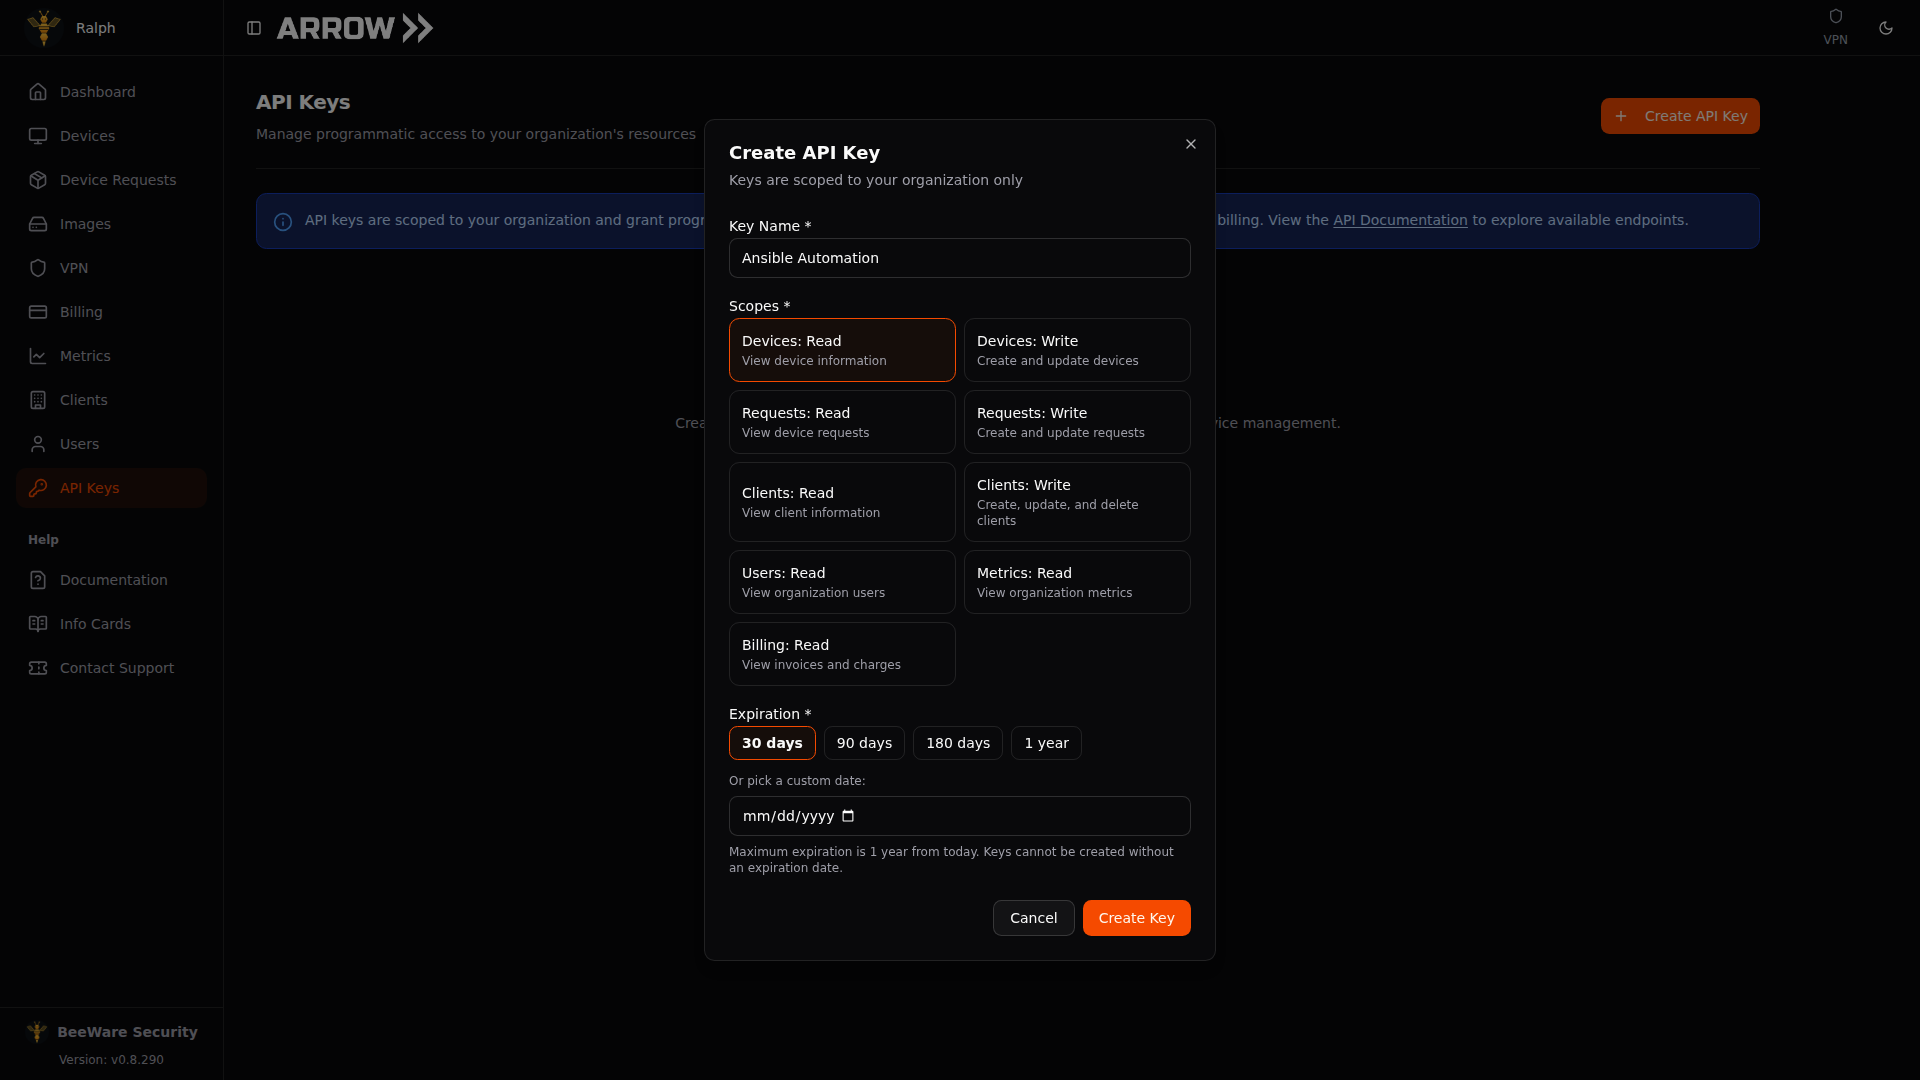
- 1 Give the key a descriptive name so you can tell your keys apart later.
- 2 Grant only the scopes the integration actually needs. A read-only monitor has no business holding write access.
- 3 Every key must expire, up to a year out. Pick a preset or a custom date, and rotate before it lapses.
Available Scopes
Section titled “Available Scopes”| Scope | Grants Access To |
|---|---|
devices:read | List and view devices in your organization |
devices:write | Update device settings and tags |
device_requests:read | List and view device requests |
device_requests:write | Create, update, and extend device requests; mark VM requests as returned |
clients:read | List and view clients in your organization |
clients:write | Create, update, and delete clients |
users:read | List and view organization users |
metrics:read | View organization metrics and statistics |
billing:read | View invoices, charges, and billing information |
Stick to least privilege and pick only the scopes your integration will use. A read-only monitoring script has no business holding clients:write.
Authentication
Section titled “Authentication”Every request must carry the key in the X-API-Key HTTP header.
curl example:
curl -H "X-API-Key: arrow_YOUR_KEY_HERE" \ https://arrow.vtemlabs.com/api/v1/devicesPython example:
import osimport requests
API_KEY = os.environ["ARROW_API_KEY"]BASE_URL = "https://arrow.vtemlabs.com"
resp = requests.get(    f"{BASE_URL}/api/v1/devices",    headers={"X-API-Key": API_KEY},)resp.raise_for_status()devices = resp.json()
API Reference
Section titled “API Reference”Interactive API Documentation The full endpoint list, with request and response shapes, lives in the Swagger UI. No login is required. Paste your key into the Authorize button and you can try calls right there.
Quick Reference - Key Endpoints
Section titled “Quick Reference - Key Endpoints”Devices
Section titled “Devices”| Method | Endpoint | Scope Required | Description |
|---|---|---|---|
GET | /api/v1/devices | devices:read | List all devices in your org (paginated) |
GET | /api/v1/devices/{id} | devices:read | Get a single device |
PATCH | /api/v1/devices/{id} | devices:write | Update device tags or notes |
Device Requests
Section titled “Device Requests”| Method | Endpoint | Scope Required | Description |
|---|---|---|---|
GET | /api/v1/device-requests | device_requests:read | List device requests (supports ?device_type= filter) |
GET | /api/v1/device-requests/{id} | device_requests:read | Get a single device request |
POST | /api/v1/device-requests | device_requests:write | Create a new device request |
PATCH | /api/v1/device-requests/{id} | device_requests:write | Update details or extend dates |
POST | /api/v1/device-requests/{id}/mark-vm-returned | device_requests:write | Mark a VM request as returned/decommissioned |
Note:
mark-vm-returnedis only for VM requests. Physical returns get tracked automatically through shipping webhooks when the carrier scans the return package, so you never call this for hardware. A VM has no shipment to scan, so this endpoint is how your automation signals that the VM has been destroyed.
Clients
Section titled “Clients”| Method | Endpoint | Scope Required | Description |
|---|---|---|---|
GET | /api/v1/clients | clients:read | List all clients in your organization |
GET | /api/v1/clients/{id} | clients:read | Get a single client |
POST | /api/v1/clients | clients:write | Create a new client |
PATCH | /api/v1/clients/{id} | clients:write | Update client details |
DELETE | /api/v1/clients/{id} | clients:write | Delete a client |
| Method | Endpoint | Scope Required | Description |
|---|---|---|---|
GET | /api/v1/users | users:read | List all users in your organization |
GET | /api/v1/users/{id} | users:read | Get a single user |
Metrics
Section titled “Metrics”| Method | Endpoint | Scope Required | Description |
|---|---|---|---|
GET | /api/v1/metrics | metrics:read | Get organization metrics and statistics |
Billing
Section titled “Billing”| Method | Endpoint | Scope Required | Description |
|---|---|---|---|
GET | /api/v1/billing/invoices | billing:read | List invoices for your organization |
GET | /api/v1/billing/invoices/{id} | billing:read | Get a single invoice |
GET | /api/v1/billing/charges | billing:read | Get current billing charges |
Security Best Practices
Section titled “Security Best Practices”A leaked API key is a leaked door into your organization, so treat these keys the way you would any production secret.
- Keep keys in environment variables or a secrets manager. Never hard-code them in source or commit them to version control.
- Grant minimal scopes. Only what the integration needs, nothing extra.
- Rotate before expiry. Create the replacement key before the current one lapses so your automation never goes dark. The console flags a key with an Expiring soon badge 14 days out.
- Live with the 1-year cap. Every key needs an expiration, and the longest you get is 365 days. That is deliberate, because it forces regular rotation.
- Revoke the moment a key is unused or exposed. Do not wait for it to expire on its own.
Revoking a Key
Section titled “Revoking a Key”To pull a key, open API Keys in the sidebar, find it in the table, open its actions menu (the three dots), select Revoke, and confirm.
Note: Revocation takes effect immediately. Any request using the revoked key gets a
401 Unauthorized.
Related Documentation
Section titled “Related Documentation”- Device Requests - Learn about the device request workflow
- Device Management - Manage provisioned devices
- Authentication - Sign-in and account management
- Getting Started - Overview of the ARROW platform