
Images & App Library
Images and App Library
Section titled “Images and App Library”An image is what actually gets installed on your device or VM, an operating system plus a curated set of pre-installed penetration testing tools. The Images section is the catalog you choose from when you request one. It is worth a look before every request, because picking the right image up front means the device arrives ready to work instead of needing you to install tooling once it is on site.
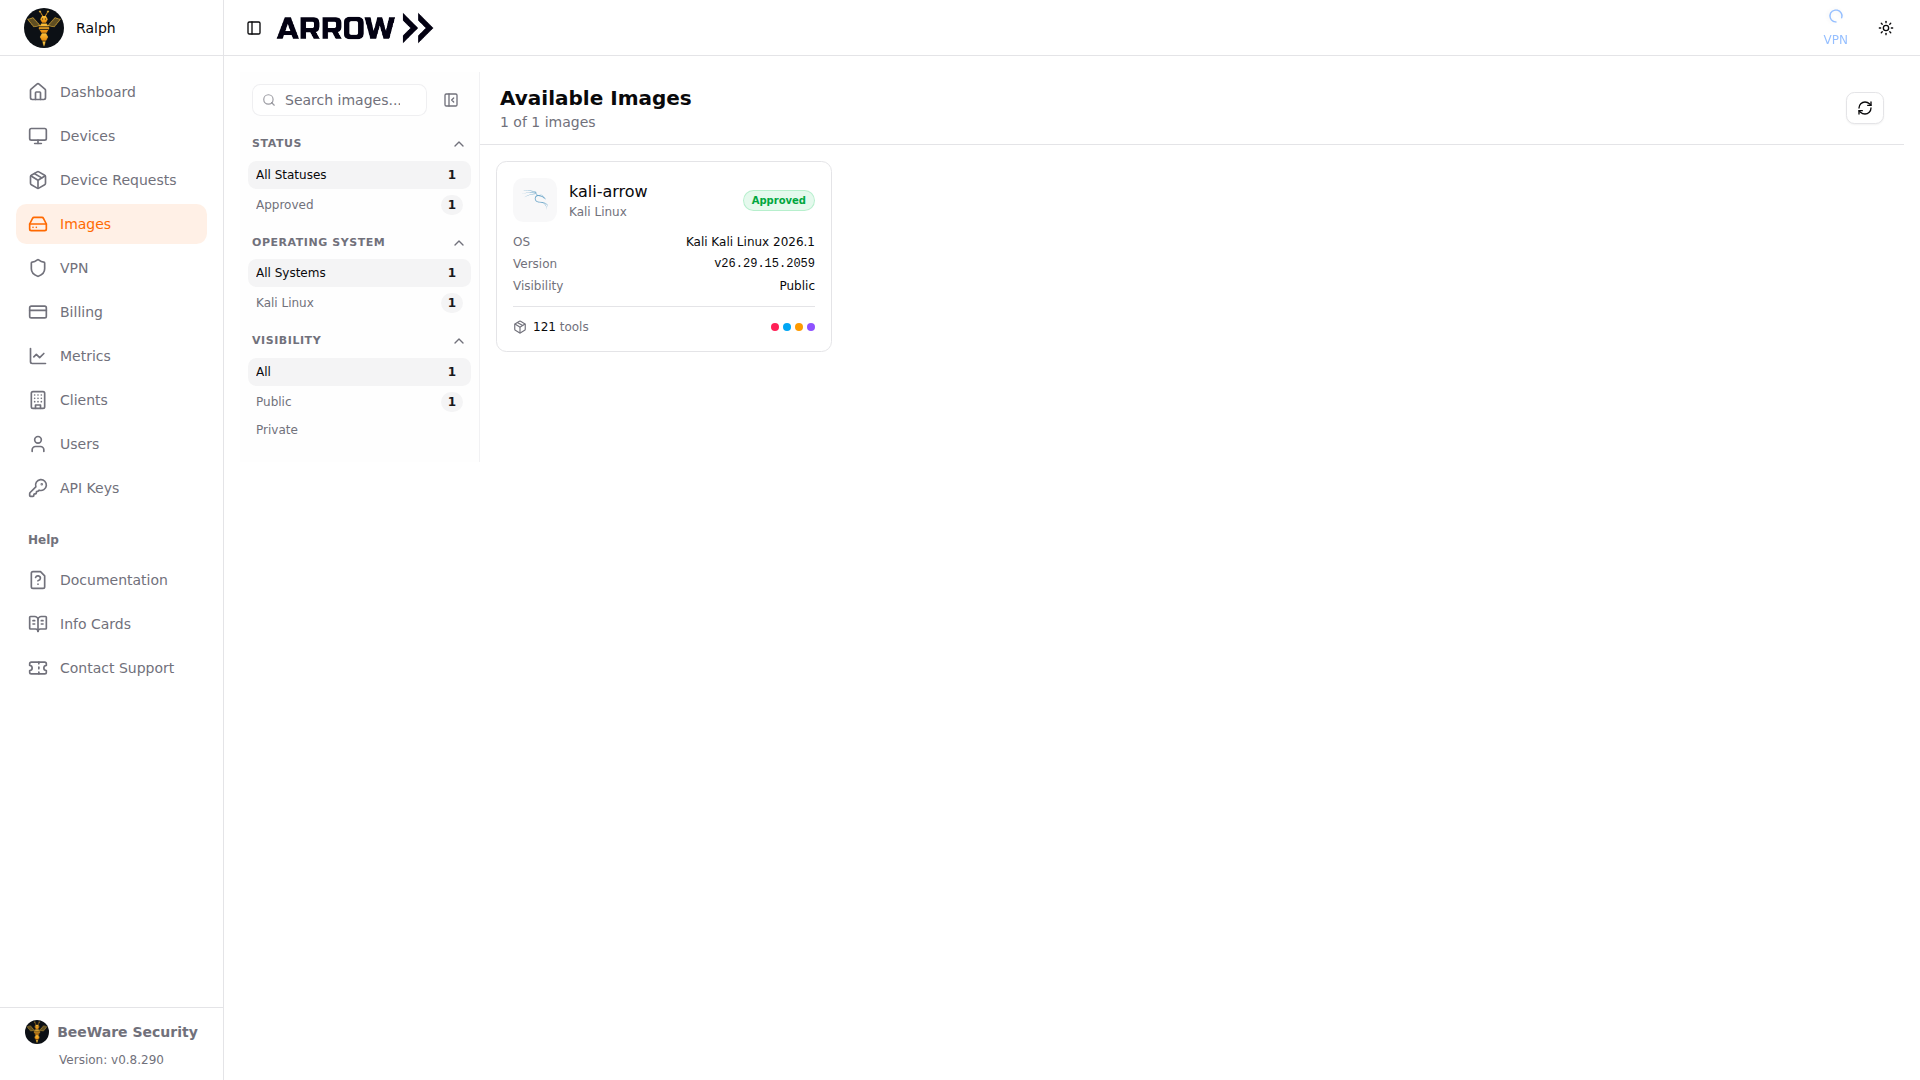
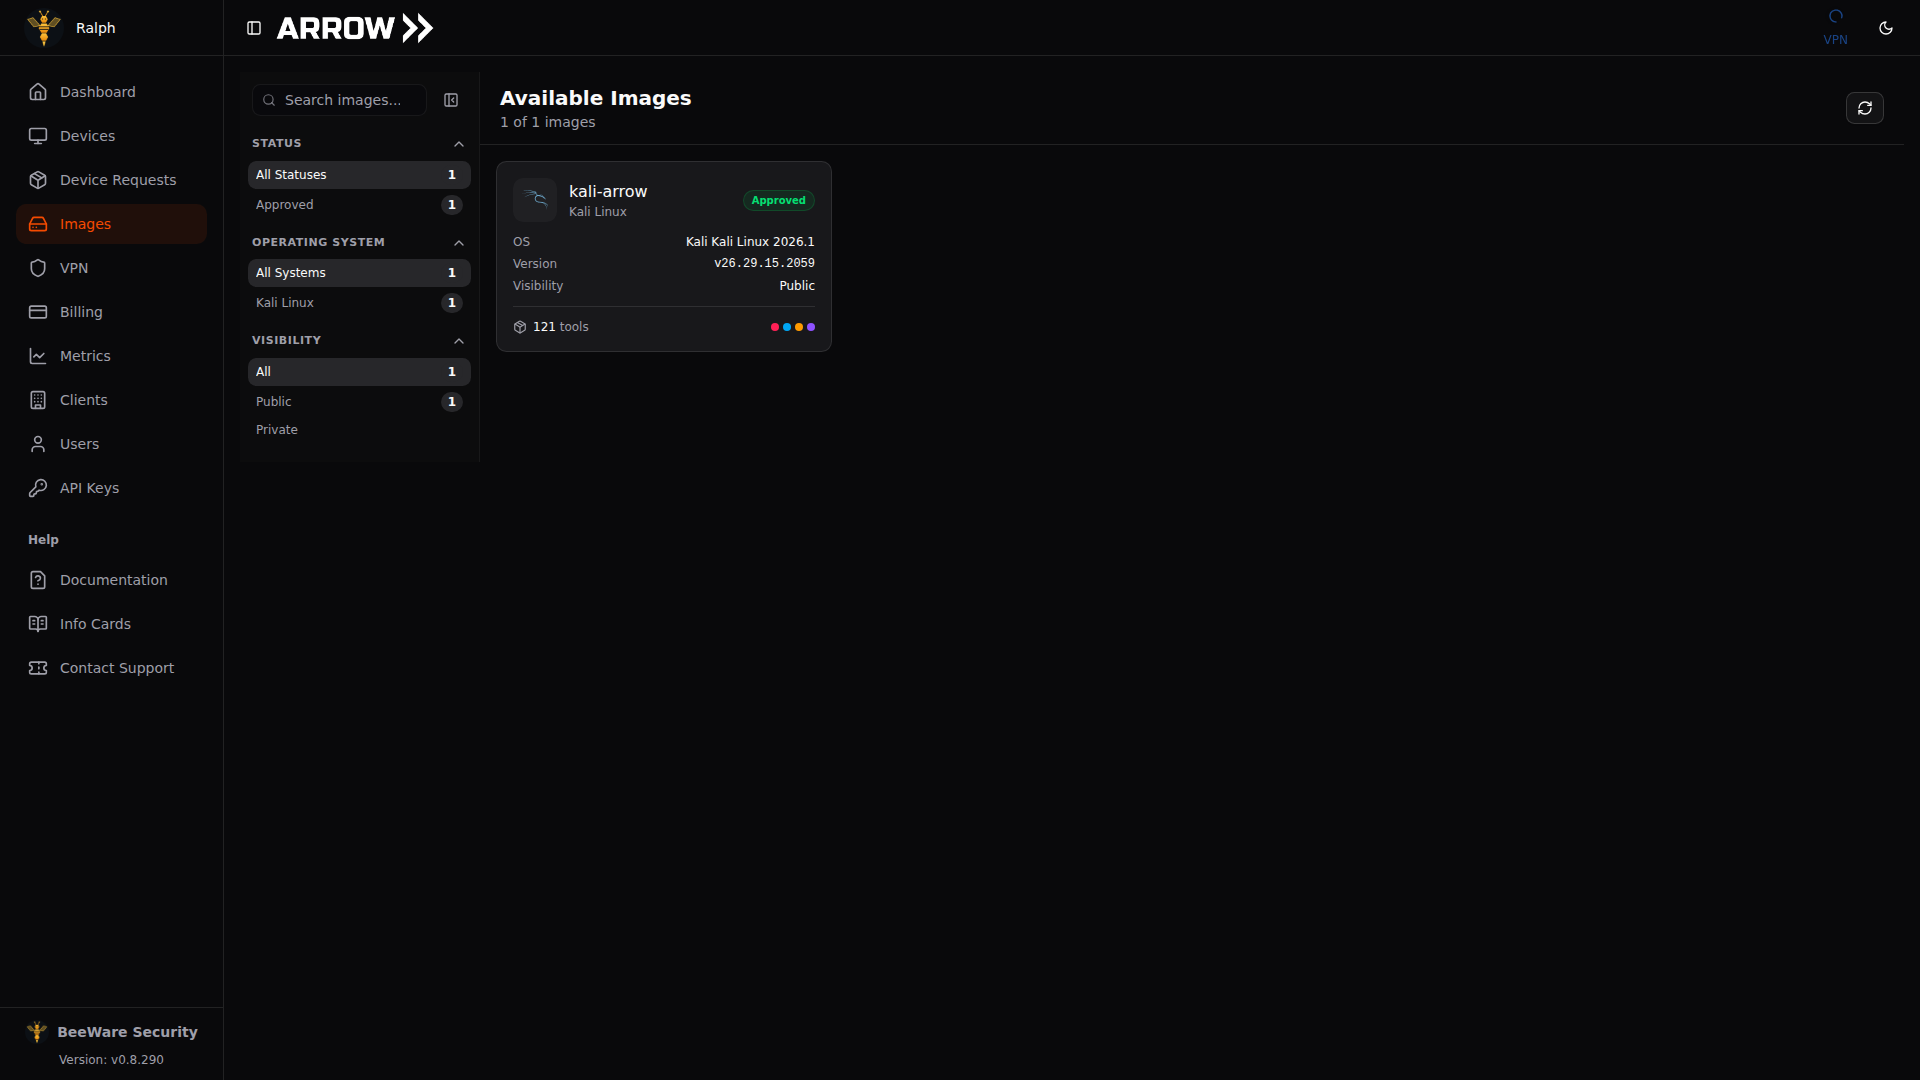
- 1 Narrow the catalog by status, operating system, and visibility.
- 2 Each image card shows the operating system, version, visibility, and how many tools come preinstalled. Click it to open full details and the app library.
Browsing the catalog
Section titled “Browsing the catalog”Open Images from the sidebar to see everything available to your organization, laid out as a grid of cards. The header shows Available Images with a count of how many match your current filters. The refresh button in the top right reloads the catalog.
Search by name with the Search images box at the top of the filter rail, and the grid narrows as you type. The filter rail on the left lets you cut the catalog three ways, each option showing how many images fall into it:
- Status filters by approval state. Choose Approved to see only images that are ready to request.
- Operating System filters by the underlying OS, so you can show only images built on, say, Kali Linux.
- Visibility filters by who the image is for. Public images are available to every organization, while Private images are dedicated to yours.
What a card tells you
Section titled “What a card tells you”Each card is a quick summary, with the image name (for example, “kali-arrow”) and its base operating system beneath, a status badge such as Approved, the full OS name and release, the build Version, whether it is Public or Private, and a tool count like “121 tools” so you can gauge how much tooling comes baked in. Select a card to open the full detail view.
The image detail view
Section titled “The image detail view”The detail view expands on the card across two tabs.
The Overview tab is the full description of the image, covering its basic information (name, OS, version, visibility), technical specifications of the build, the Supported VM formats it can be delivered in when you request a virtual machine, and its System requirements. It also shows the Latest build, including the SHA-256 checksum so you can verify the artifact, along with the image’s tags and license.
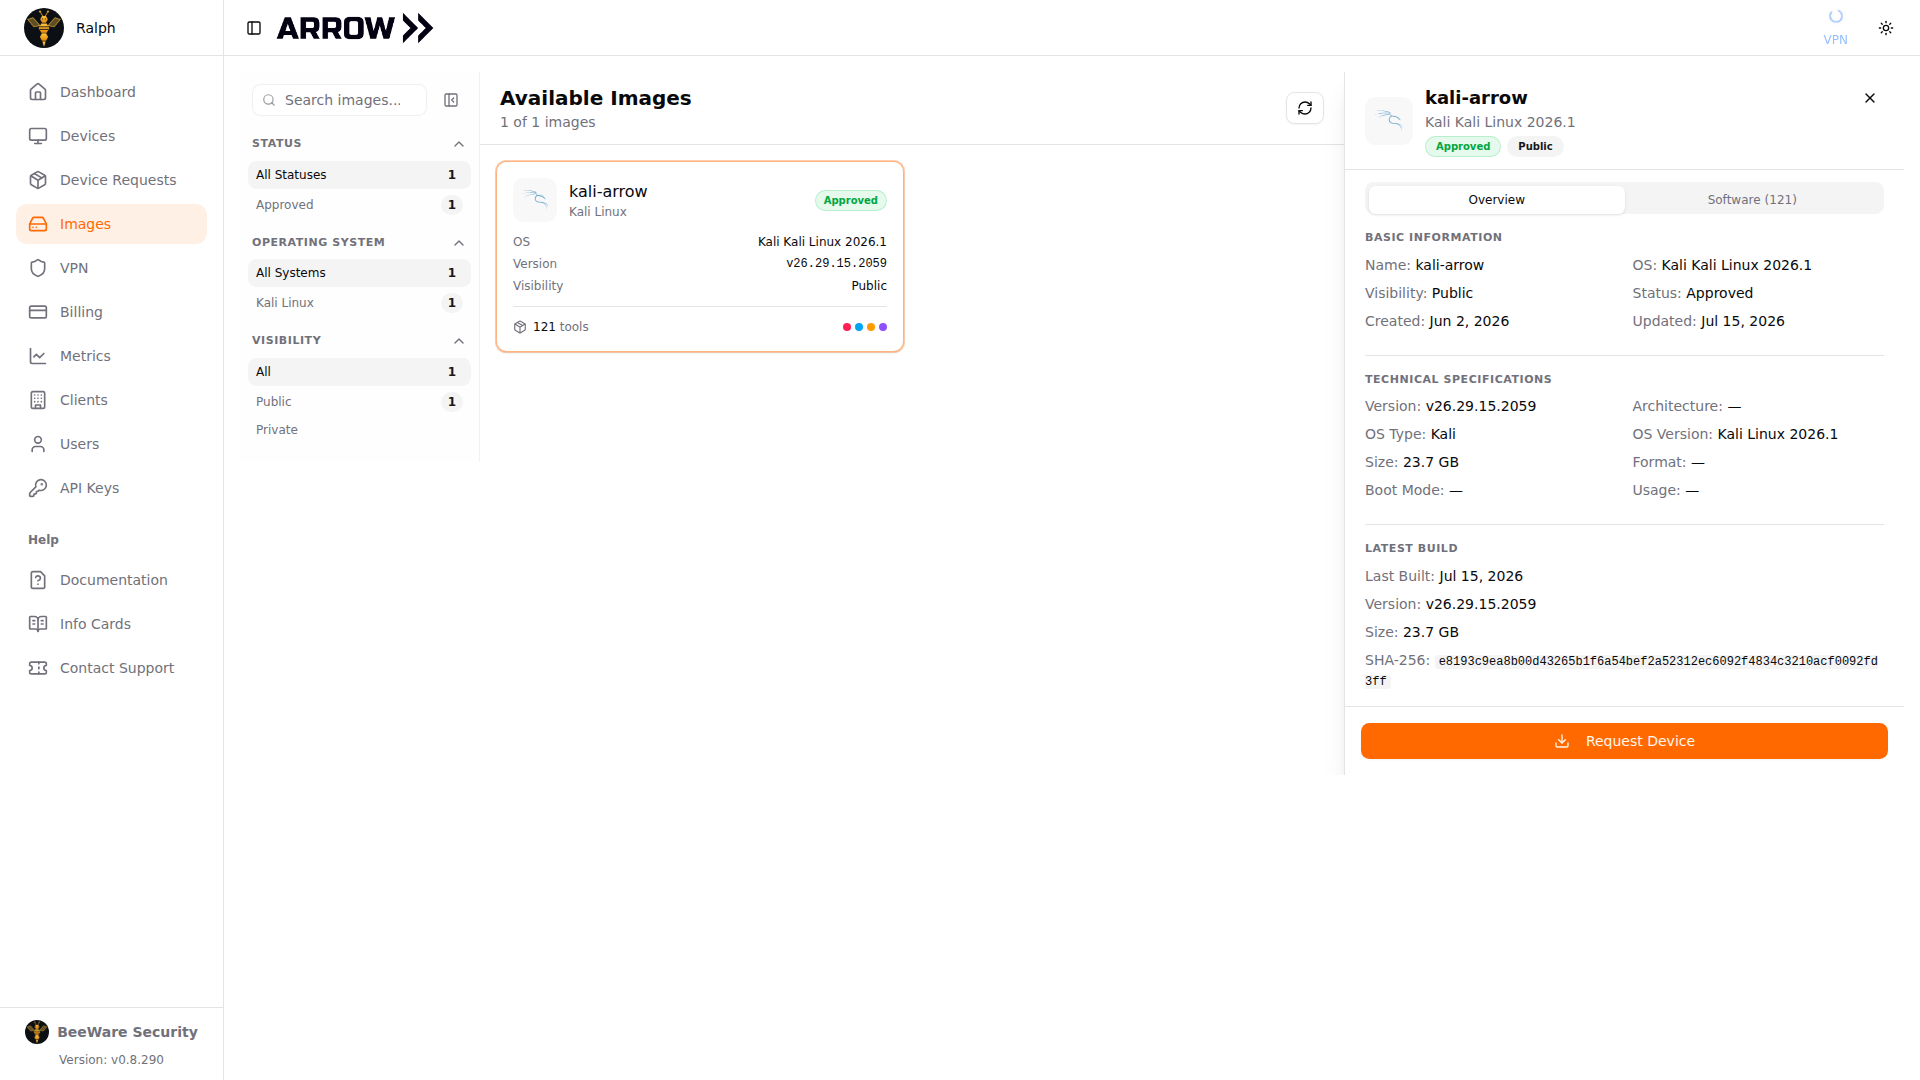
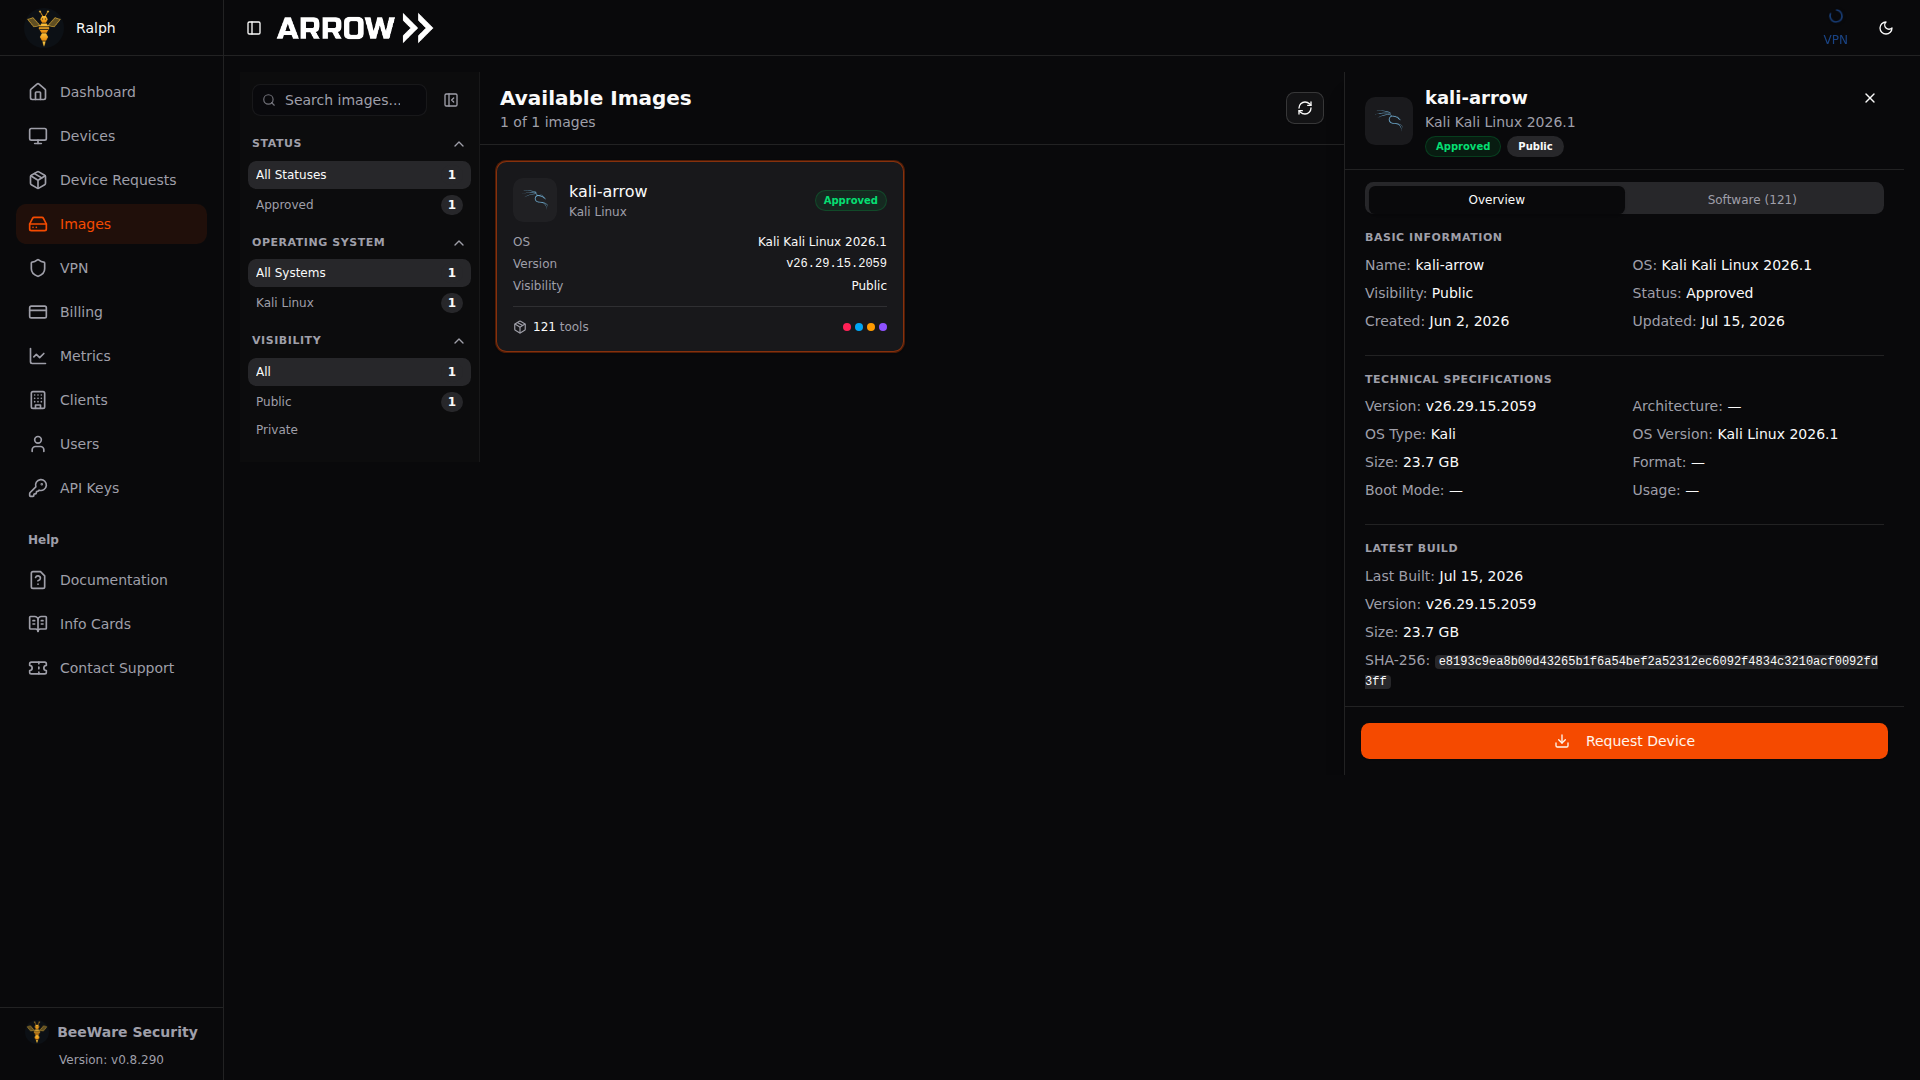
The image detail panel opens beside the catalog, on the Overview tab
The image detail panel opens beside the catalog, on the Overview tab
The Software tab is the App Library for that image, listing every tool that ships pre-installed. Check it to confirm the tooling you need is already there before you request the device. If you are an organization administrator, you can add or remove software here, but only on images dedicated to your organization. Public and shared images cannot be edited.
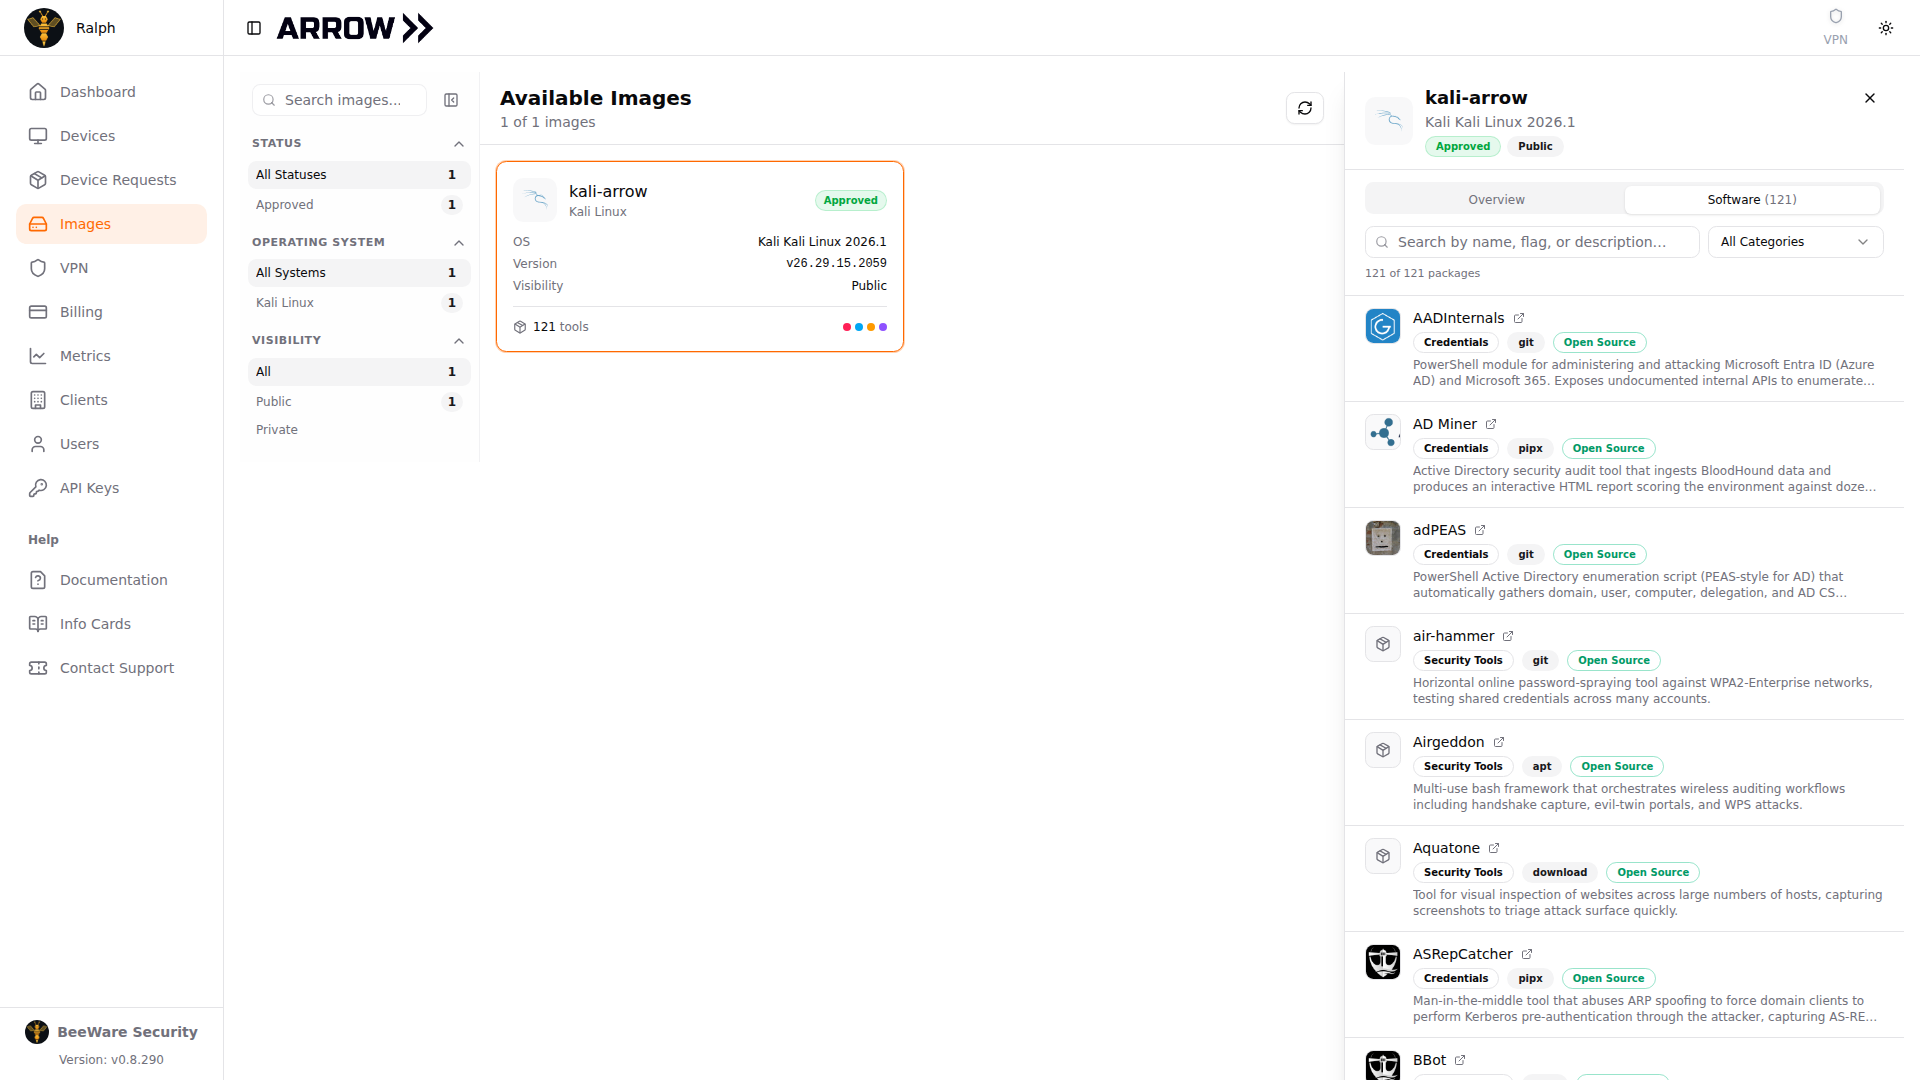
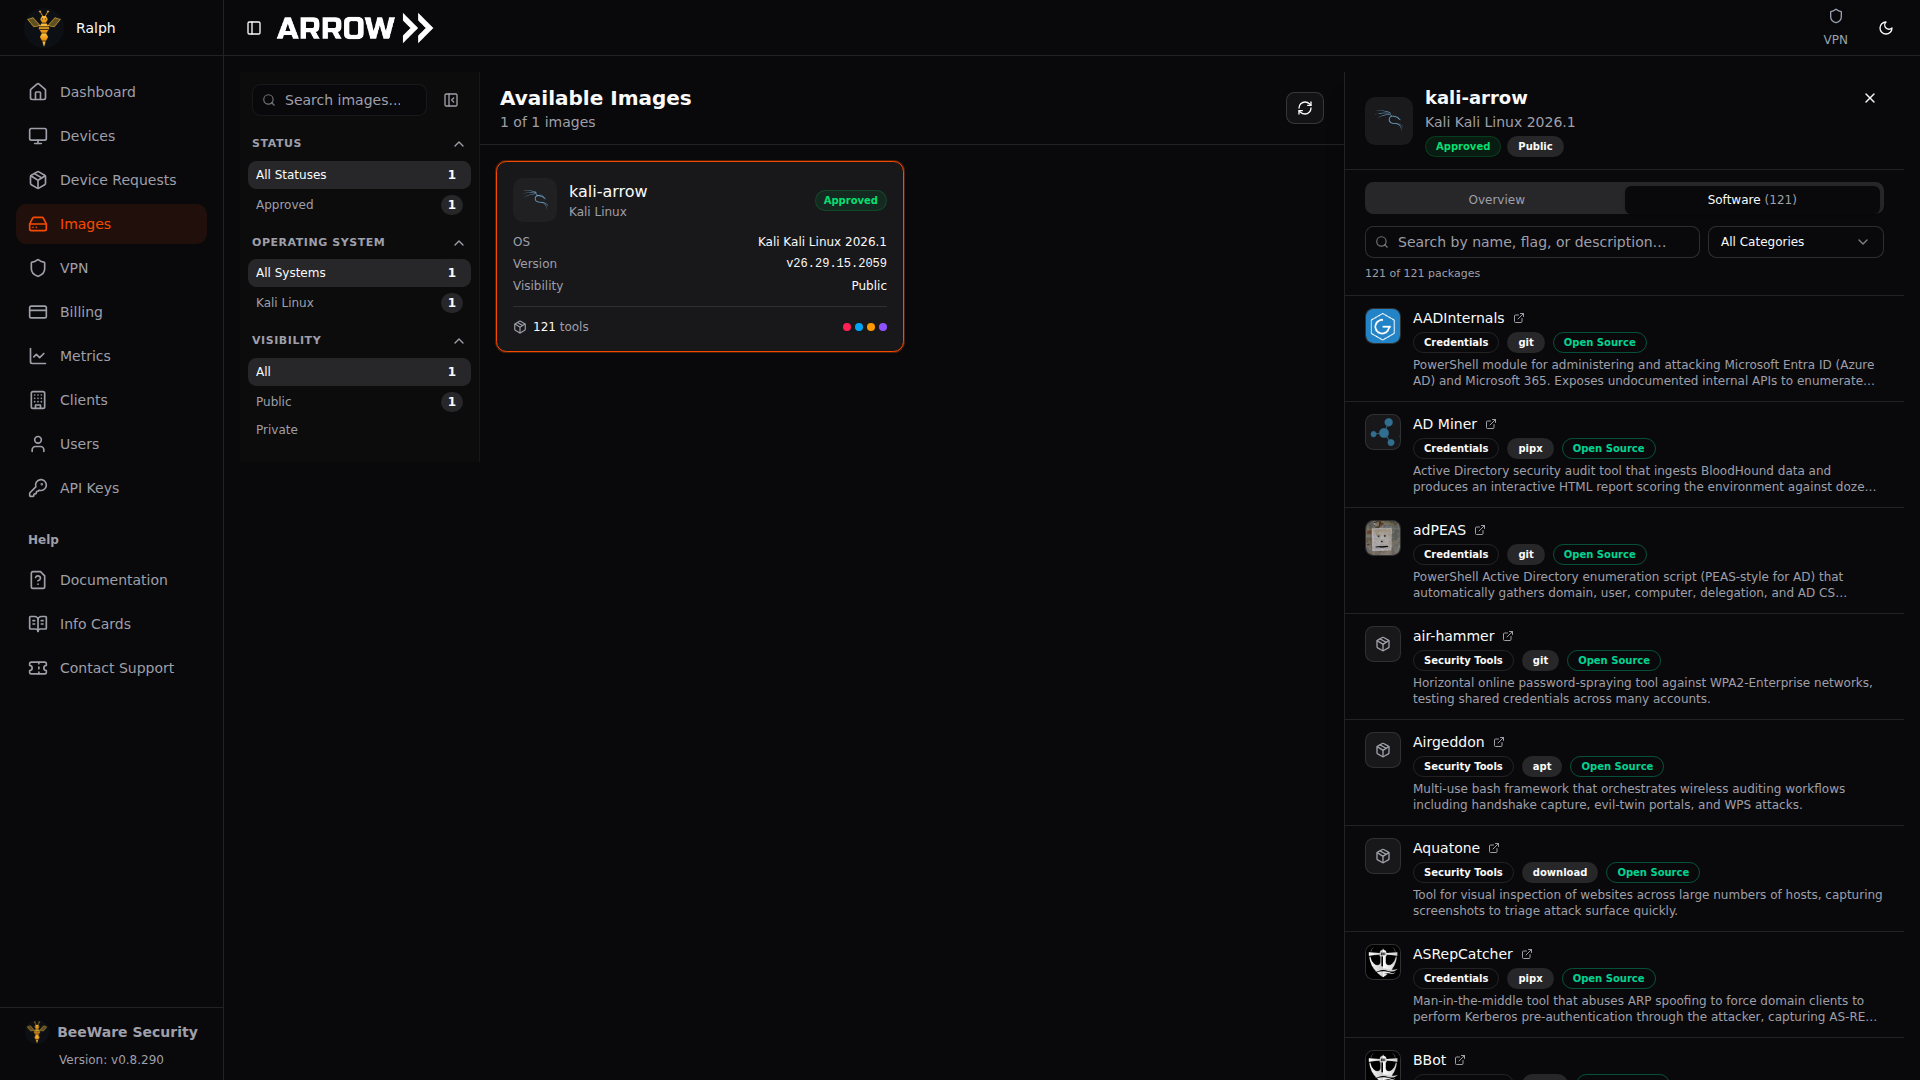
The Software tab is the App Library for the image, listing every tool that ships preinstalled, searchable and filterable by category
The Software tab is the App Library for the image, listing every tool that ships preinstalled, searchable and filterable by category
Requesting straight from an image
Section titled “Requesting straight from an image”When you have found the right image, use the Request Device action in the detail view. It starts a new device request already pre-filled with that image, so you skip re-selecting it and go straight to completing the rest of the request.
For the full request workflow, see Device Requests.