
Terminal & VNC Access
ARROW Control gives you two ways to work on the VM directly, a full terminal and the graphical desktop, both in the browser, with no SSH client or VNC viewer to install. Reach for the terminal for anything a command line handles well, which is most of the work and far lighter on the VPN. Switch to VNC when you genuinely need a GUI, such as a browser-based tool or a desktop application. Every terminal session is also recorded, so you always have a record of exactly what was run.
The terminal
Section titled “The terminal”Opening a session
Section titled “Opening a session”- Sign into ARROW Control.
- Click Terminal in the left rail.
- A shell opens in a tab labeled Terminal 1 with a live prompt.
You get full command-line access to the VM. A tab bar runs across the top, a + button opens more sessions, and a font-size control (for example 14px with - and +) adjusts the text. A narrow rail on the left tracks how many sessions are open, and a status line at the bottom shows the session state.
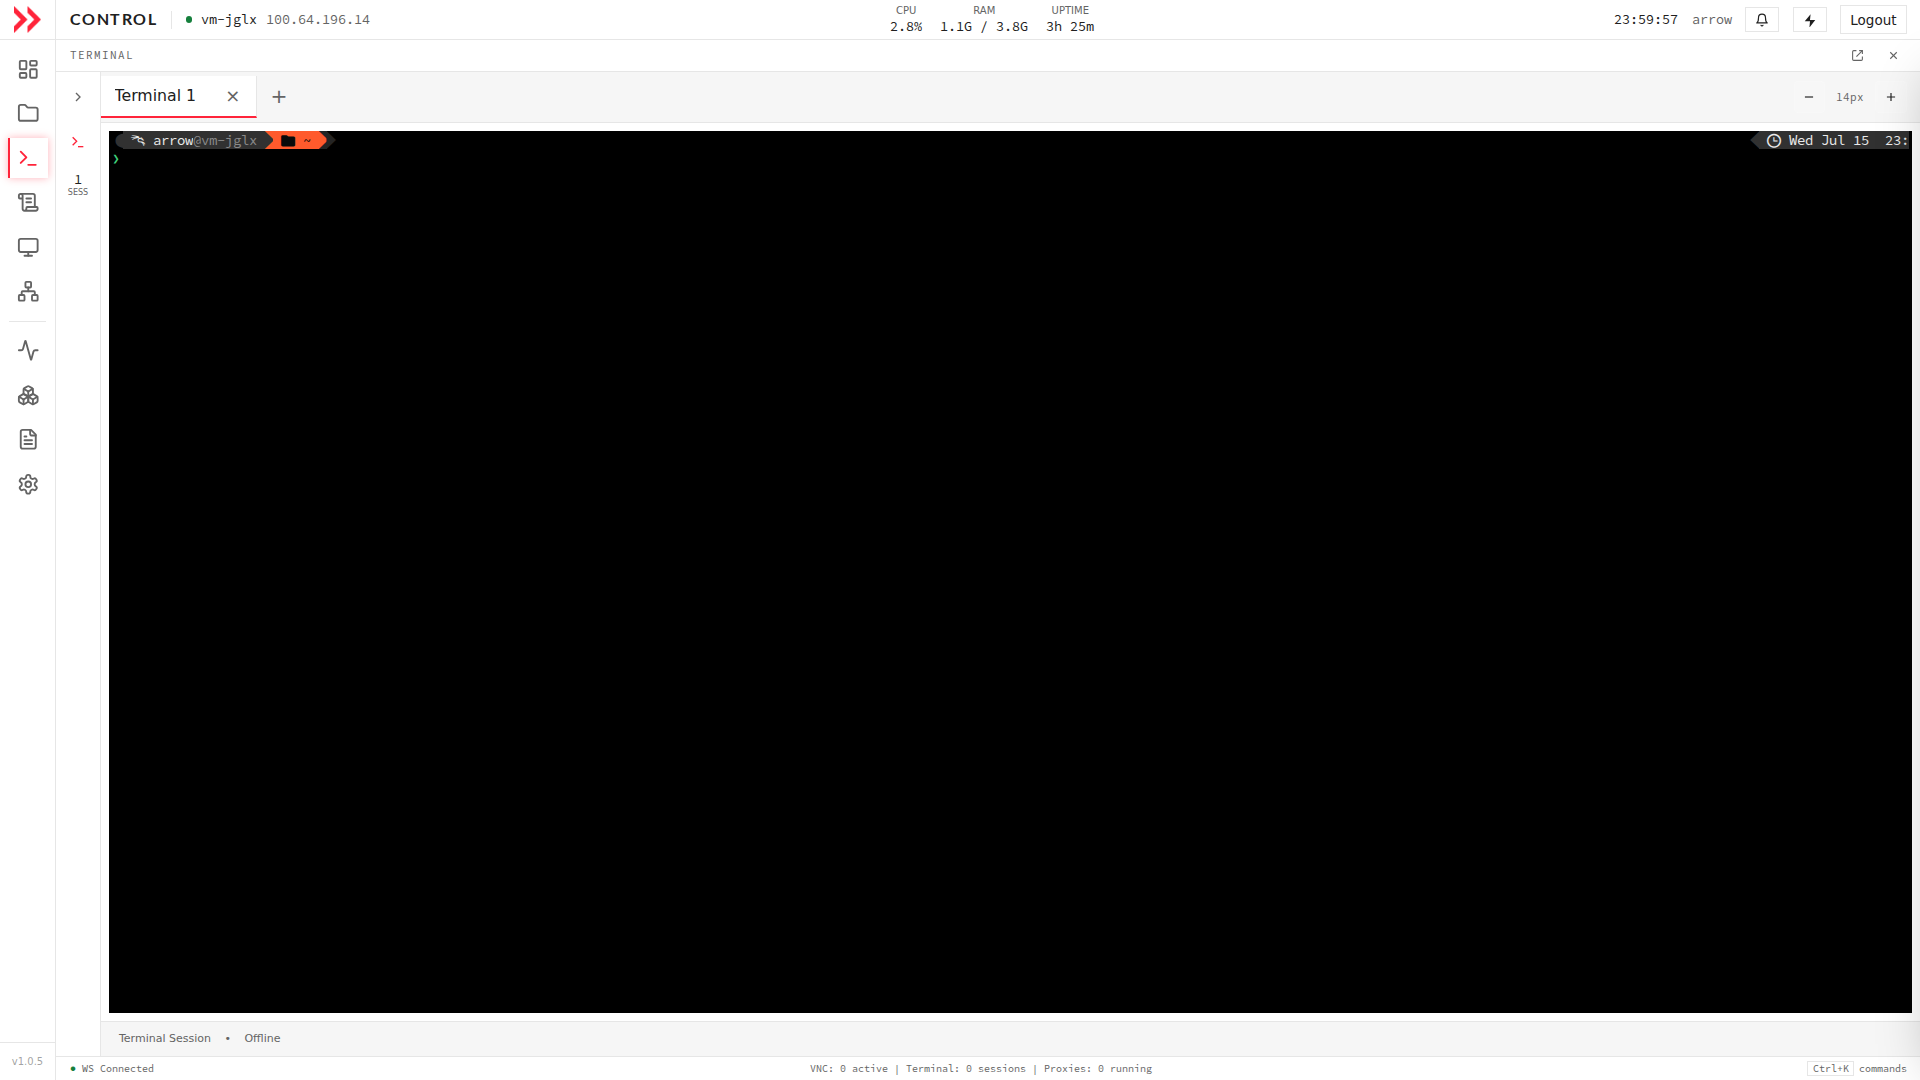
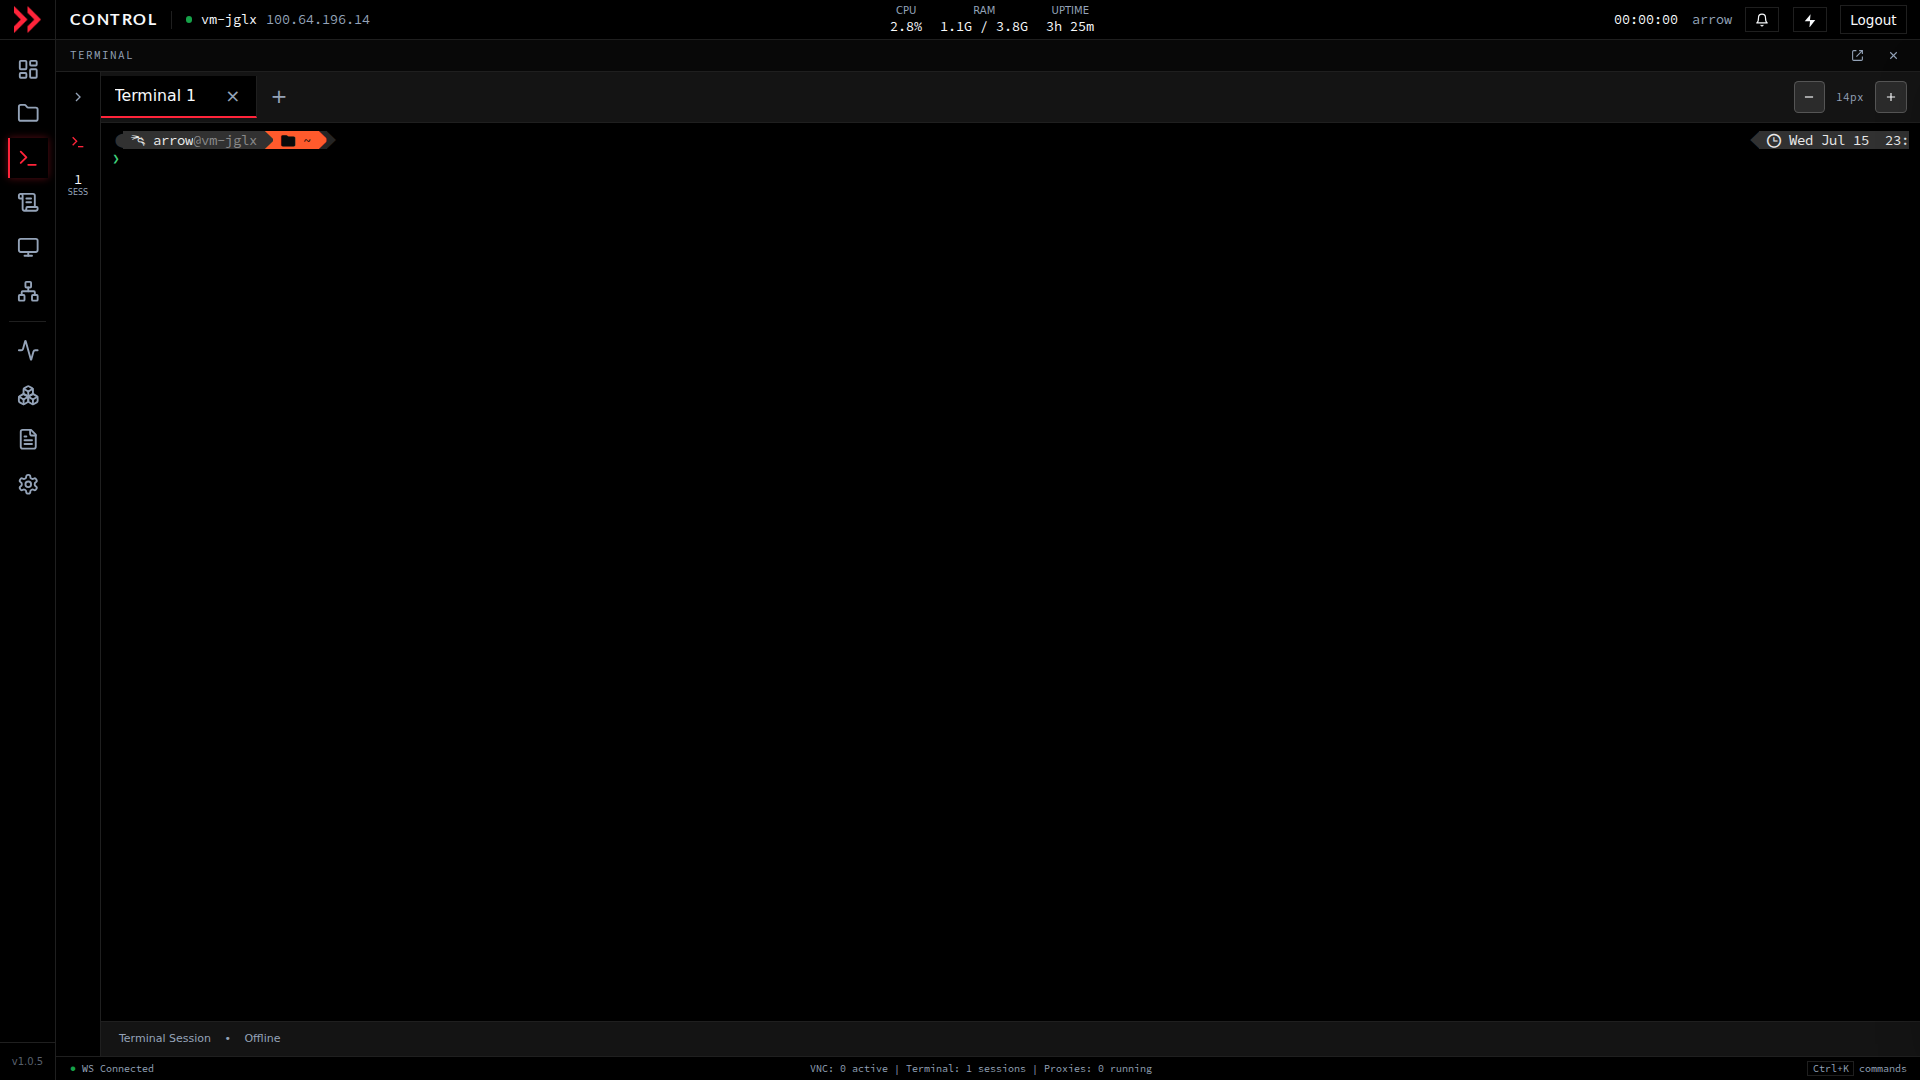
- 1 Open several terminal sessions in tabs, and start a new one with the plus button.
- 2 Make the terminal text larger or smaller for readability.
- 3 A full shell on the device, right in your browser. Sessions can be recorded and reviewed later in Terminal Logs.
Working in it
Section titled “Working in it”This is a real shell, not a cut-down web console. Run any command, install and launch tools, edit configs, tail logs, and run scripts. Full-screen interactive programs like vim, htop, and less work, as do ANSI colors, a scrollback buffer, and Unicode.
One thing to know about copy and paste is that plain Ctrl+C sends an interrupt to whatever is running, so copying and pasting use the shifted variants.
| Action | Shortcut |
|---|---|
| Copy | Ctrl+Shift+C (or just select text to auto-copy) |
| Paste | Ctrl+Shift+V (or right-click) |
The rest of the usual shell keys behave as you would expect:
| Shortcut | Action |
|---|---|
Ctrl+C | Interrupt the current command |
Ctrl+D | End of input, or exit the shell |
Ctrl+Z | Suspend the current process |
Ctrl+L | Clear the screen |
Tab | Auto-complete commands and paths |
Up / Down | Move through command history |
Several sessions at once
Section titled “Several sessions at once”Click + in the tab bar to open another session; each runs in its own tab, and the rail keeps count. Switch by clicking a tab, and close one with its close button or by typing exit.
Sessions stay alive as you move around ARROW Control, but closing the browser tab ends all of them. So for anything that must survive a disconnect, such as a long scan, run it inside screen or tmux:
tmux new -s mysession# Run your long command# Detach with Ctrl+B then D# Reattach later with: tmux attach -t mysessionTerminal logs
Section titled “Terminal logs”Because every session is recorded, you can go back and see exactly what was run, which is invaluable for handing off work, writing up an engagement, or retracing your steps. Click Terminal Logs in the left rail to browse them.
- Sessions tab: lists recorded sessions with a timestamp, file size, and log file name. Filter by name or date, sort newest or oldest, and hide empty sessions.
- Search output tab: search across the recorded output itself to find where a specific command or string shows up.
- Session output: pick a session from the list to read its full recorded output in the main panel.
The logs live on the VM under your home directory, for example /home/arrow/terminal_logs.
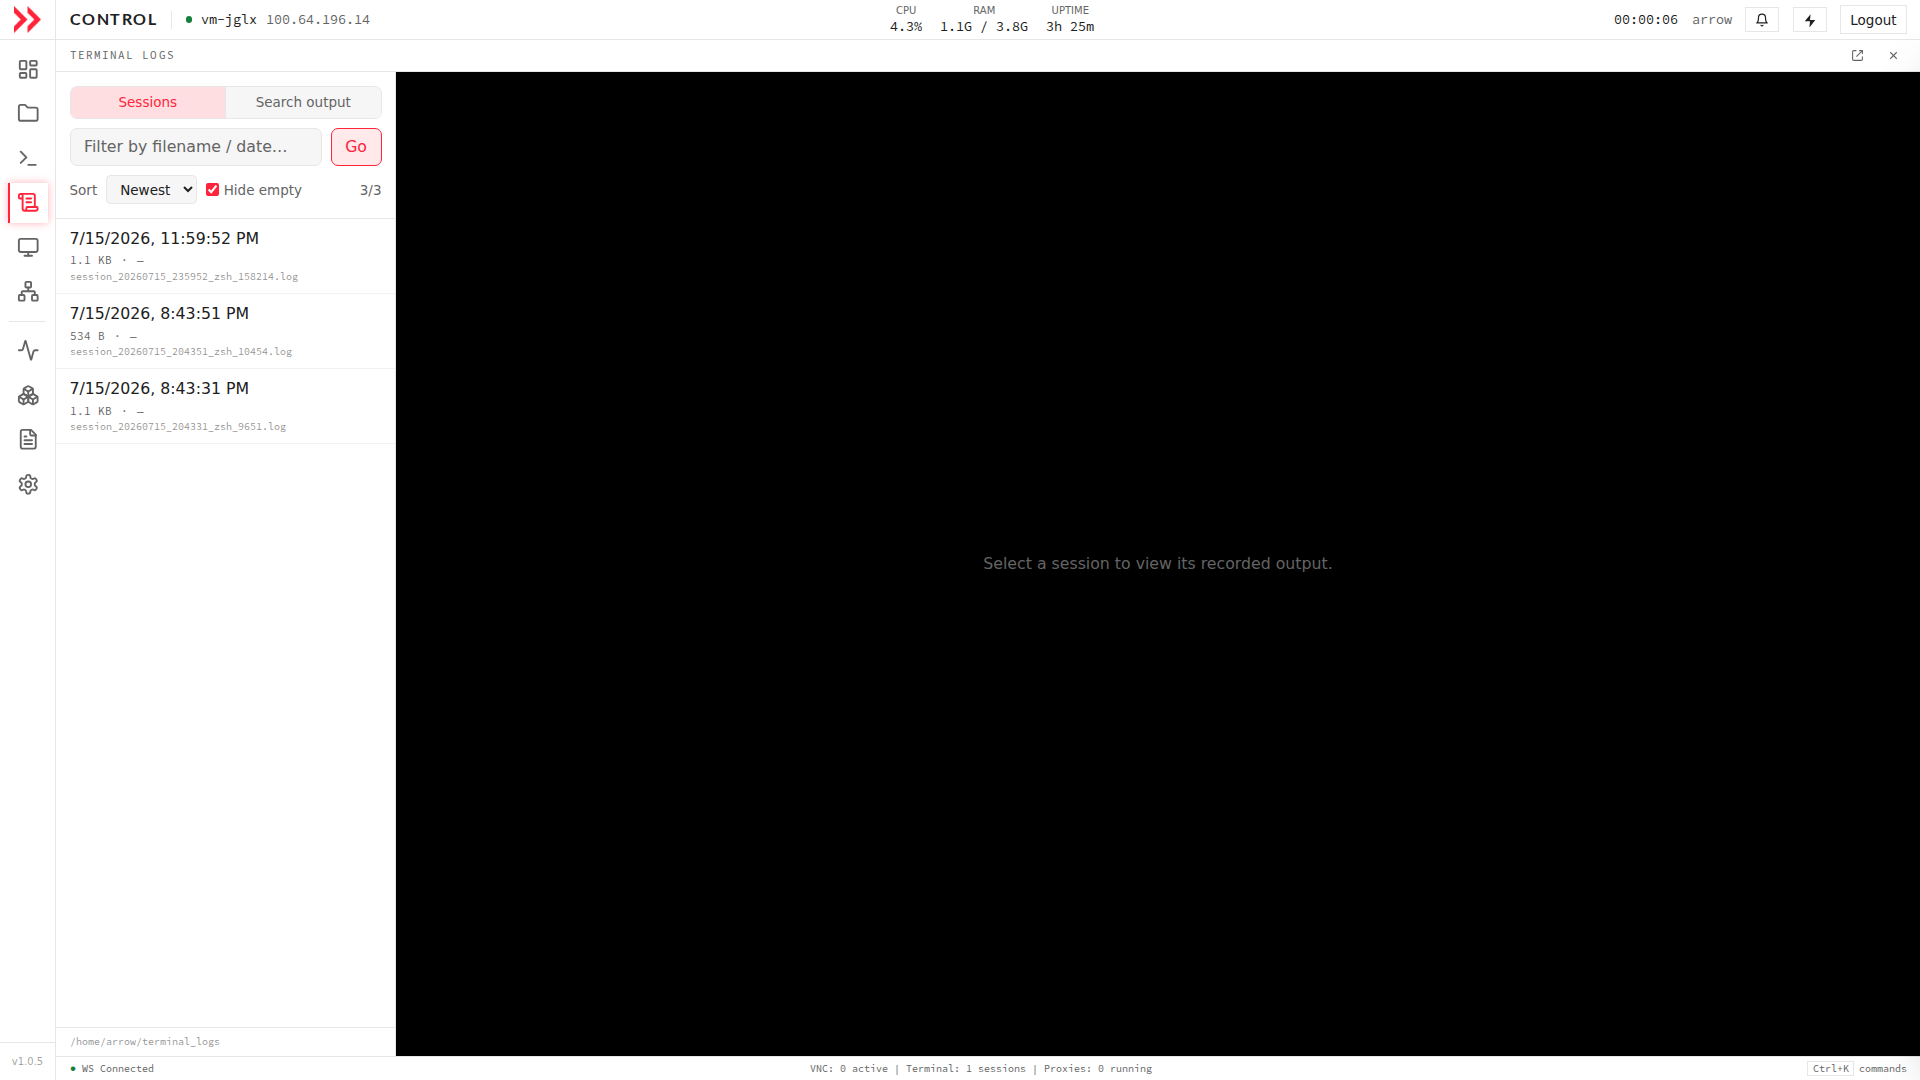
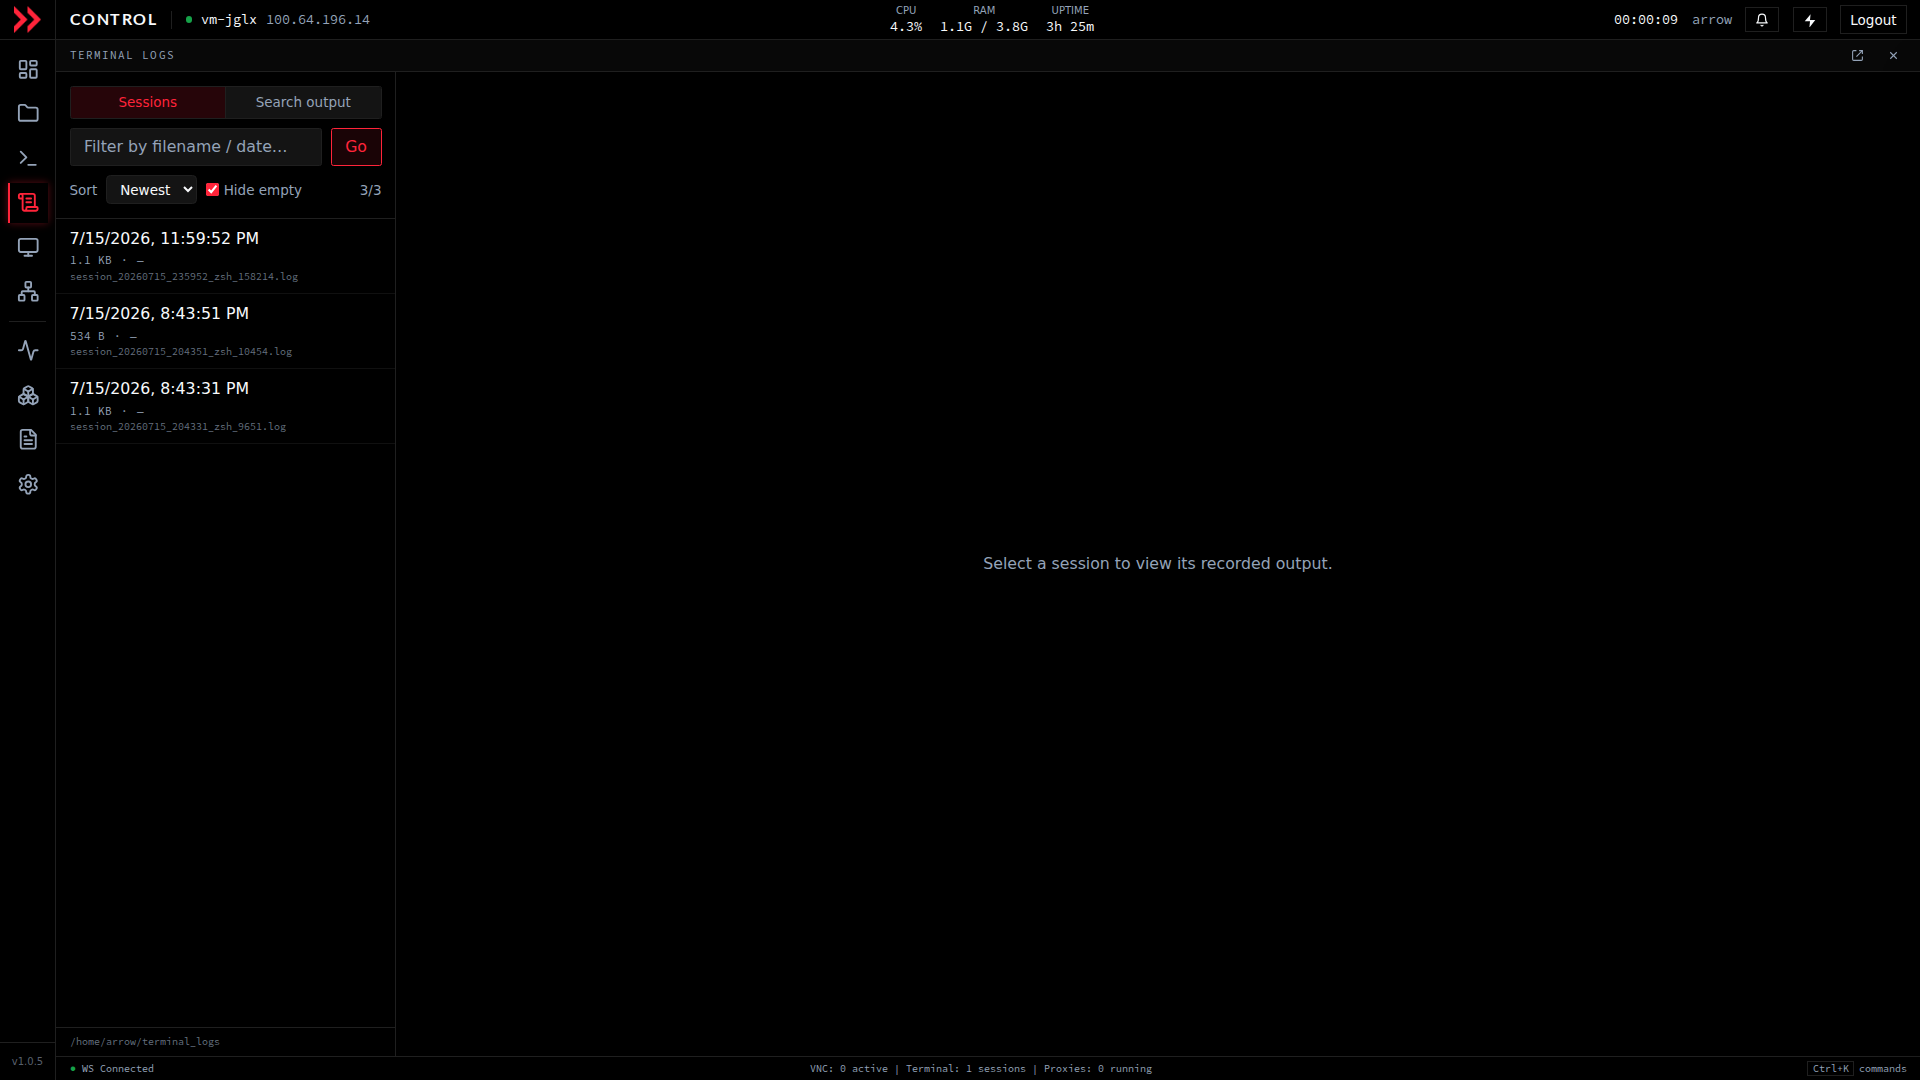
Terminal Logs lists recorded sessions with timestamps and sizes, and lets you search across recorded output.
Terminal Logs lists recorded sessions with timestamps and sizes, and lets you search across recorded output.
Searching across every session
Section titled “Searching across every session”The Sessions tab is the right place to start when you know roughly which session you want. But often you remember the command, not the session. You ran a particular scan or typed a specific string somewhere, days ago, and you need to find where. That is what the Search output tab is for. Type at least two characters, press Go, and it searches the recorded output of every session at once and shows you which ones contain the match.
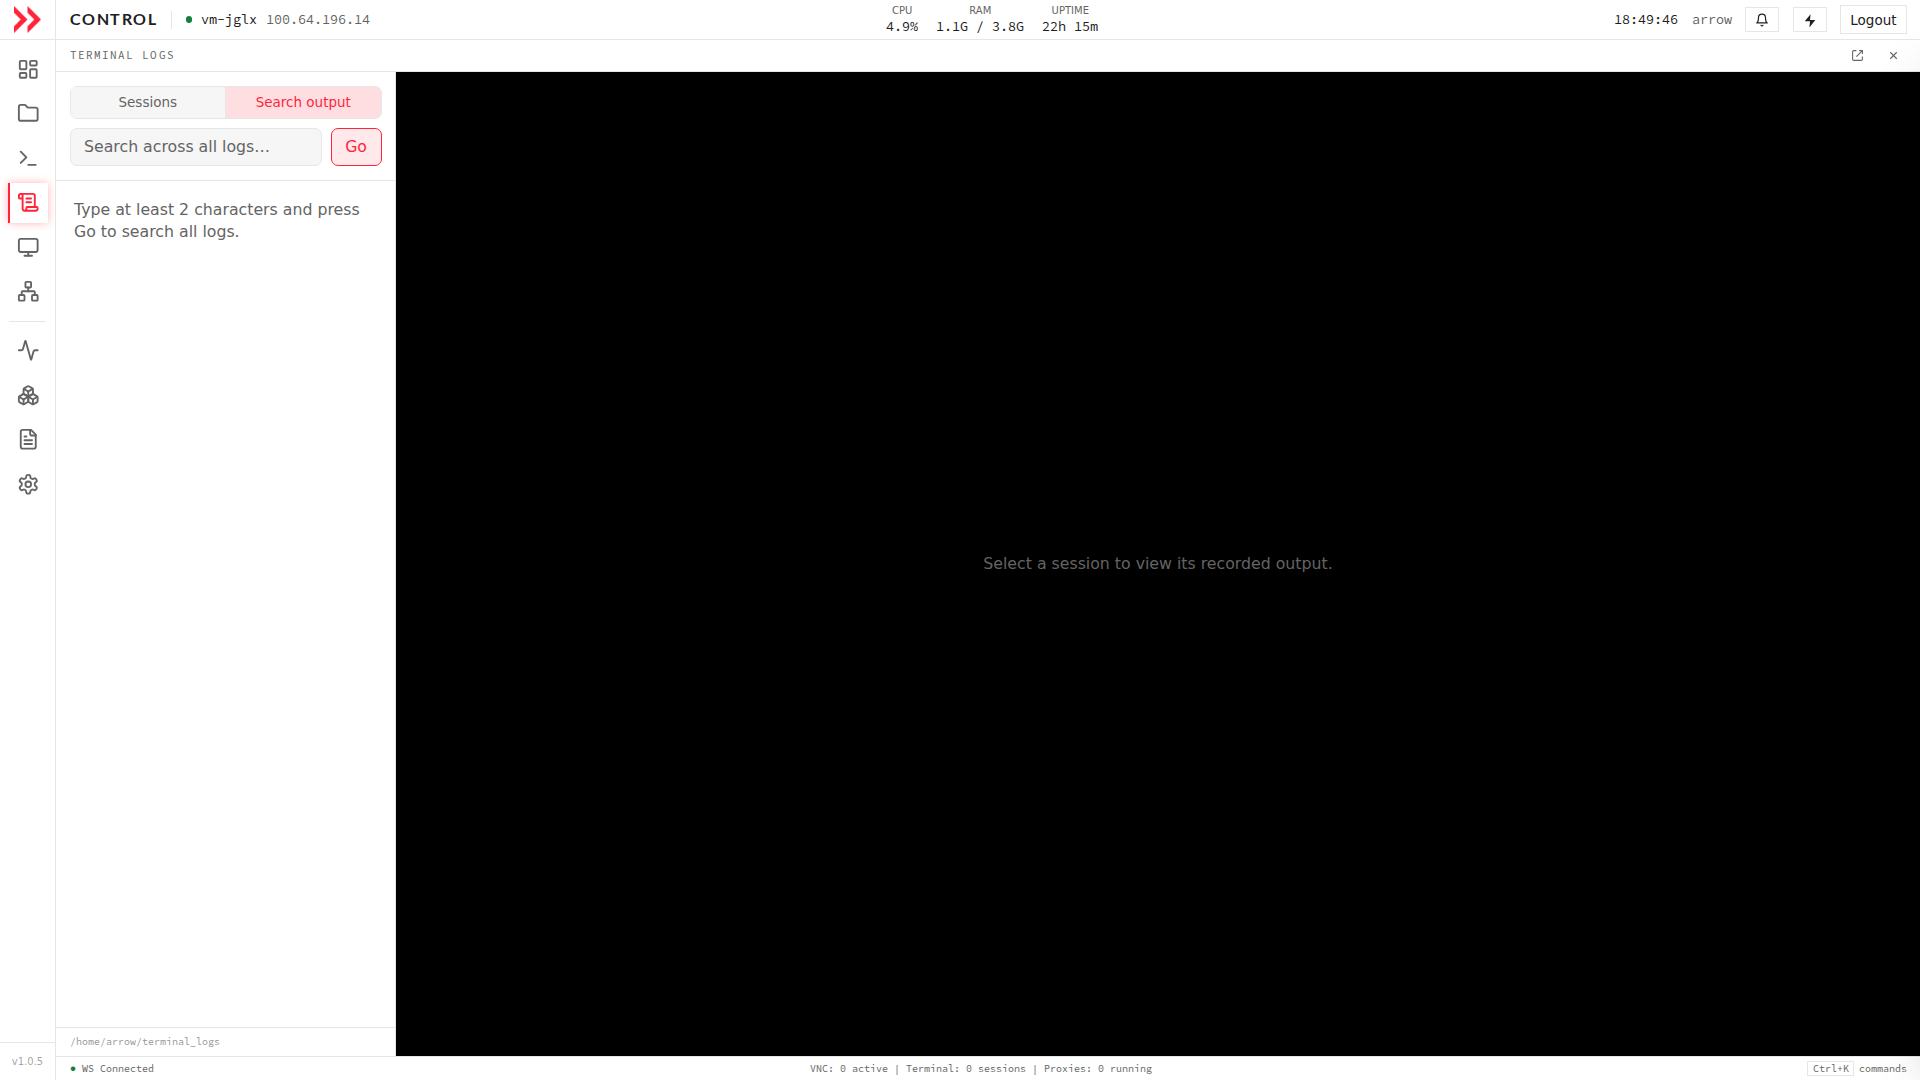
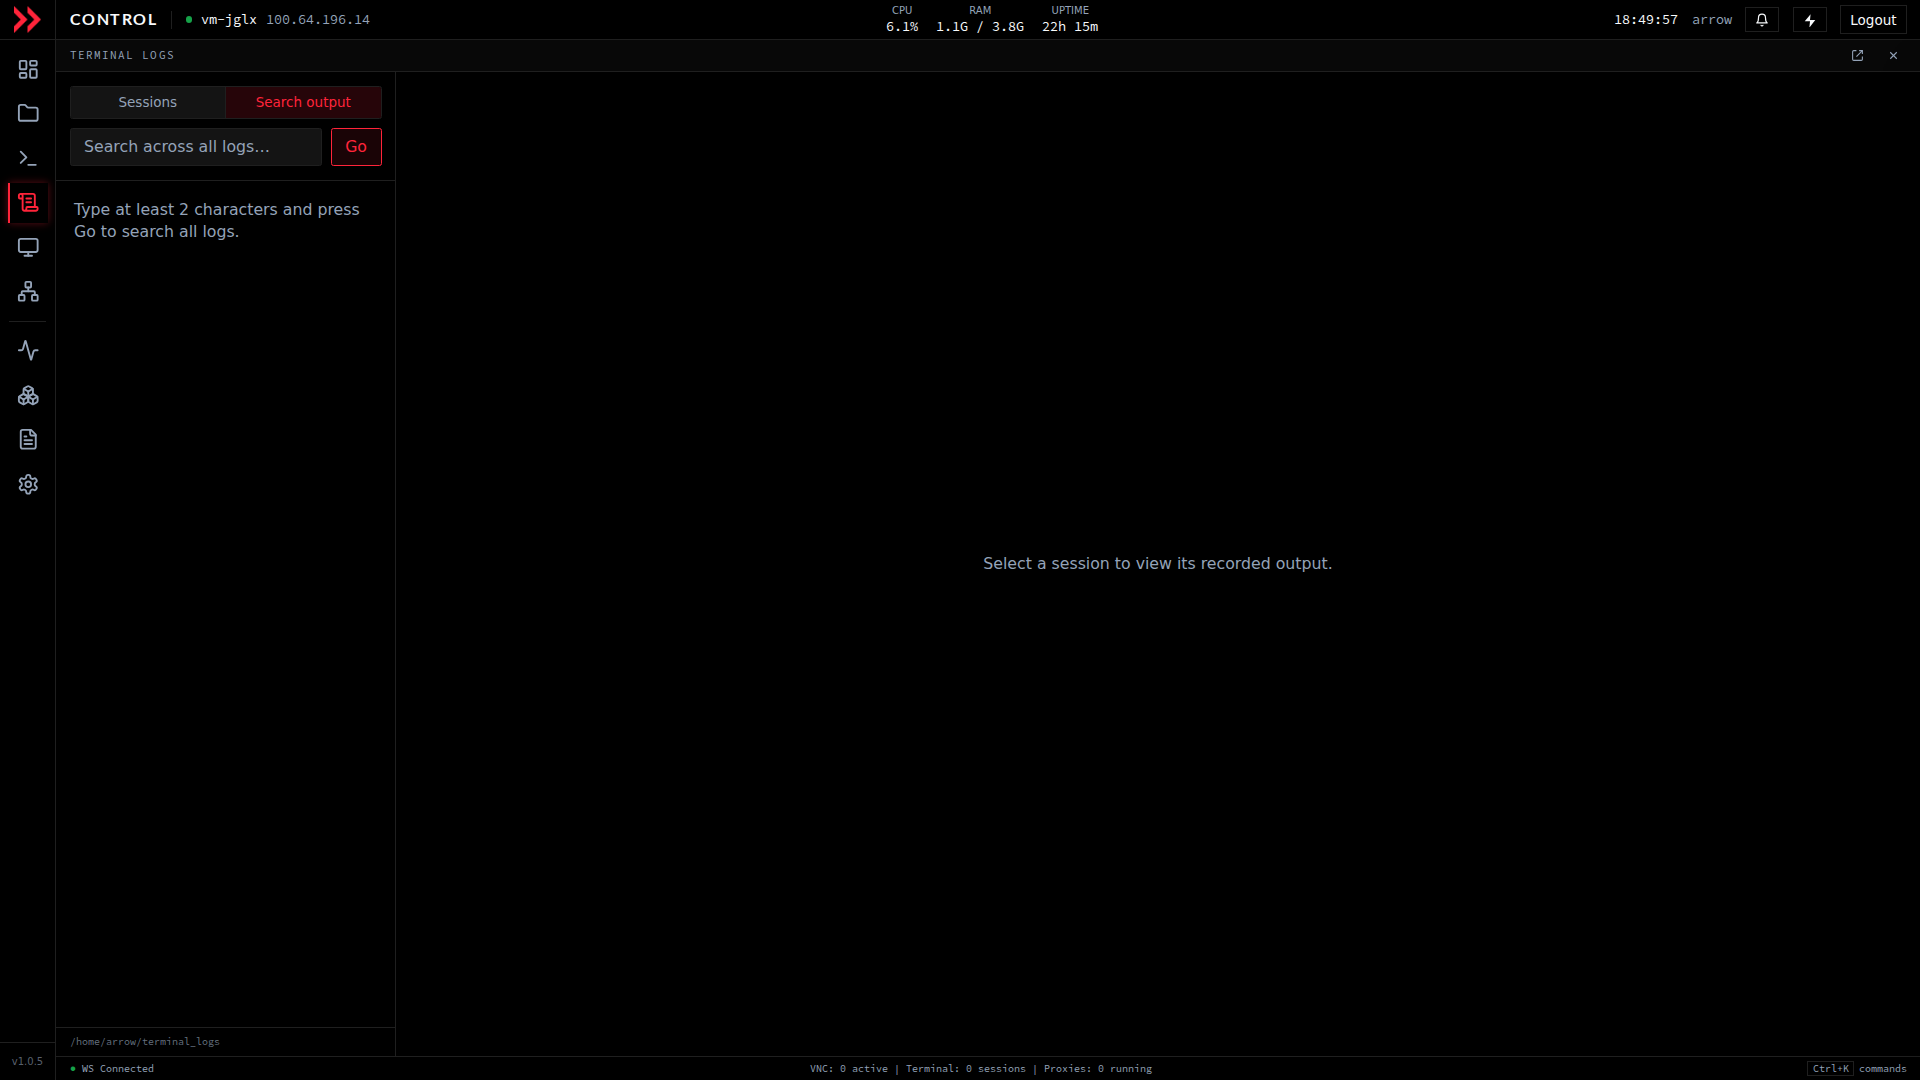
The Search output tab searches across the recorded output of every session at once, so you can find where a command or string appears.
The Search output tab searches across the recorded output of every session at once, so you can find where a command or string appears.
This is the tab to reach for when you are retracing your steps for a writeup and need to pin down exactly when and where a command ran, or when you are tracking down which session produced a particular piece of output. Rather than opening sessions one by one, you search all of them and jump straight to the one that matches.
The remote desktop (VNC)
Section titled “The remote desktop (VNC)”VNC brings the VM’s graphical desktop into your browser, for the times a command line will not do.
Opening it
Section titled “Opening it”- Click VNC in the left rail.
- The VNC page opens, with a rail on the left showing the current connection count.
- Until a session is running, the viewport shows NO SIGNAL with two buttons, Connect to VNC and Pop out.
Click Connect to VNC to bring the desktop into the viewport, or Pop out to open it in its own browser window. Popping out is the better choice when you want a bigger workspace or want to keep the desktop open next to another ARROW Control section; just allow popups for the ARROW Control domain first.
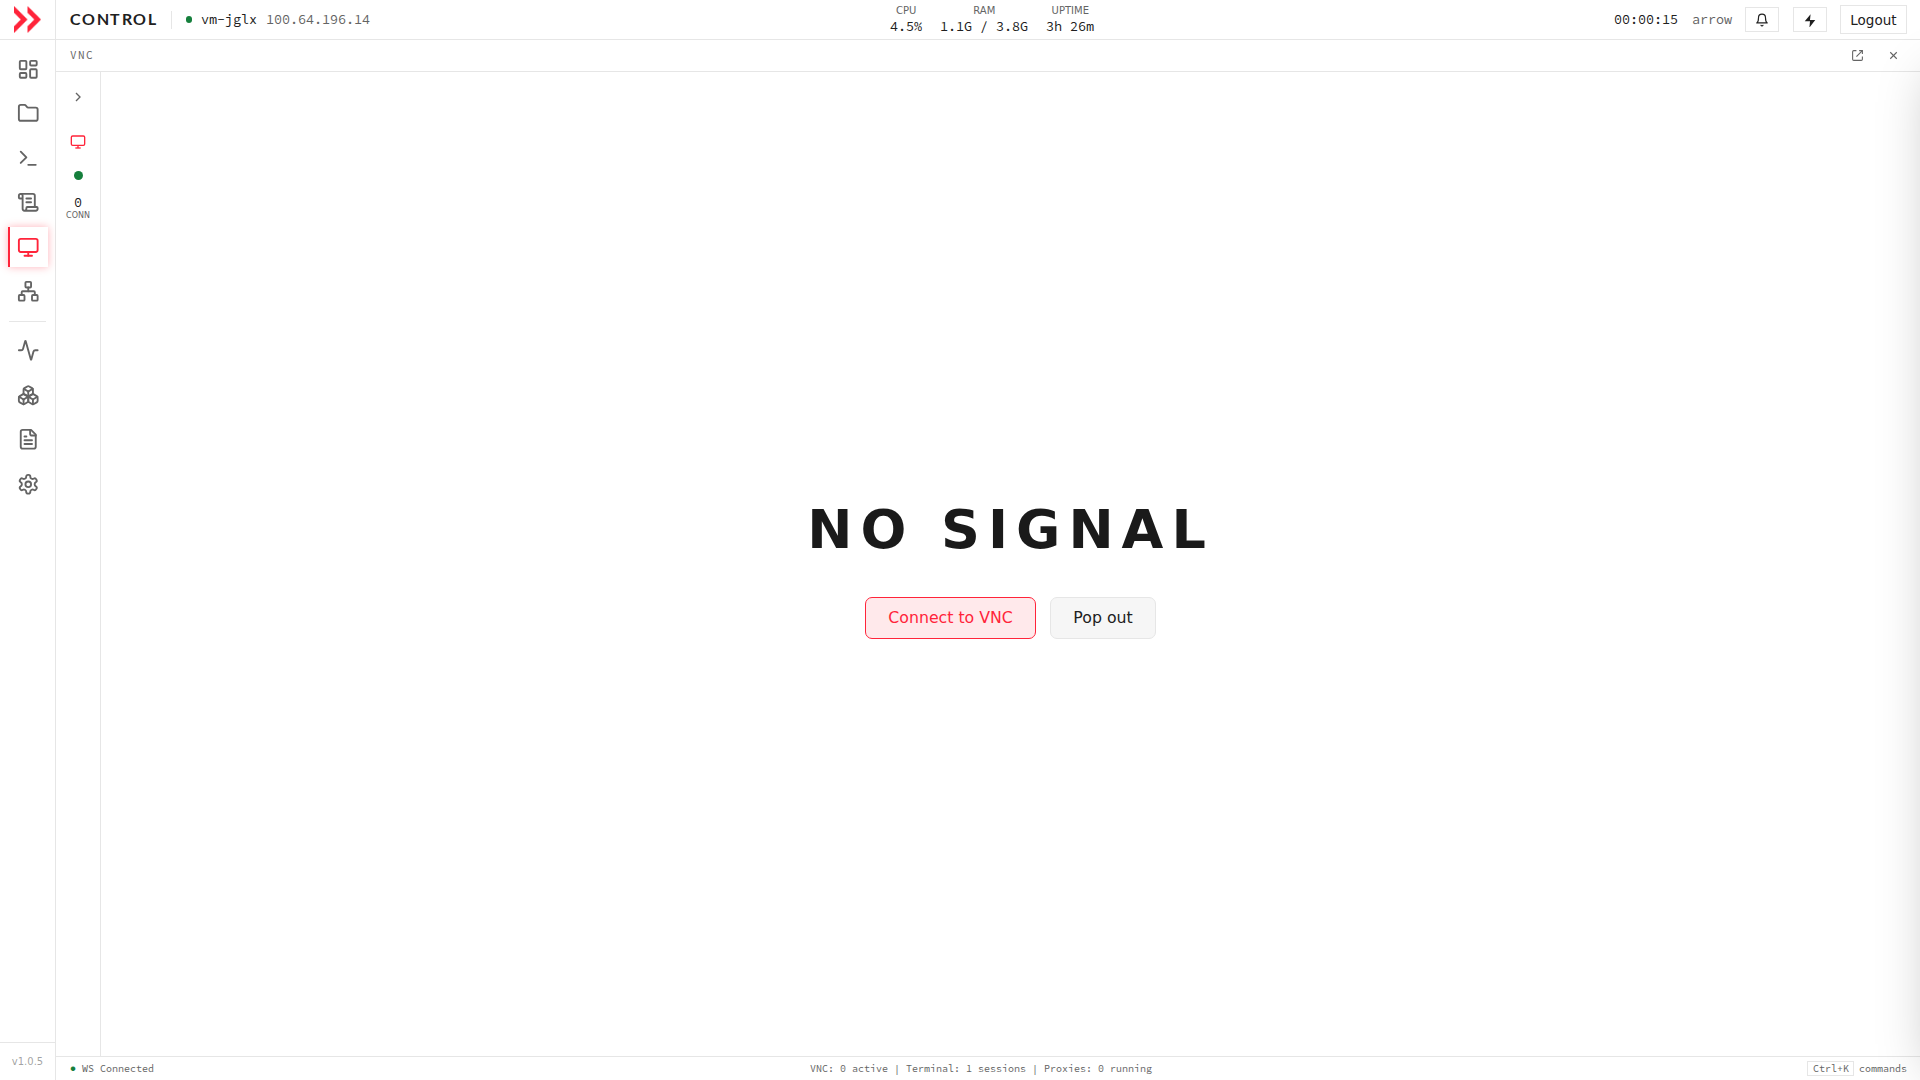
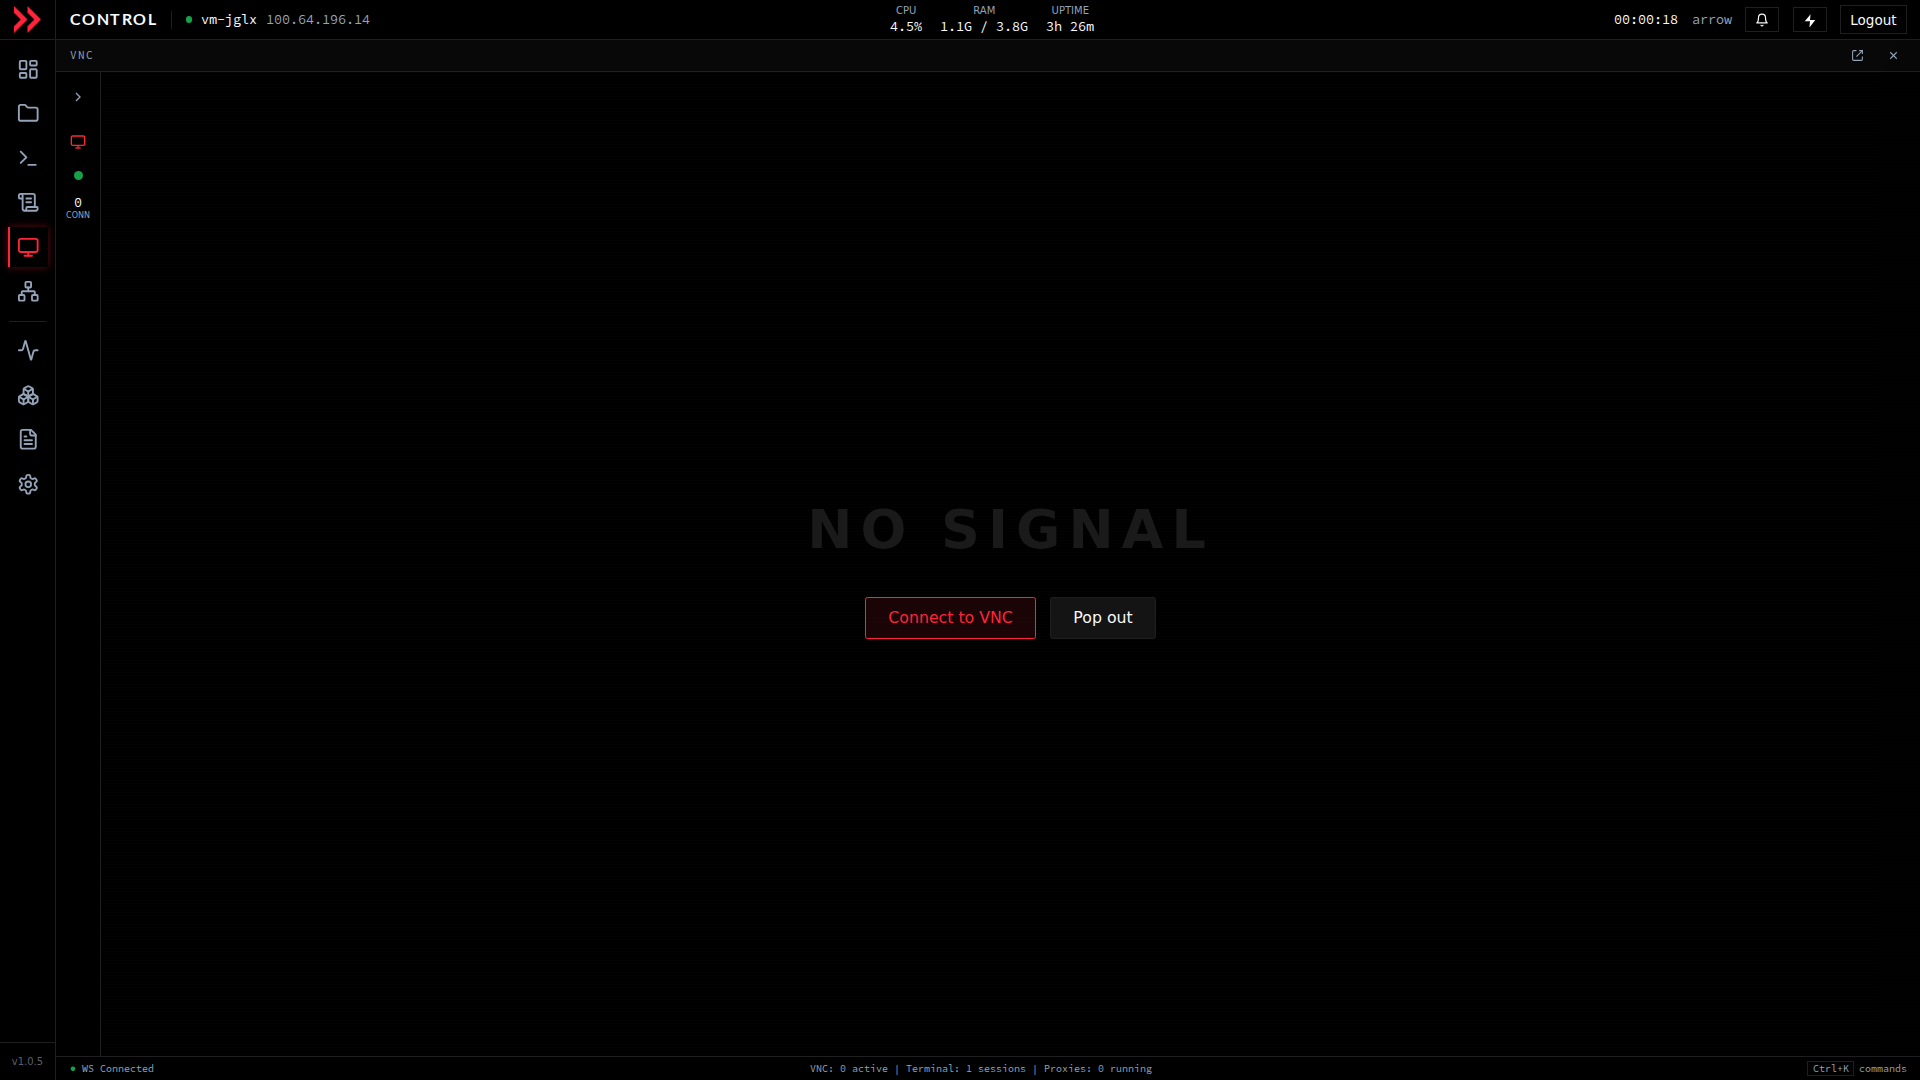
Before a session starts the VNC viewport shows No Signal, with Connect to VNC and Pop out buttons.
Before a session starts the VNC viewport shows No Signal, with Connect to VNC and Pop out buttons.
Which VNC you get
Section titled “Which VNC you get”ARROW VMs run one of two VNC providers, KasmVNC on newer VMs and TigerVNC on older ones. Which one is baked in when the VM is built, and changing it means rebuilding the VM. Both give you full desktop access; KasmVNC adds the modern conveniences. If the VNC window shows a self-signed certificate warning, accept it, the same as elsewhere on a VPN-only VM.
The practical difference comes down to a few features:
| Feature | TigerVNC | KasmVNC |
|---|---|---|
| Mouse and keyboard | Yes | Yes |
| Clipboard (text) | Yes (limited) | Yes, two-way |
| Fullscreen | Yes | Yes |
| Scaling | Manual | Adaptive |
| Audio | No | Yes |
| File transfer | No | Yes |
KasmVNC tunes quality automatically to the bandwidth it has, so you can leave it alone. TigerVNC lets you set quality and scaling by hand; over a VPN, medium quality with compression usually strikes the best balance between sharpness and responsiveness.
Keeping it fast
Section titled “Keeping it fast”The single biggest thing you can do for performance is prefer the terminal, because it uses a fraction of the bandwidth of a full desktop, so it stays snappy even when the VPN does not. When you do need VNC on a slow link, drop the quality (on TigerVNC) to get responsiveness back. Close sessions you are not using to free resources, and always connect over the Netbird VPN rather than exposing these services to the internet.
| Connection | Terminal | VNC |
|---|---|---|
| Good VPN | Minimal impact | Smooth |
| Poor VPN | Minor delays | Noticeable lag |
Troubleshooting
Section titled “Troubleshooting”| What you see | What to try |
|---|---|
| Terminal not responding | Refresh the page, or open a new session with +. |
| Copy/paste not working | Use Ctrl+Shift+C and Ctrl+Shift+V, check browser clipboard permissions, or try the right-click menu. |
| VNC will not connect | Confirm the VPN is connected and the VNC service is running on the VM. |
| VNC shows a blank desktop | The desktop session may not have started. Open a terminal and start the display manager. |
| VNC is slow | Lower the quality (TigerVNC), or switch to the terminal for command-line tasks. |
| Pop-out window blocked | Allow popups for the ARROW Control domain, then click Pop out again. |
| Certificate warning in the VNC window | Accept it. It is expected on a VPN-only VM using a self-signed certificate. |
A few good habits
Section titled “A few good habits”Keep all remote access on the VPN, and close sessions you are not using to trim both resource use and attack surface. Wrap long-running work in screen or tmux so a dropped connection does not kill it, lean on the terminal whenever a command line will do the job, and check Terminal Logs when you need to confirm what actually ran. Sign out when you are finished.
Related Documentation
Section titled “Related Documentation”- ARROW Control Overview - Complete feature overview
- File Management - Managing files on your VM
- System Monitoring - Live metrics and process visibility
- VPN Management - Setting up Netbird VPN
- Troubleshooting - General troubleshooting guide